
Camunda 创建 流程图回调 (三)
创建 回调 流程图
2023-09-11 14:21:21 时间
其实在上一张已经提到过,Camunda的回调方法。
这里在补充一下。
一 看一下流程图

二 设置回调
这里我们使用2种回调,来触发
1 审批:EventListener
2 审核: JavaDelegate
I 使用EventListener:
① application.yml 中开启监听
camunda.bpm:
  #开启监听
  eventing:
    execution: true
    history: true
    task: true
② 代码实现
一个监听事件,有多种状态,
create
assigment
complete
delete
start
end
这里我们使用 delegateTask.eventName=='create' ,
并且delegateTask.name=='审批' 就回调该方法。
@Component
public class AuditListener {

    //使用#delegateTask.taskDefinitionKey=='Activity_053ns1t' 更靠谱,taskDefinitionKey就是审批节点的ID
    @EventListener(condition = "#delegateTask.eventName=='create' && #delegateTask.name=='审批'")
    public void notity(DelegateTask delegateTask){
        System.out.println("审核流程 - USER TASK - "+delegateTask.getEventName());
        Object assignee=delegateTask.getAssignee();
        System.out.println("审批人:"+ assignee);
        Object approve=delegateTask.getVariable("approve");
        System.out.println("审批结果:"+ approve);
        System.out.println("===========================");
    }

}
至此,@EventListener就好了
③ 测试运行:

II 使用JavaDelegate
① 在审核节点,我们填写如下
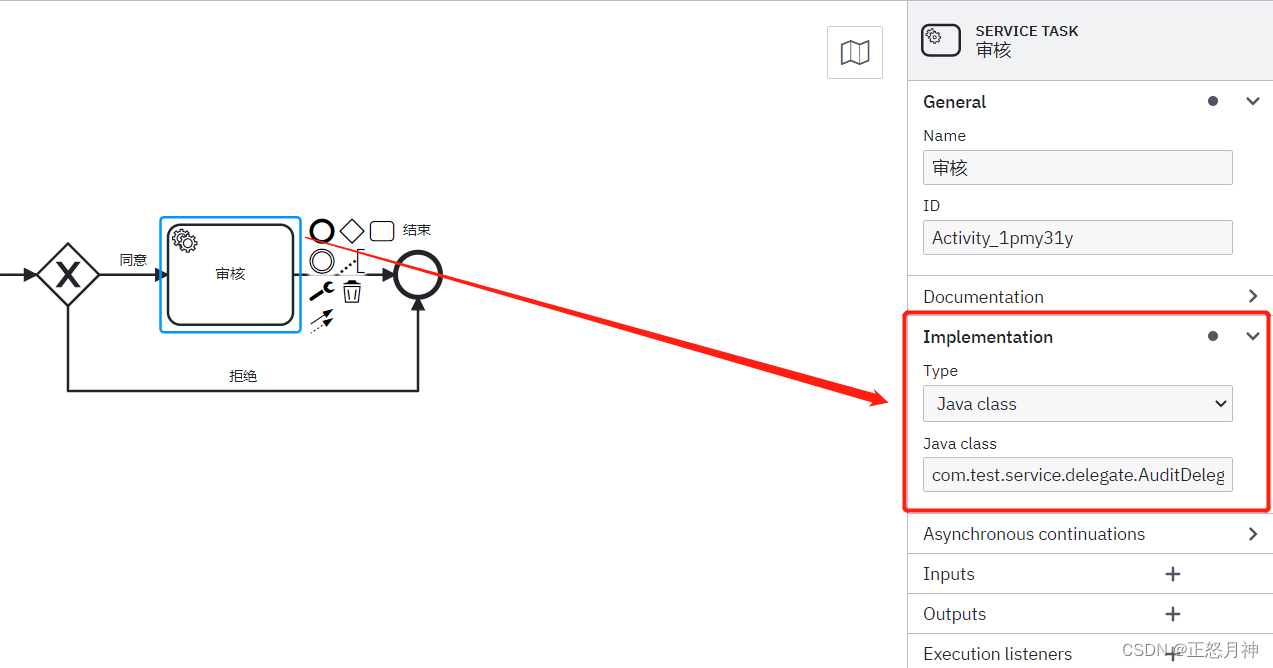
② 代码:
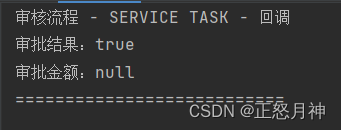
public class AuditDelegate implements JavaDelegate {
    @Override
    public void execute(DelegateExecution execution) throws Exception {
        System.out.println("审核流程 - SERVICE TASK - 回调");
        Object approved=execution.getVariable("approve");
        System.out.println("审批结果:"+ approved);
        Object amount=execution.getVariable("amount");
        System.out.println("审批金额:"+ amount);
        System.out.println("===========================");
    }
}
③ 测试运行
相关文章
- solr的创建分片的方式
- Eclipse 创建 XML 文件
- IDEA 最新版2022.3.2 创建Android新空项目时:Cannot resolve symbol ‘R‘错误原因和解决方法
- Oracle数据库:创建和删除视图view,简单和复杂视图,内建视图,topN分析,oracle分页查询
- 如何用Maven创建web项目(具体步骤)
- 如何快速优雅的用Know Streaming创建Topic
- 创建一个springBoot项目
- 《C语言接口与实现:创建可重用软件的技术》一2.7 习题
- 《Lua游戏AI开发指南》一第2章 创建并移动智能体
- TP6.0 自定义命令创建类文件
- SwiftUI 中使用 SpriteKit 创建雨动画效果(教程含源码)
- Node.js:创建应用+回调函数(阻塞/非阻塞)+事件循环