
Spring Boot 2 使用自定义配置
2023-09-11 14:21:08 时间
在application.yml定义配置后,可以使用Environment来读取配置,也可以使用@Value注解让业务代码去读取配置。
如果属性较多,可以定义属性映射对象。
开发环境:IntelliJ IDEA 2019.2.2
Spring Boot版本:2.1.8
新建一个名称为demo的Spring Boot项目。
一、使用@Value注解
1、application.yml配置为
jdbc:
  url: localhost:3306
2、添加一个类 ValueProp.java
注解@Component把类ValueProp注册到Spring容器中,@Value的值对应application.yml中的配置。
package com.example.demo;

import org.springframework.beans.factory.annotation.Value;
import org.springframework.stereotype.Component;

@Component
public class ValueProp {

    @Value("${jdbc.url}")
    private String jdbcUrl;

    public String getJdbcUrl() {
        return jdbcUrl;
    }
}
3、修改启动类代码 DemoApplication.java
package com.example.demo;

import org.springframework.beans.factory.annotation.Autowired;
import org.springframework.boot.SpringApplication;
import org.springframework.boot.autoconfigure.SpringBootApplication;
import org.springframework.web.bind.annotation.RequestMapping;
import org.springframework.web.bind.annotation.RestController;

@SpringBootApplication
@RestController
public class DemoApplication  {

    public static void main(String[] args) {
        SpringApplication.run(DemoApplication.class, args);
    }

    @Autowired
    private ValueProp valueProp;

    @RequestMapping("/")
    public String index(){
        return valueProp.getJdbcUrl();
    }
}
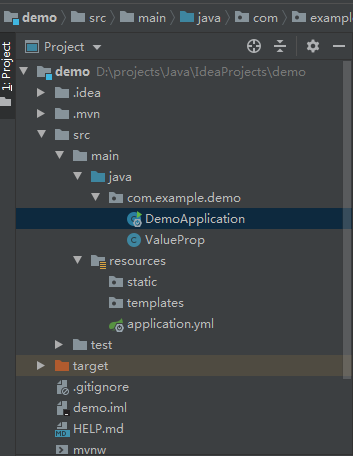
项目结构图
访问:http://localhost:8080/
页面显示:localhost:3306
二、定义属性映射对象
如果上面例子application.yml里面的jdbc下面有多个属性时,直接使用@Value会造成代码冗余。
可以新建一个属性映射类来指定配置前缀jdbc。
1、application.yml配置为
备注:roles下面是一个字符串集合,需要使用 - 格式。
jdbc:
  url: localhost:3306
  user: root
  password: 123456
  db:
    name: mysql
    version: 1.0
    roles:
      - manager
      - client
2、新建一个属性映射类 JdbcProp.cs
使用注解@ConfigurationProperties声明该类的配置前缀为“jdbc”。
package com.example.demo;

import org.springframework.boot.context.properties.ConfigurationProperties;

import java.util.List;

@ConfigurationProperties(prefix = "jdbc")
public class JdbcProp {
    private String url;
    private String user;
    private String password;
    private Database db;

    public String getUrl() {
        return url;
    }
    public void setUrl(String url) {
        this.url = url;
    }
    public String getUser() {
        return user;
    }
    public void setUser(String user) {
        this.user = user;
    }
    public String getPassword() {
        return password;
    }
    public void setPassword(String password) {
        this.password = password;
    }
    public Database getDb() {
        return db;
    }
    public void setDb(Database db) {
        this.db = db;
    }

    public static class Database{
        private String name;
        private String version;
        private List<String> roles;

        public String getName() {
            return name;
        }
        public void setName(String name) {
            this.name = name;
        }
        public String getVersion() {
            return version;
        }
        public void setVersion(String version) {
            this.version = version;
        }
        public List<String> getRoles() {
            return roles;
        }
        public void setRoles(List<String> roles) {
            this.roles = roles;
        }
    }
}
3、新建一个配置类 JdbcConfig.java
目的是让Spring容器知道有这么一个自定义的属性映射对象。
package com.example.demo;

import org.springframework.boot.context.properties.EnableConfigurationProperties;
import org.springframework.context.annotation.Configuration;

@Configuration
@EnableConfigurationProperties(value = JdbcProp.class)
public class JdbcConfig {
}
4、修改启动类代码 DemoApplication.java
package com.example.demo;

import org.springframework.beans.factory.annotation.Autowired;
import org.springframework.boot.SpringApplication;
import org.springframework.boot.autoconfigure.SpringBootApplication;
import org.springframework.http.MediaType;
import org.springframework.web.bind.annotation.RequestMapping;
import org.springframework.web.bind.annotation.RestController;

@SpringBootApplication
@RestController
public class DemoApplication  {

    public static void main(String[] args) {
        SpringApplication.run(DemoApplication.class, args);
    }

    @Autowired
    private JdbcProp jdbcProp;

    @RequestMapping(value = "/", produces = MediaType.APPLICATION_JSON_VALUE)
    public JdbcProp index(){
        return jdbcProp;
    }
}
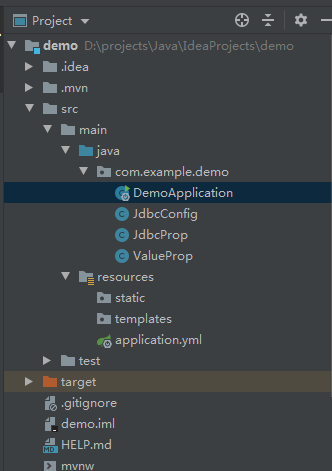
项目结构图
访问:http://localhost:8080/
页面显示:
{"url":"localhost:3306","user":"root","password":"123456","db":{"name":"mysql","version":"1.0","roles":["manager","client"]}}
相关文章
- Spring Boot Cache配置 序列化成JSON字符串
- 附录B. Spring Boot 配置文件application.properties
- jasypt-spring-boot:加密SpringBoot的敏感配置信息
- 规则引擎Drools使用 第十五篇 Spring Boot整合Drools
- Spring Boot 优雅的配置拦截器方式
- Dubbo 3.0.6 + Nacos 2.0.4 配置 + spring boot 2.6.4
- Spring Boot 2 @EnableWebMvc 注解和@EnableSpringDataWebSupport 注解使用说明
- Spring Boot 多数据配置更新
- Spring Boot 2.x基础教程:MyBatis的多数据源配置
- Spring Boot 2.x基础教程:使用 Thymeleaf开发Web页面
- Spring Boot 2.x基础教程:找回启动日志中的请求路径列表
- spring-boot-devtools在Idea中热部署方法
- 是时候为Spring Boot 3.0做准备了
- Spring Boot 2 实战:常用读取配置的方式
- Spring Boot 注入外部配置到应用内部的静态变量
- Spring Boot 2.x 中的 Actuator
- spring boot 配置动态刷新
- spring框架漏洞整理(Spring Boot Actuator相关漏洞)
- Spring Boot使用layui的字体图标时无法正常显示解决办法
- [转]Spring Boot应用的后台运行配置
- Spring boot实现定时任务二:使用注解@scheduled和@EnableScheduling
- Spring Boot 2 使用Servlet、Listener和Filter配置
- [转] Spring Boot 自动配置之@Enable* 与@Import注解
- 曹工说Spring Boot源码(30)-- ConfigurationClassPostProcessor 实在太硬核了,为了了解它,我可能debug了快一天
- 曹工说Spring Boot源码(20)-- 码网恢恢,疏而不漏,如何记录Spring RedisTemplate每次操作日志
- 曹工说Spring Boot源码(27)-- Spring的component-scan,光是include-filter属性的各种配置方式,就够玩半天了
- eclipse中配置maven和创建第一个 Spring Boot Application
- Spring Boot 使用 SpringDoc 库的 Swagger3.0