
Insightface人脸特征识别模型环境搭建和试玩儿
2023-09-11 14:15:46 时间
主机环境

代码下载
git clone https://github.com/deepinsight/insightface.git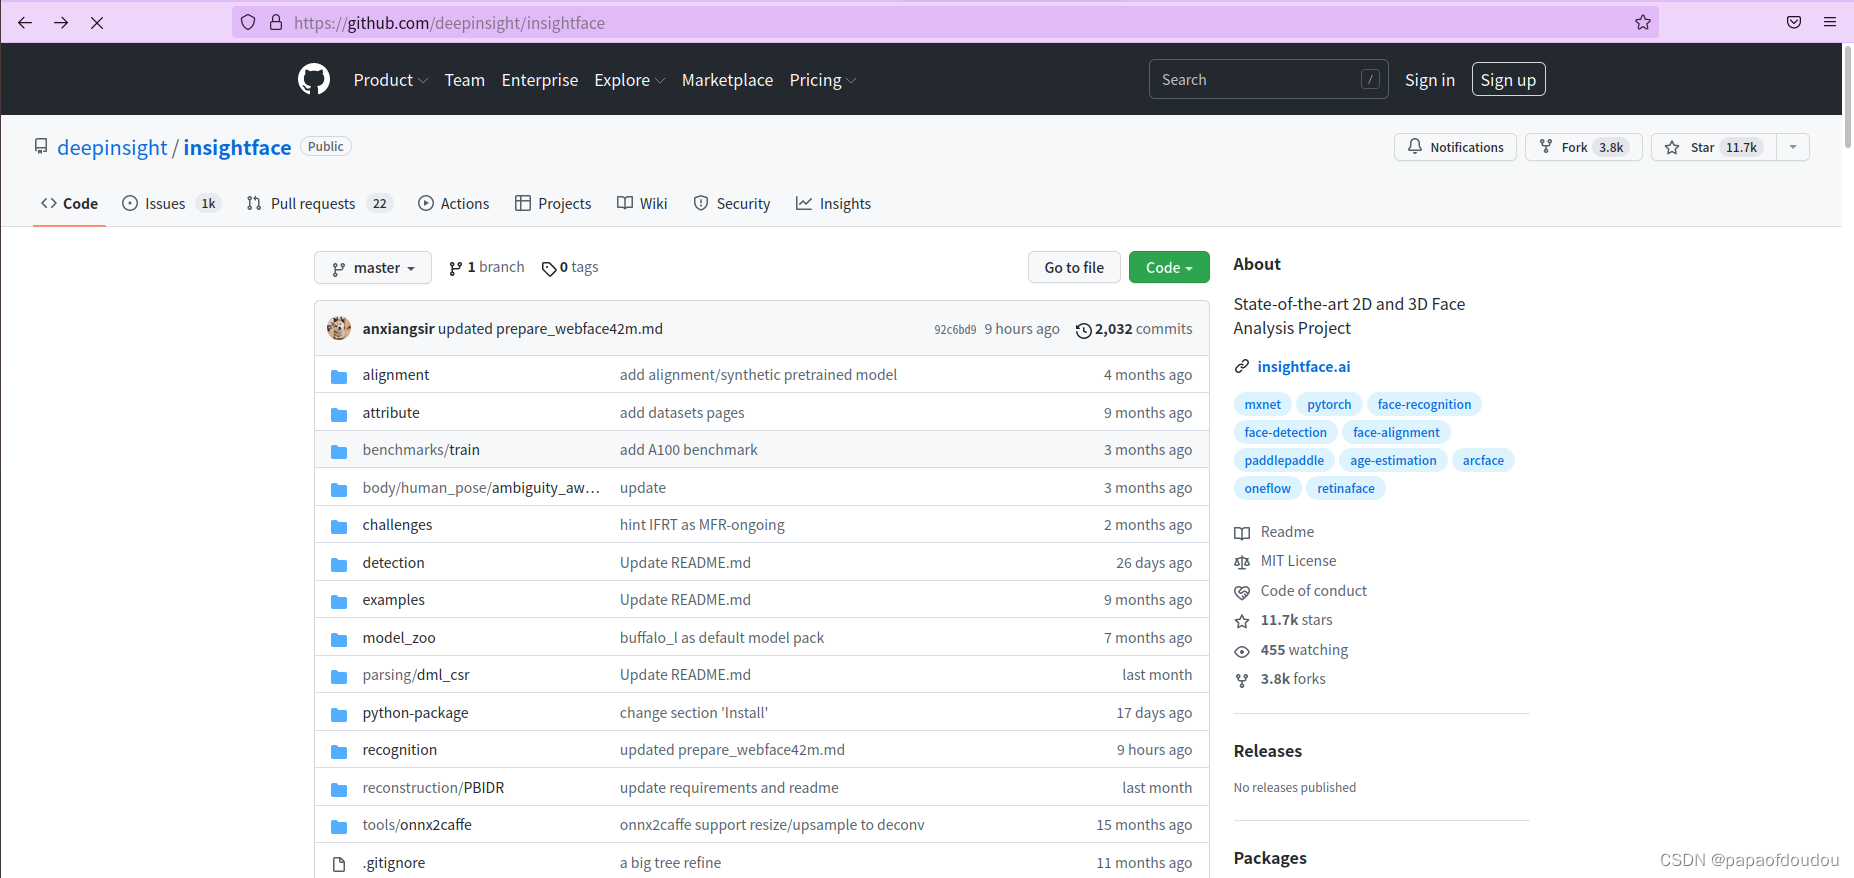
insightface/python-package at master · deepinsight/insightface · GitHub
环境准备
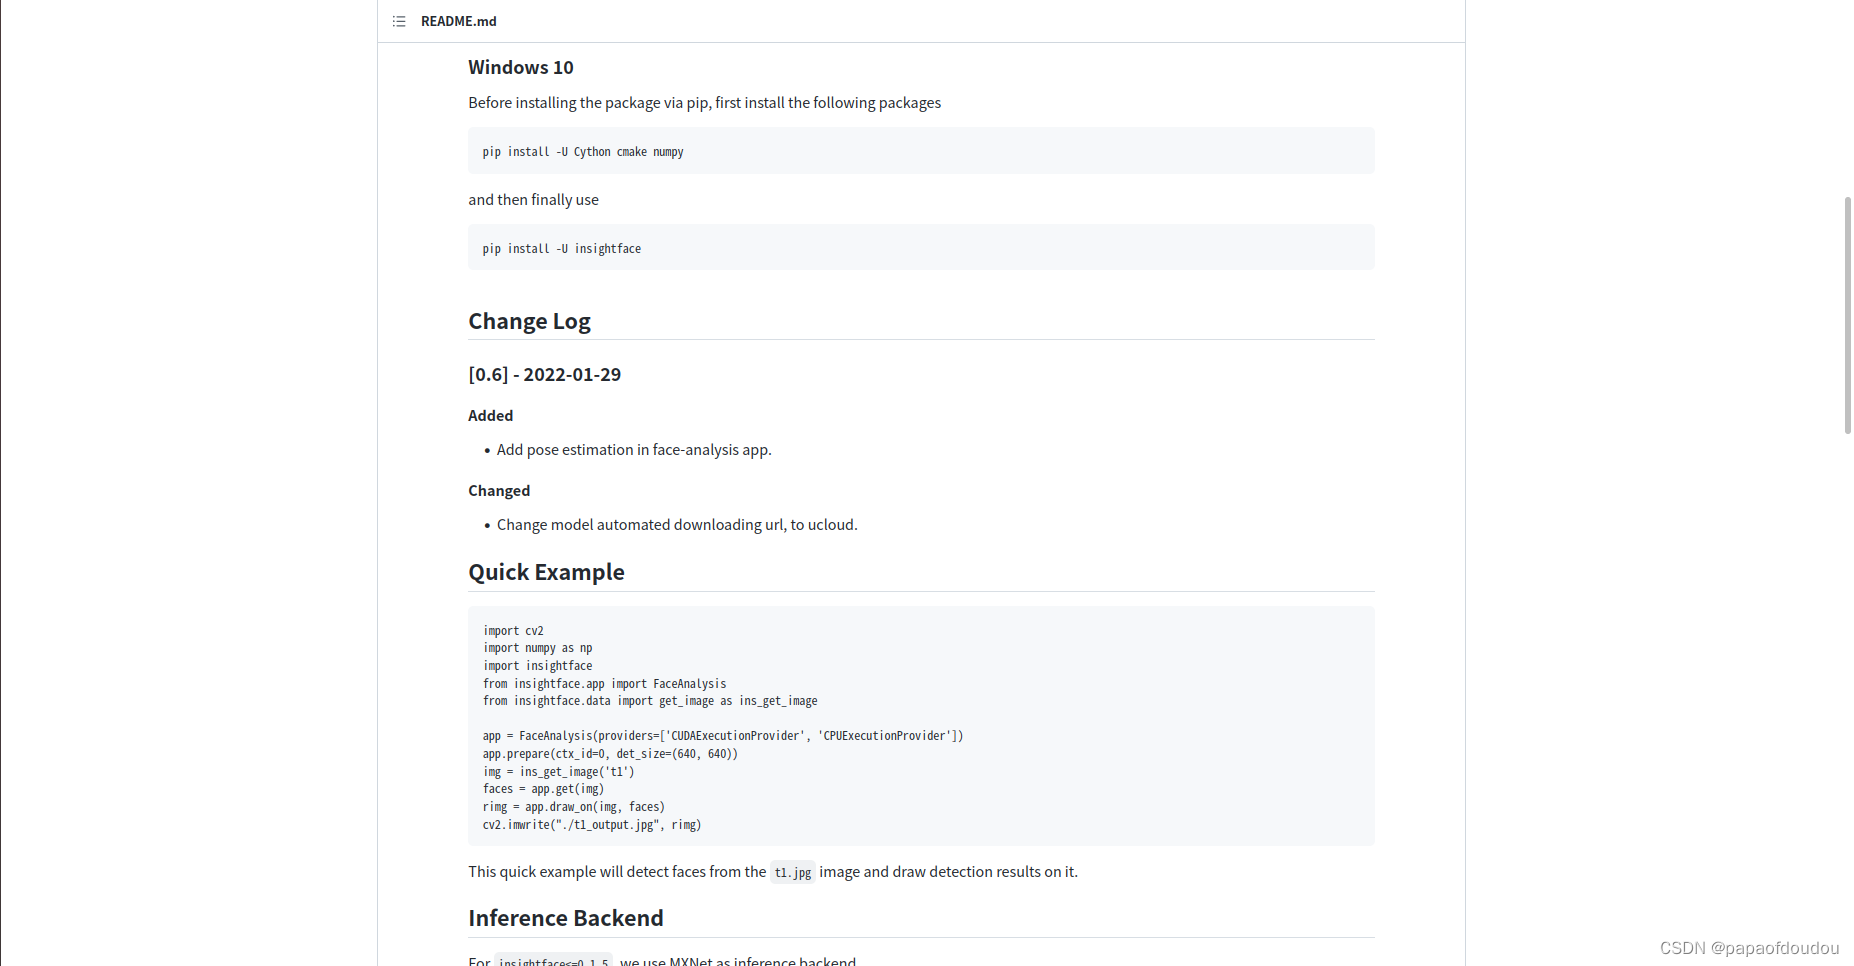
pip install -U Cython cmake numpy -i https://pypi.tuna.tsinghua.edu.cn/simple
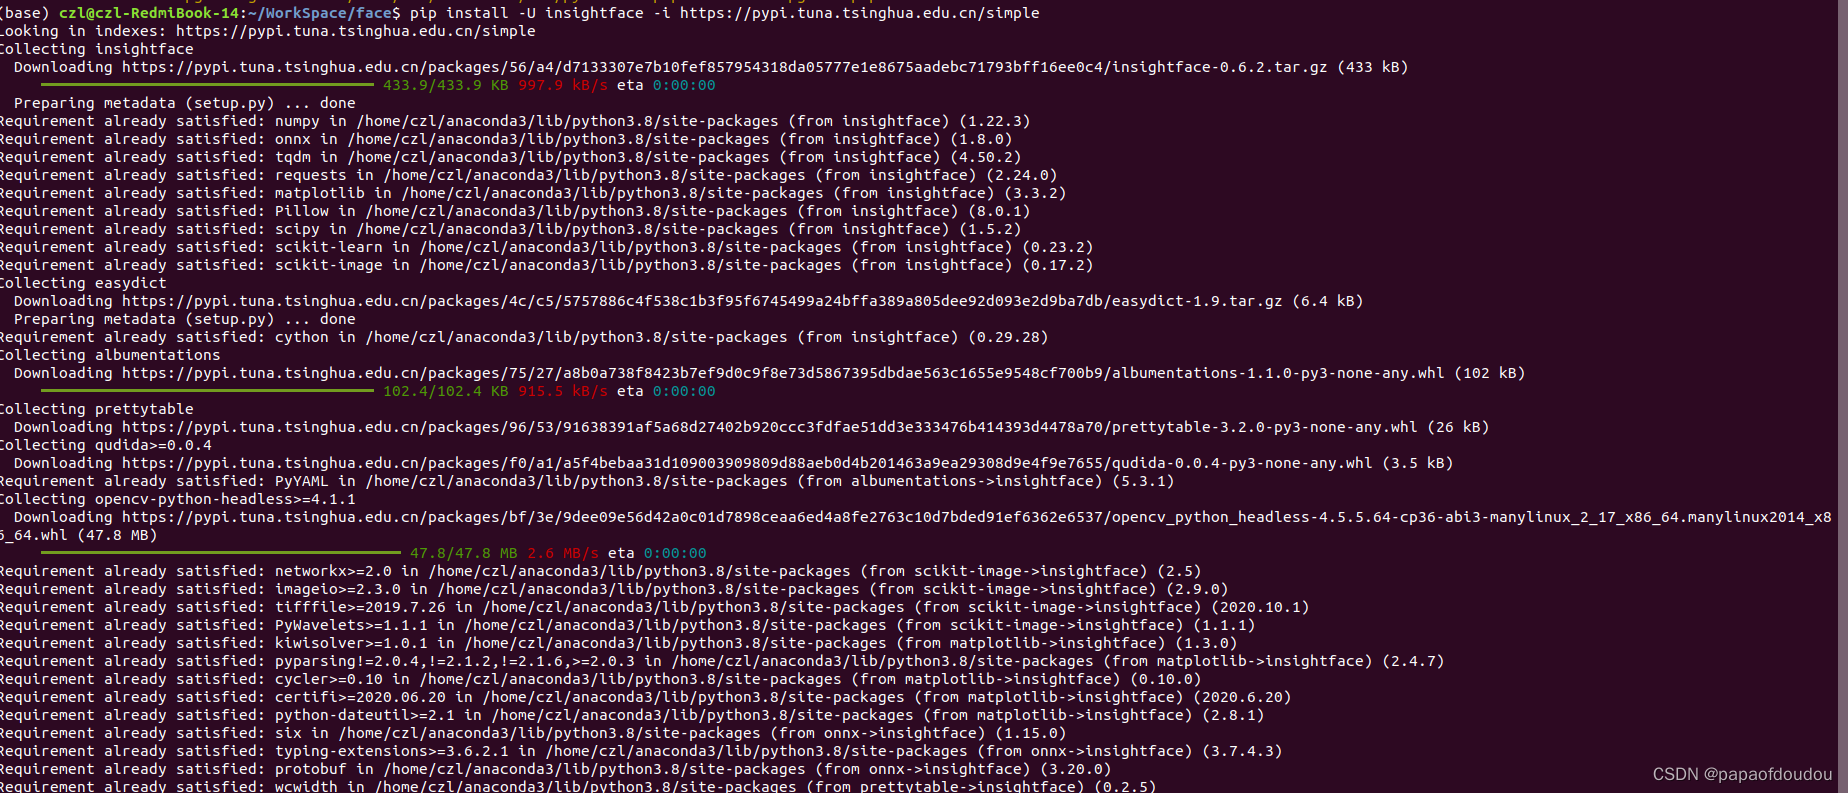
pip install -U insightface -i https://pypi.tuna.tsinghua.edu.cn/simple
pip install -r requirements.txt -i https://pypi.tuna.tsinghua.edu.cn/simple

测试推理代码
按照GITHUB上提供的测试推理代码:

import cv2
import numpy as np
import insightface
from insightface.app import FaceAnalysis
from insightface.data import get_image as ins_get_image

app = FaceAnalysis(providers=['CUDAExecutionProvider', 'CPUExecutionProvider'])
app.prepare(ctx_id=0, det_size=(640, 640))
img = ins_get_image('t1')
faces = app.get(img)
rimg = app.draw_on(img, faces)
cv2.imwrite("./t1_output.jpg", rimg)
执行python py.py
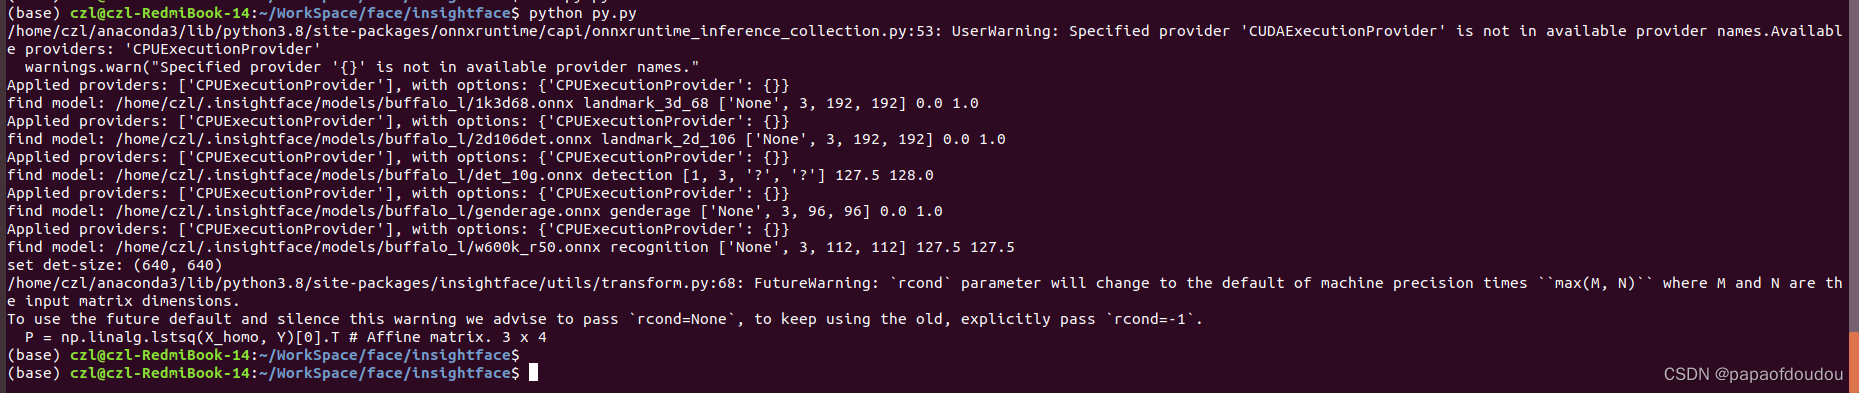
得到输出推理结果t1_output.jpg,图中位于框左上角的字符分别表示性别和年龄,F(emal).age, M(ale).age.这说明,性别和年龄也作为独立的维度参与到模型训练的过程。
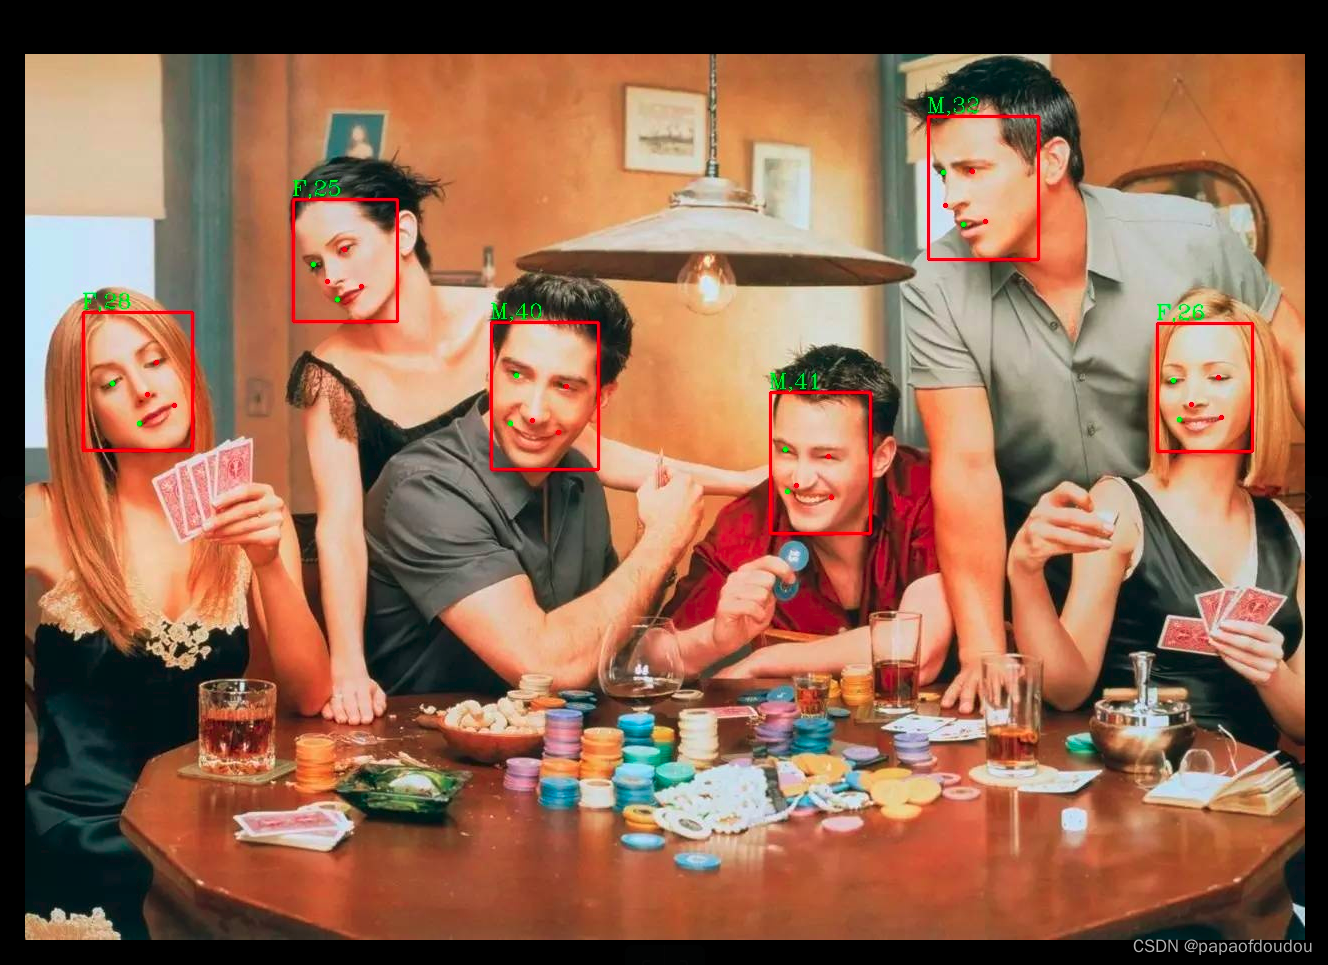
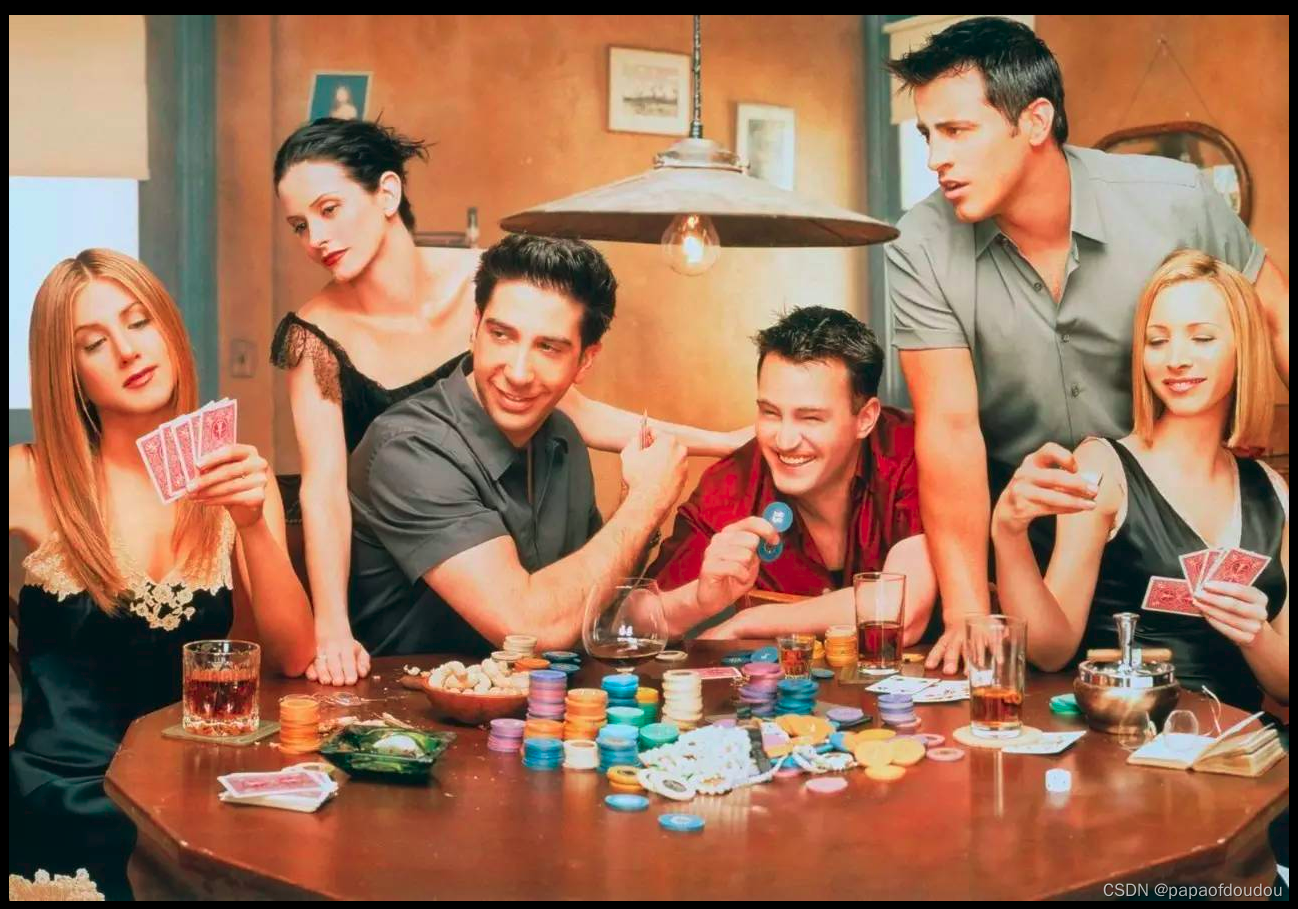
原图:
GitHub - baidu/lac: 百度NLP:分词,词性标注,命名实体识别,词重要性
人脸检测数据集FDDB
http://vis-www.cs.umass.edu/fddb/index.html#download
基于计算机视觉算法的人脸检测
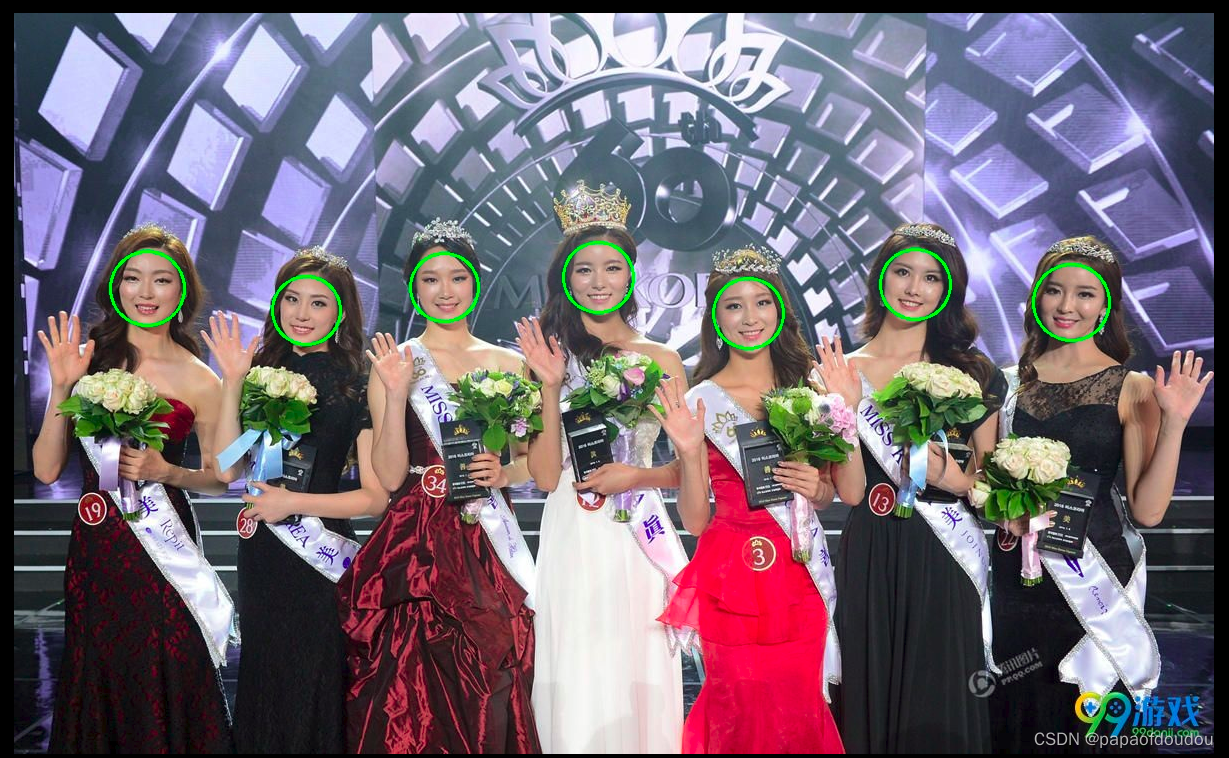
上面介绍的是基于深度学习训练路线的人脸检测器,实际上OPENCV已经包含了很多先进算法,这其中就包括基于HOG特征的人脸检测器 ,我们可以试着运行以下。
# -*- coding: utf-8 -*-
import cv2
#读取待检测的图像
image = cv2.imread('/home/czl/Workspace/hog/beauty.jpeg')
# 获取xml文件,加载人脸检测器
faceCascade = cv2.CascadeClassifier('/usr/share/opencv/haarcascades/haarcascade_frontalface_default.xml')
# 色彩转换,转换为灰度图像
gray = cv2.cvtColor(image,cv2.COLOR_BGR2GRAY)
# 调用函数detectMultiScale
faces = faceCascade.detectMultiScale(
    gray,
    scaleFactor = 1.15,
    minNeighbors = 5,
    minSize = (5,5)
)
print(faces)
#打印输出测试结果
print("发现{0}个人脸!".format(len(faces)))
#逐个标记人脸
for(x,y,w,h) in faces:
    #矩形标注
    # cv2.rectangle(image,(x,y),(x+w,y+w),(0,255,0),2)
    cv2.circle(image,(int((x+x+w)/2),int((y+y+h)/2)),int(w/2),(0,255,0),2)
#显示结果
cv2.imshow("dect",image)
#保存检测结果
cv2.imwrite("re.jpg",image)
cv2.waitKey(0)
cv2.destroyAllWindows()
run result:
计算图像HOG特征
import cv2
import matplotlib.pyplot as plt
from skimage.feature import hog
from skimage import data, exposure
image = cv2.imread('/home/caozilong/Workspace/hog/beauty.jpeg')

fd, hog_image = hog(image, orientations=8, pixels_per_cell=(16, 16),
                    cells_per_block=(1, 1), visualize=True, multichannel=True)
fig, (ax1, ax2) = plt.subplots(1, 2, figsize=(8, 4), sharex=True, sharey=True)
ax1.axis('off')
ax1.imshow(image, cmap=plt.cm.gray)
ax1.set_title('Input image')
# Rescale histogram for better display
hog_image_rescaled = exposure.rescale_intensity(hog_image, in_range=(0, 10))
ax2.axis('off')
ax2.imshow(hog_image_rescaled, cmap=plt.cm.gray)
ax2.set_title('Histogram of Oriented Gradients')
plt.show()
运行结果:
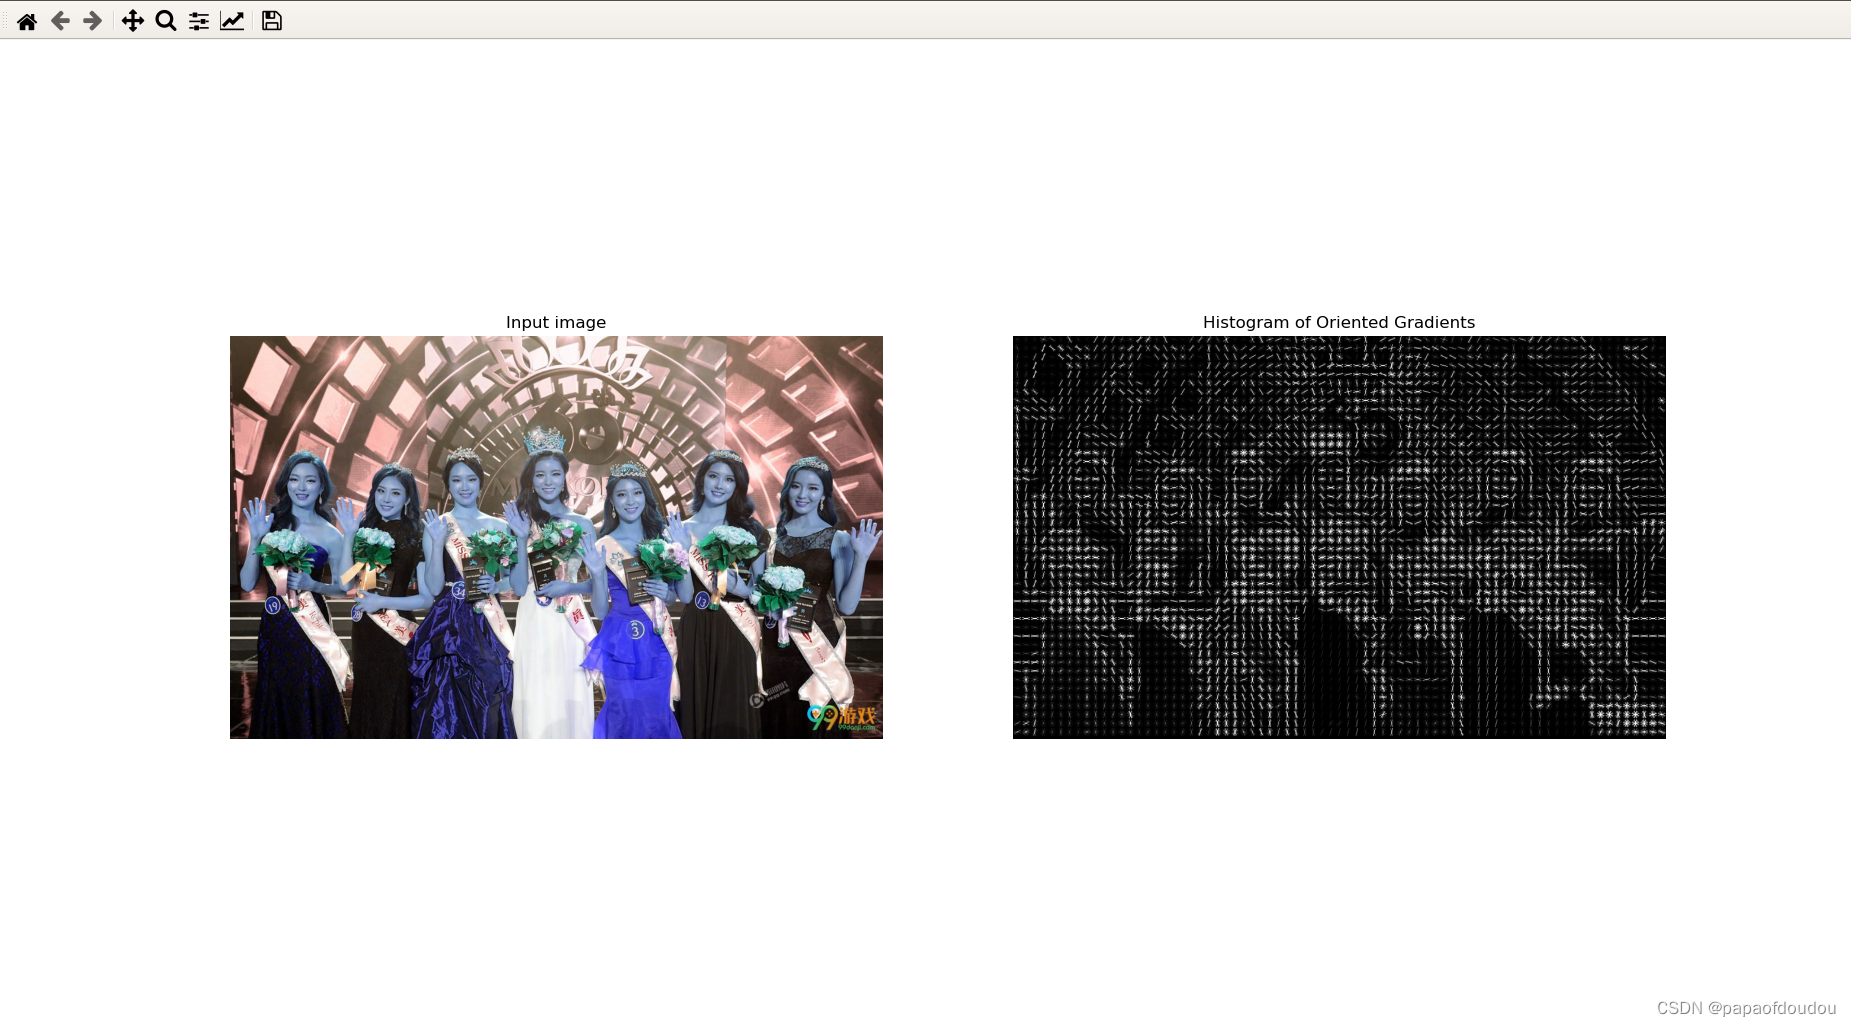
简单探讨一下原理,从上面的图形可以看出,几位美女的脸部轮廓已经抓取到了,接下来就可以用这些轮廓数据构成一个tensor,和标准的人脸TENSOR 做一些相似度比较,从而得到是否是脸的概率。
参考资料
https://github.com/deepcam-cn/yolov5-face
结束
相关文章
- 上市公司虚假会计报表识别技术(珍藏版)
- 解决webstorm不能识别vue的@路径引用
- 人脸识别9-FastDeploy人脸检测、识别、部署
- 自然语言处理(NLP)之命名实体识别
- 横向移动攻击点与识别
- mybatis参数为0识别为空字符串的查询处理
- 百度语音识别vs科大讯飞语音识别
- 人脸数据库大全(包括人脸识别、关键点检测、表情识别,人脸姿态等等)
- 一文搞懂文本识别、银行卡识别、通用卡证识别、身份证识别
- Python实时语音识别控制
- VisionKit教程之 01 识别图像中的文字
- PHP生成xml 无法识别或是无法读取或是浏览器不识别等问题
- Facebook让社交更安全 新工具可识别“马甲”号
- 基于VC面部识别软件(识别出人脸特征)
- 【iOS发展-89】UIGestureRecognizer完整的旋转手势识别、缩放和拖拽等效果
- SpringBlade 识别不了依赖 或者 有些包无法自动导入
- 网络安全中的生物识别:毫秒级大数据计算的未来