
linux(centos8):编译安装php8.0正式版并启用jit及php8安装时的报错处理(centos8.2 / php8.0.0 )
2023-09-14 09:01:18 时间
今天是php8.0.0正式版发布的第一天,
php8也是第一次引入jit特性,
php8正式版在生产环境应该如何安装?
jit特性应该如何开启?本文供大家参考
一,下载并解压php8.0.0正式版的安装包:
1,下载
[root@kubemaster source]# wget https://www.php.net/distributions/php-8.0.0.tar.gz
2,解压
[root@kubemaster source]# tar -zxvf php-8.0.0.tar.gz
说明:刘宏缔的架构森林是一个专注架构的博客,地址:https://www.cnblogs.com/architectforest
对应的源码可以访问这里获取: https://github.com/liuhongdi/
说明:作者:刘宏缔 邮箱: 371125307@qq.com
二,配置、编译、安装 php8:
1,查看配置的帮助:
[root@kubemaster php-8.0.0]# ./configure --help
php配置时参数时有变化,
不确定时可以查看这里给出的提示
2,配置
[root@kubemaster php-8.0.0]# ./configure --prefix=/usr/local/soft/php8 --with-config-file-path=/usr/local/soft/php8/etc
--with-curl --with-freetype --enable-gd --with-jpeg  --with-gettext --with-kerberos --with-libdir=lib64 --with-libxml
--with-mysqli --with-openssl --with-pdo-mysql  --with-pdo-sqlite --with-pear --enable-sockets --with-mhash --with-ldap-sasl
--with-xsl --with-zlib --with-zip -with-bz2 --with-iconv  --enable-fpm --enable-pdo  --enable-bcmath  --enable-mbregex
--enable-mbstring --enable-opcache --enable-pcntl  --enable-shmop --enable-soap --enable-sockets --enable-sysvsem
--enable-xml --enable-sysvsem --enable-cli --enable-opcache --enable-intl --enable-calendar --enable-static --enable-mysqlnd
配置成功后的提示:
+--------------------------------------------------------------------+
| License:                                                           |
| This software is subject to the PHP License, available in this     |
| distribution in the file LICENSE. By continuing this installation  |
| process, you are bound by the terms of this license agreement.     |
| If you do not agree with the terms of this license, you must abort |
| the installation process at this point.                            |
+--------------------------------------------------------------------+

Thank you for using PHP.
3,编译:
[root@kubemaster php-8.0.0]# make
make完成后的提示:
Build complete.
Don't forget to run 'make test'.
4,安装:
[root@kubemaster php-8.0.0]# make install
三,配置过程中的报错和解决办法
1,
configure: error: Package requirements (libxml-2.0 >= 2.9.0) were not met:

Package 'libxml-2.0', required by 'virtual:world', not found
解决:
[root@kubemaster php-8.0.0]# dnf install libxml2-devel
2,
configure: error: Package requirements (sqlite3 > 3.7.4) were not met:

Package 'sqlite3', required by 'virtual:world', not found
解决:
[root@kubemaster php-8.0.0]# dnf install sqlite-devel
3,
checking for BZip2 in default path... not found
configure: error: Please reinstall the BZip2 distribution
解决:
[root@kubemaster php-8.0.0]# dnf -y install bzip2-devel
4,
configure: error: Package requirements (libcurl >= 7.29.0) were not met:

Package 'libcurl', required by 'virtual:world', not found
解决:
[root@kubemaster php-8.0.0]# dnf -y install libcurl-devel
5,
configure: error: Package requirements (libpng) were not met:

Package 'libpng', required by 'virtual:world', not found
解决:
[root@kubemaster php-8.0.0]# dnf -y install libpng-devel
6,
configure: error: Package requirements (libjpeg) were not met:

Package 'libjpeg', required by 'virtual:world', not found
解决:
[root@kubemaster php-8.0.0]# dnf -y install libjpeg-devel
7,
configure: error: Package requirements (freetype2) were not met:

Package 'freetype2', required by 'virtual:world', not found
解决:
[root@kubemaster php-8.0.0]# dnf -y install freetype-devel
8,
configure: error: Package requirements (icu-uc >= 50.1 icu-io icu-i18n) were not met:

Package 'icu-uc', required by 'virtual:world', not found
Package 'icu-io', required by 'virtual:world', not found
Package 'icu-i18n', required by 'virtual:world', not found
解决:
[root@kubemaster php-8.0.0]# dnf -y install libicu-devel
9,
configure: error: Package requirements (oniguruma) were not met:

Package 'oniguruma', required by 'virtual:world', not found
解决:
[root@kubemaster php-8.0.0]# dnf --enablerepo=PowerTools install oniguruma-devel
10,
configure: error: Package requirements (libxslt >= 1.1.0) were not met:

Package 'libxslt', required by 'virtual:world', not found
解决:
[root@kubemaster php-8.0.0]# dnf -y install libxslt-devel
11,
configure: error: Package requirements (libzip >= 0.11 libzip != 1.3.1 libzip != 1.7.0) were not met:

Package 'libzip', required by 'virtual:world', not found
解决:
[root@kubemaster php-8.0.0]# dnf -y install libzip-devel
四,测试php8安装是否成功:
[root@kubemaster php-8.0.0]# /usr/local/soft/php8/bin/php --version
PHP 8.0.0 (cli) (built: Nov 27 2020 14:34:26) ( NTS )
Copyright (c) The PHP Group
Zend Engine v4.0.0-dev, Copyright (c) Zend Technologies
五,生成各个配置文件:
1,生成php.ini配置文件:
[root@kubemaster php-8.0.0]# cp php.ini-production /usr/local/soft/php8/etc/php.ini
2,生成www.conf配置文件
[root@kubemaster php-8.0.0]# cd /usr/local/soft/php8/etc/php-fpm.d/
[root@kubemaster php-fpm.d]# cp www.conf.default www.conf
3,生成php-fpm的配置文件
[root@kubemaster php-fpm.d]# cd /usr/local/soft/php8/etc/
[root@kubemaster etc]# cp php-fpm.conf.default php-fpm.conf
六,启动php-fpm
1,生成php-fpm启动文件
[root@kubemaster ~]# mkdir /usr/local/soft/php8/daemon
[root@kubemaster ~]# cp /usr/local/source/php-8.0.0/sapi/fpm/init.d.php-fpm /usr/local/soft/php8/daemon/php-fpm
[root@kubemaster ~]# chmod 740 /usr/local/soft/php8/daemon/php-fpm
2,启动php-fpm
[root@kubemaster ~]# /usr/local/soft/php8/daemon/php-fpm start
Starting php-fpm  done
3, 查看进程中是否已启动
[root@kubemaster ~]# ps auxfww | grep php | grep -v grep
root      218090  0.0  0.2 190036  9092 ?        Ss   14:49   0:00  \_ php-fpm: master process (/usr/local/soft/php8/etc/php-fpm.conf)
nobody    218091  0.0  0.2 214168  9664 ?        S    14:49   0:00      \_ php-fpm: pool www
nobody    218092  0.0  0.2 214168  9664 ?        S    14:49   0:00      \_ php-fpm: pool www
4,查看php-fpm默认守护的端口:
[root@kubemaster html]# ss -lntp | grep php
LISTEN  0   128     127.0.0.1:9000  0.0.0.0:*   users:(("php-fpm",pid=218092,fd=5),("php-fpm",pid=218091,fd=5),("php-fpm",pid=218090,fd=10))
可以看到是9000
七,配置nginx访问php-fpm
1,准备测试用的目录和代码:
[root@kubemaster web]# mkdir /data/web/phpweb
[root@kubemaster web]# mkdir /data/web/phpweb/html
[root@kubemaster web]# cd /data/web/phpweb/html
[root@kubemaster html]# vi info.php
[root@kubemaster html]# more info.php
<?php
phpinfo();
?>
2,配置nginx
在nginx的配置文件中增加一个虚拟主机,使可以访问php
demo如下:
      server {
        listen       8003;
        root   /data/web/phpweb/html;

        location ~ \.php {
                fastcgi_pass   127.0.0.1:9000;
                fastcgi_index  index.php;
                fastcgi_param  SCRIPT_FILENAME  $document_root$fastcgi_script_name;
                include        fastcgi_params;
        }
    }
然后重启nginx
3,从浏览器访问php
访问:
http://127.0.0.1:8003/info.php
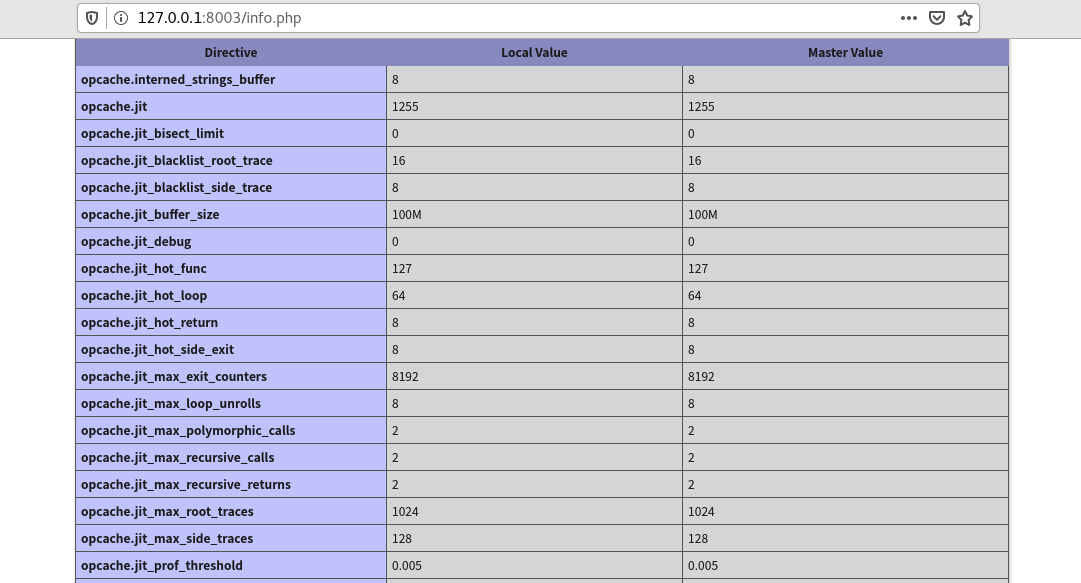
浏览器返回

可见php8已安装成功
九,启用php8的jit特性:
1,编辑php.ini
;启用opcache
opcache.enable=1
opcache.enable_cli=1
;启用jit,并指定jit的buffer
opcache.jit_buffer_size=128M
opcache.jit=1255
;zend对opcache模块的引用,要打开
zend_extension=opcache
说明:关于如何设置jit的配置值,可以参考鸟哥的这个文档:
https://www.laruence.com/2020/06/27/5963.html
2,重启php-fpm的daemon:
[root@kubemaster html]# /usr/local/soft/php8/daemon/php-fpm stop
Gracefully shutting down php-fpm . done
[root@kubemaster html]# /usr/local/soft/php8/daemon/php-fpm start
Starting php-fpm  done
3,查看phpinfo的变化:
需要能看到zend opcache一项,
否则opcache未生效
注意看JIT中的一项,需要值为On

opcache.jit的值也是我们所设置的值
4,用php代码测试jit的状态?
  [root@kubemaster html]# more jit.php
<?php
var_dump(opcache_get_status()['jit']);
?>
访问:
http://127.0.0.1:8003/jit.php
返回:
array(7) {
  ["enabled"]=>
  bool(true)
  ["on"]=>
  bool(true)
  ["kind"]=>
  int(5)
  ["opt_level"]=>
  int(5)
  ["opt_flags"]=>
  int(6)
  ["buffer_size"]=>
  int(104857584)
  ["buffer_free"]=>
  int(104855312)
}
注意:如果enabled和on两项的值都为true,
则表示jit已开启
十,查看linux的版本:
[root@kubemaster html]# cat /etc/redhat-release
CentOS Linux release 8.2.2004 (Core)
相关文章
- Docker Linux下离线/无网络环境安装Docker最新版本
- Linux软件管理器(如何使用软件管理器来管理软件)2---安装及管理Linux应用程序
- linux - mysql:查看 mysql 是否安装成功
- Linux根据端口号查进程
- 最详细的linux安装php过程
- Linux之Redis安装
- Linux FastDFS 分布式文件系统安装
- linux安装jdk、tomcat、maven、mysql
- linux常用命令
- linux(ubuntu21.10):为chrome安装jsonvue(chrome 96)
- linux(centos8):编译安装php8.0正式版并启用jit及php8安装时的报错处理(centos8.2 / php8.0.0 )
- Linux CentOS6.5下编译安装MySQL 5.6.16【给力详细教程】
- 剖析 Linux hypervisor--KVM 和 Lguest 简介
- 如何判断Linux是32位还是64位
- 通过登入IP记录Linux所有用户登录所操作的日志
- Linux安装jadx-gui:反编译jar包或java class文件
- Linux deepin 15.11设置:输入时禁用触摸板
- Linux 用户管理命令id、su
- Linux C 知识 char型数字转换为int型 int型 转换为Char
- wsl(Windows Subsystem for Linux)安装简易指南
- 【Linux 内核 内存管理】分区伙伴分配器 ① ( 分区伙伴分配器源码数据结构 | free_area 空闲区域数组 | MAX_ORDER 宏定义 | 空闲区域的页最大阶数 )
- 《Linux设备驱动开发具体解释(第3版)》进展同步更新
- Linux编译安装qemu
- linux安装php出现的各种错误解决方案
- Linux安装Python2.7.9
- detectron2(目标检测框架)无死角玩转-01:框架安装,以及demo测试(winds + linux)
- Linux|centos7下部署安装alertmanager并实现邮箱和微信告警(基础篇---二)
- Linux下安装Python3 和 pip3 |搭建Python环境并Python实现HTML文档转Word(docx)