
centos8平台编译安装nginx1.18.0
2023-09-14 08:59:33 时间
一,nginx的官网:
http://nginx.org/
说明:刘宏缔的架构森林是一个专注架构的博客,地址:https://www.cnblogs.com/architectforest
对应的源码可以访问这里获取: https://github.com/liuhongdi/
说明:作者:刘宏缔 邮箱: 371125307@qq.com
二,下载与解压nginx
1,下载
[root@centos8 source]# wget http://nginx.org/download/nginx-1.18.0.tar.gz
2, 解压缩
[root@centos8 source]# tar -zxvf nginx-1.18.0.tar.gz
三,编译与安装nginx
1,configure
#--prefix 指定安装路径
#--with-http_stub_status_module 允许查看nginx状态的模块
# --with-http_ssl_module 支持https的模块
[root@centos8 nginx-1.18.0]# ./configure --prefix=/usr/local/soft/nginx-1.18.0 --with-http_stub_status_module --with-http_ssl_module
2,编译并安装
[root@centos8 nginx-1.18.0]# make && make install
四, configure报错的解决
说明:如果相应的软件包已安装不会报错,写在这里供参考
1,问题1,configure提示:
./configure: error: the HTTP rewrite module requires the PCRE library.
You can either disable the module by using --without-http_rewrite_module
option, or install the PCRE library into the system, or build the PCRE library
statically from the source with nginx by using --with-pcre=<path> option.
解决:
[root@os3 nginx-1.18.0]# yum install pcre-devel
2,问题2,configure提示:
./configure: error: SSL modules require the OpenSSL library.
You can either do not enable the modules, or install the OpenSSL library
into the system, or build the OpenSSL library statically from the source
with nginx by using --with-openssl=<path> option.
解决:
[root@os3 nginx-1.18.0]# yum install openssl openssl-devel
五,测试编译安装的效果:查看nginx的版本
[root@centos8 nginx-1.18.0]# /usr/local/soft/nginx-1.18.0/sbin/nginx -v
nginx version: nginx/1.18.0
六,如何查看nginx的配置编译参数?
[root@centos8 nginx-1.18.0]# /usr/local/soft/nginx-1.18.0/sbin/nginx -V
nginx version: nginx/1.18.0
built by gcc 8.3.1 20190507 (Red Hat 8.3.1-4) (GCC)
built with OpenSSL 1.1.1c FIPS  28 May 2019
TLS SNI support enabled
configure arguments: --prefix=/usr/local/soft/nginx-1.18.0 --with-http_stub_status_module --with-http_ssl_module
注意区分和上一条查看版本命令的区别: -v参数分别是小写和大写
七,使systemctl能管理运行nginx服务
1,运行的准备工作:配置日志目录
[root@centos8 conf]# mkdir /data/nginx
[root@centos8 conf]# mkdir /data/nginx/logs
2,运行的准备工作:创建nginx用户
[root@centos8 conf]# groupadd nginx
#-g:指定所属的group
#-s:指定shell,因为它不需要登录,所以用/sbin/nologin
#-M:不创建home目录,因为它不需要登录
[root@centos8 conf]# useradd -g nginx -s /sbin/nologin -M nginx
3,简单配置nginx
[root@centos8 conf]# vi nginx.conf
内容:
指定运行nginx的用户和组是:nginx
user nginx nginx;
发生错误时要写入到错误日志(目录用上面创建好的)
error_log /data/nginx/logs/error.log;
指定pid的路径
pid logs/nginx.pid;
日志格式(取消注释即可)
   log_format  main  '$remote_addr - $remote_user [$time_local] "$request" '
                      '$status $body_bytes_sent "$http_referer" '
                      '"$http_user_agent" "$http_x_forwarded_for"';
指定访问日志的路径和格式(目录用上面创建好的)
access_log /data/nginx/logs/access.log main;
4,生成service文件:
[root@centos8 ~]# vi /usr/lib/systemd/system/nginx.service
内容:
[Unit]
Description=nginx-The High-performance HTTP Server
After=network.target

[Service]
Type=forking
PIDFile=/usr/local/soft/nginx-1.18.0/logs/nginx.pid
ExecStartPre=/usr/local/soft/nginx-1.18.0/sbin/nginx -t -c /usr/local/soft/nginx-1.18.0/conf/nginx.conf
ExecStart=/usr/local/soft/nginx-1.18.0/sbin/nginx -c /usr/local/soft/nginx-1.18.0/conf/nginx.conf
ExecReload=/usr/local/soft/nginx-1.18.0/sbin/nginx -s reload
ExecStop=/usr/local/soft/nginx-1.18.0/sbin/nginx -s stop
PrivateTmp=true

[Install]
WantedBy=multi-user.target
5,启动服务
重新加载服务文件
[root@centos8 ~]# systemctl daemon-reload
启动:
[root@centos8 ~]# systemctl start nginx
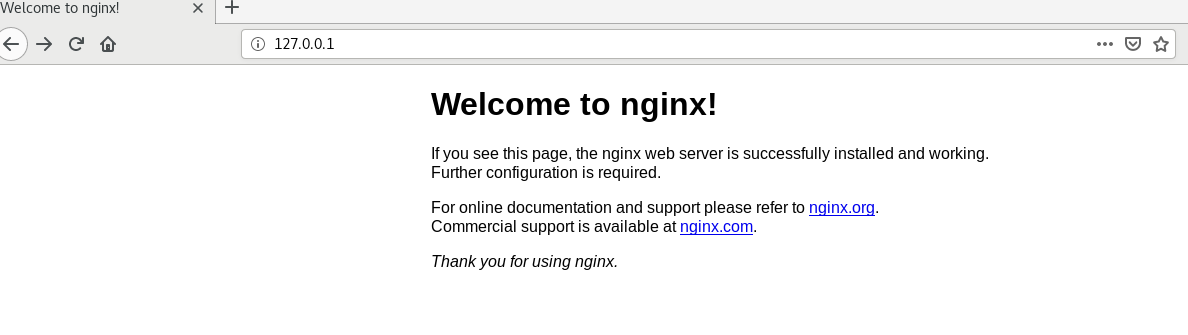
6,查看效果:
从浏览器访问安装机器的ip的80端口即可:
看例子截图:
7,查看日志目录
[root@centos8 conf]# ll /data/nginx/logs/
总用量 8
-rw-r--r-- 1 root root 1477 4月  22 18:49 access.log
-rw-r--r-- 1 root root 1195 4月  22 18:32 error.log
日志已成功写入
八,查看centos版本
[root@centos8 ~]# cat /etc/redhat-release
CentOS Linux release 8.1.1911 (Core)
相关文章
- JDK安装与环境变量配置「建议收藏」
- 如何安装HAXM,如何解决HAXM installation failed问题
- 万字保姆级长文——Linkedin元数据管理平台Datahub离线安装指南
- vue06安装vue-cli+使用vue-cli搭建项目+什么是*.vue文件+开发示例+必问面试知识点
- JDK 16软件下载和安装教程
- 【Linux编程】如何在Linux平台安装zint开源库
- 强烈推荐:数据标注平台doccano----简介、安装、使用、踩坑记录
- 优秀开源日志平台GrayLog5.0一键安装脚本
- AWVS多平台安装(保姆级)教程
- Tool-X:在AndroidUbuntu平台安装Kali的各种小工具
- GB28181流媒体服务安装部署和国标平台接入实现国标GB28181设备的网页H5直播和录像回放
- 手把手教你如何在腾讯云上安装hadoop3.x伪集群的方法
- window平台安装MongoDB数据库图文详解
- windows 64位下redis安装教程
- 定位软件之路——Linux平台安装软件步骤攻略(linux安装软件路径)
- MySQL安装教程,包含所有平台(图解)
- Windows平台安装GDB调试器
- 极速搭建LVS集群:基于Linux平台的快速安装指南(linux安装lvs)
- 如何在Debian 10上使用HTTPS安装Gitea代码托管平台
- Debian 9.3上安装和配置 Observium 监控平台
- 安装安装JDK 64位版本:Linux平台详解(jdk64linux)
- linux系统安装:掌握一切从命令开始(linux系统安装命令)
- MySQL源代码安装:从零开始(mysql源代码安装)
- Linux下安装Numpy的步骤(linux安装numpy)
- 安装简单快捷!用Yast Linux安装迎接新体验(yastLinux)
- 失败解决Linux MKL安装失败的问题(linuxmkl安装)
- Win7虚拟机下安装Linux系统,体验新时代~(win7虚拟机linux)
- 在CMD中安装MySQL:一步步指南(mysql在cmd安装)
- 基于arm平台快速安装MySQL服务器(arm平台安装mysql)
- 轻松安装MySQLWin平台快速实现一键安装(mysql一键安装win)
- 快速掌握Oracle中文安装技巧(oracle中文安装)