
Android开发之GridLayout
2023-09-27 14:28:32 时间
网格布局类似与前一篇博客讲的表格布局,但是更加灵活。支持表格布局做不到的行合并。
基本框架
<?xml version="1.0" encoding="utf-8"?>
<GridLayout xmlns:android="http://schemas.android.com/apk/res/android"
    android:layout_height="match_parent"
    android:layout_width="match_parent">

    <Button
        android:text="Button1"
        android:layout_height="wrap_content"
        android:layout_width="wrap_content"/>
    <Button
        android:text="Button1"
        android:layout_height="wrap_content"
        android:layout_width="wrap_content"/>
    <Button
        android:text="Button1"
        android:layout_height="wrap_content"
        android:layout_width="wrap_content"/>

</GridLayout>
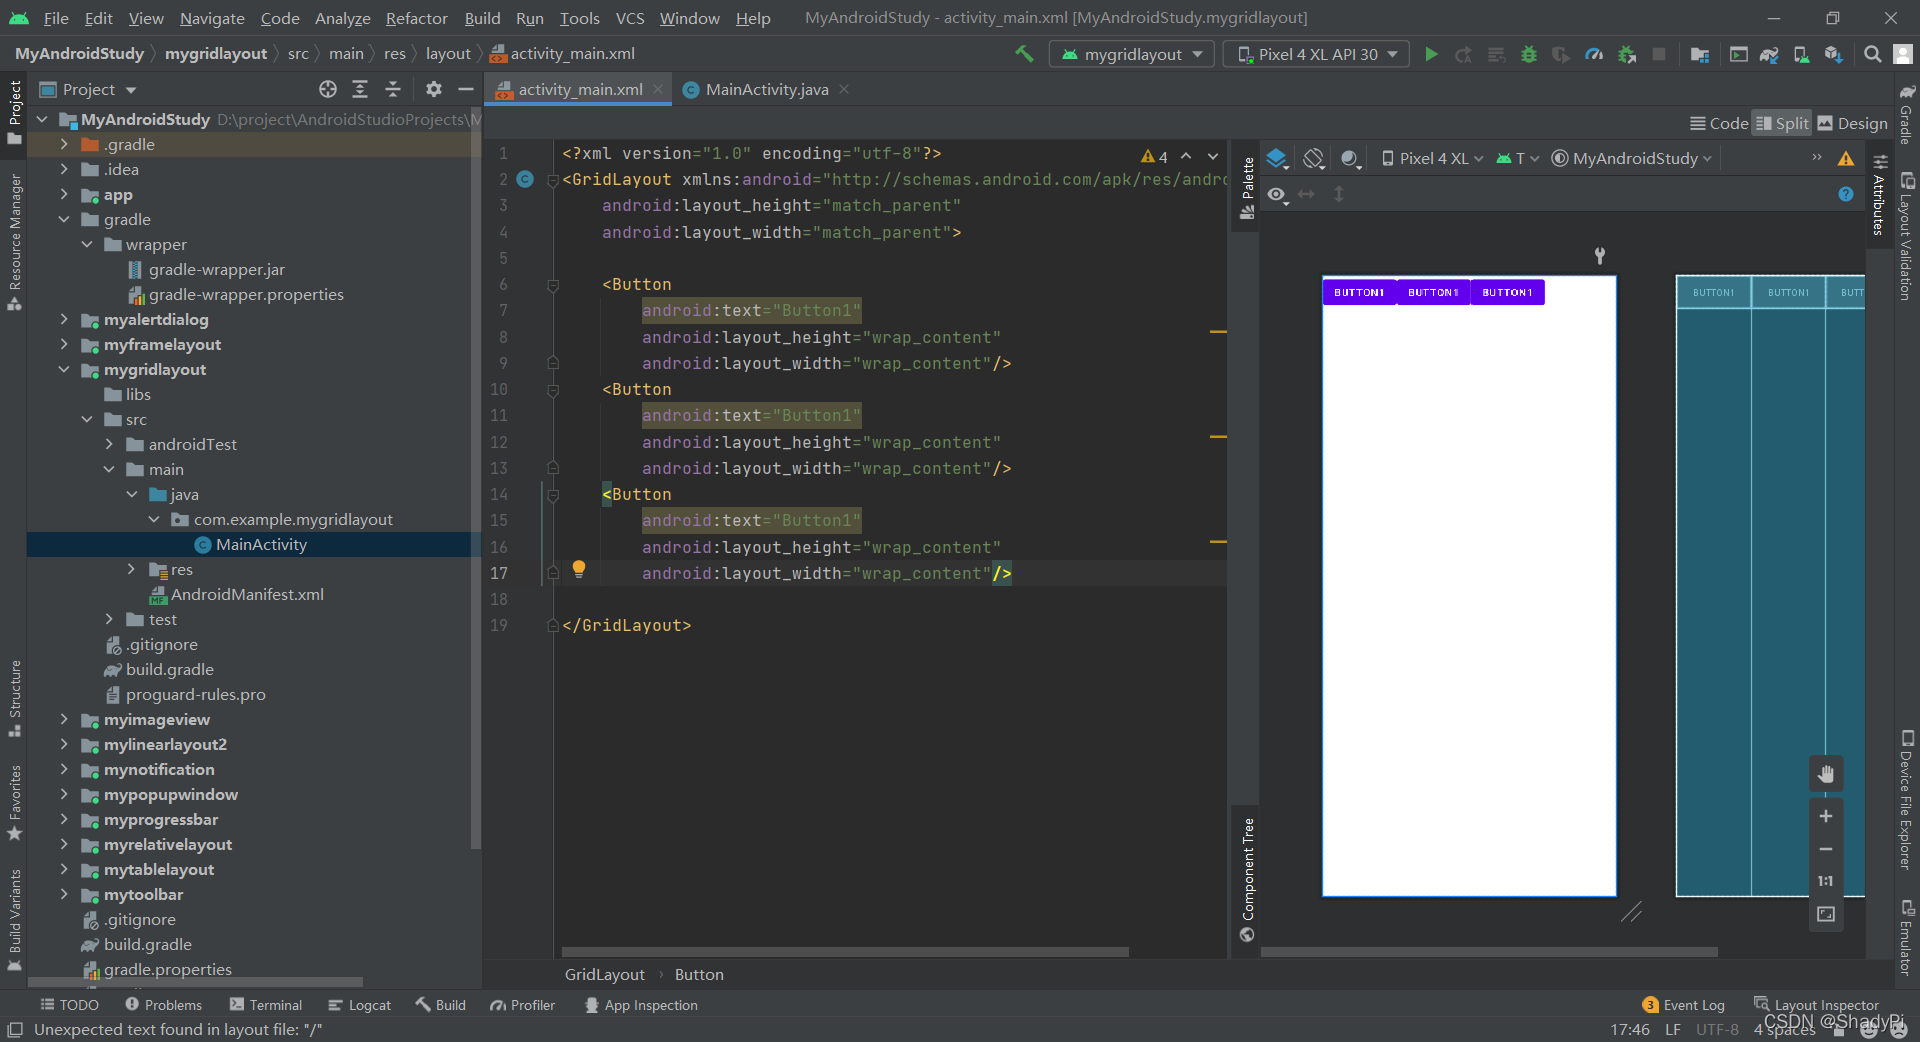
可以看到网格布局跟表格布局不一样的地方,在不额外设置的时候,所有组件是默认水平线性排列的。
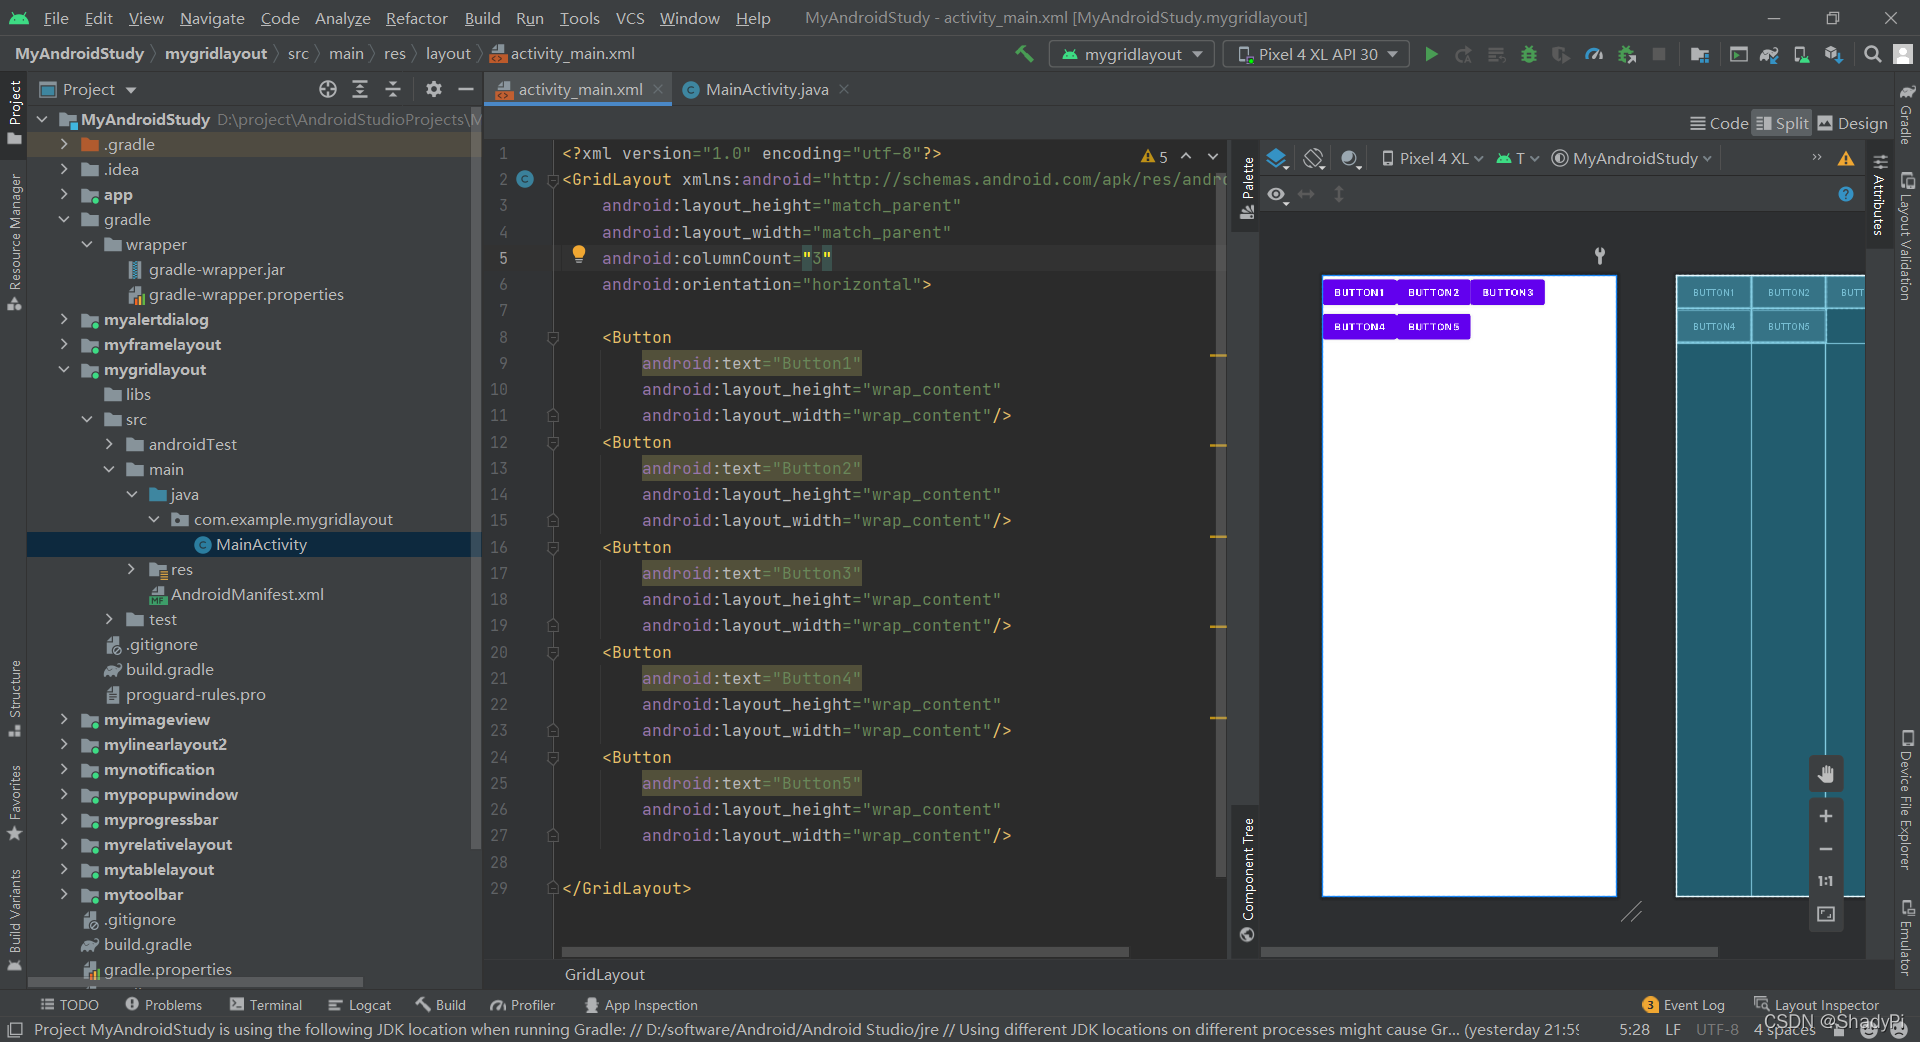
常见属性
android:orientation 设置水平显示还是垂直显示
android:columnCount 设置列的显示个数
android:rowCount 设置行的显示个数
在设置了列的显示个数后,超过该个数的组件就会换行。
<?xml version="1.0" encoding="utf-8"?>
<GridLayout xmlns:android="http://schemas.android.com/apk/res/android"
    android:layout_height="match_parent"
    android:layout_width="match_parent"
    android:columnCount="3"
    android:orientation="horizontal">

    <Button
        android:text="Button1"
        android:layout_height="wrap_content"
        android:layout_width="wrap_content"/>
    <Button
        android:text="Button2"
        android:layout_height="wrap_content"
        android:layout_width="wrap_content"/>
    <Button
        android:text="Button3"
        android:layout_height="wrap_content"
        android:layout_width="wrap_content"/>
    <Button
        android:text="Button4"
        android:layout_height="wrap_content"
        android:layout_width="wrap_content"/>
    <Button
        android:text="Button5"
        android:layout_height="wrap_content"
        android:layout_width="wrap_content"/>

</GridLayout>
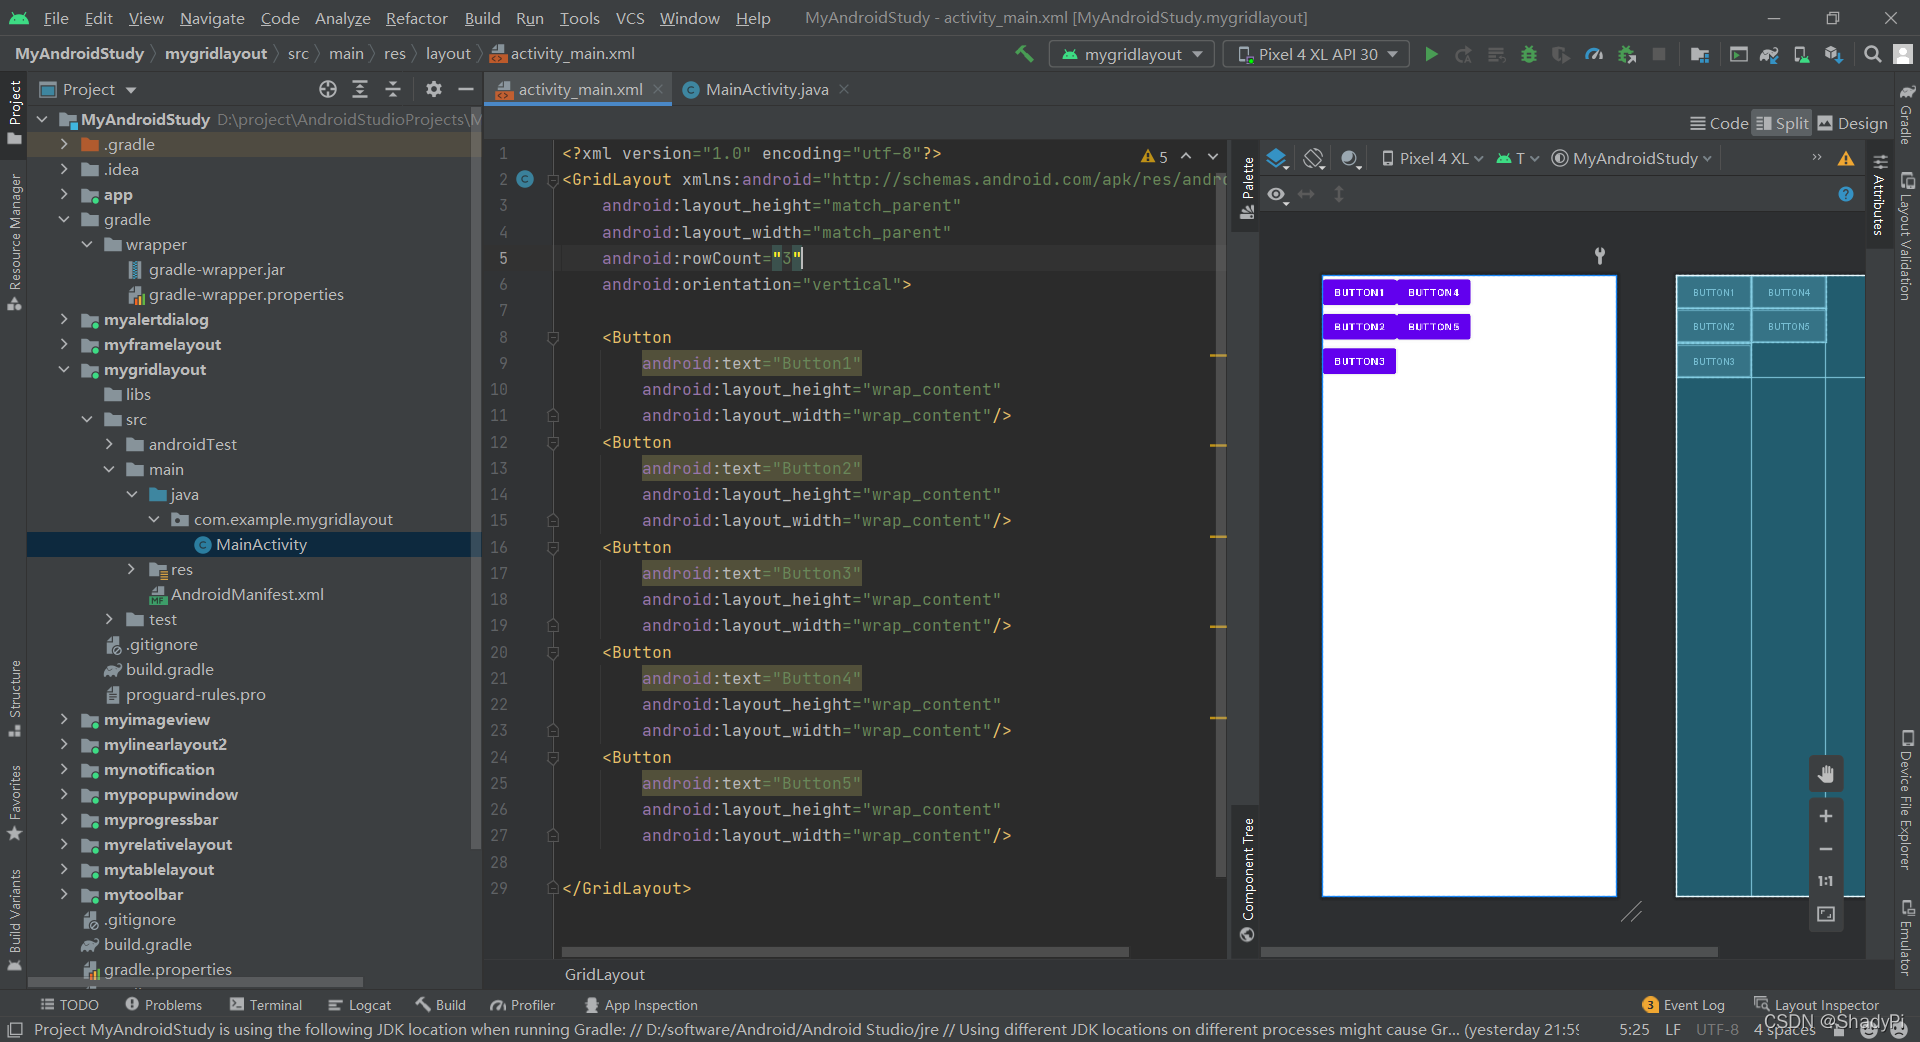
设置行的个数类似:
<?xml version="1.0" encoding="utf-8"?>
<GridLayout xmlns:android="http://schemas.android.com/apk/res/android"
    android:layout_height="match_parent"
    android:layout_width="match_parent"
    android:rowCount="3"
    android:orientation="vertical">

    <Button
        android:text="Button1"
        android:layout_height="wrap_content"
        android:layout_width="wrap_content"/>
    <Button
        android:text="Button2"
        android:layout_height="wrap_content"
        android:layout_width="wrap_content"/>
    <Button
        android:text="Button3"
        android:layout_height="wrap_content"
        android:layout_width="wrap_content"/>
    <Button
        android:text="Button4"
        android:layout_height="wrap_content"
        android:layout_width="wrap_content"/>
    <Button
        android:text="Button5"
        android:layout_height="wrap_content"
        android:layout_width="wrap_content"/>

</GridLayout>
子控件属性
android:layout_column 显示在第几列
android:layout_columnSpan 横跨几列
android:layout_columnWeight 该行剩余空间按权重分配
android:layout_column 显示在第几行
android:layout_columnSpan 纵跨几行
android:layout_columnWeight 该列剩余空间按权重分配
android:layout_gravity 在网格中的显示位置
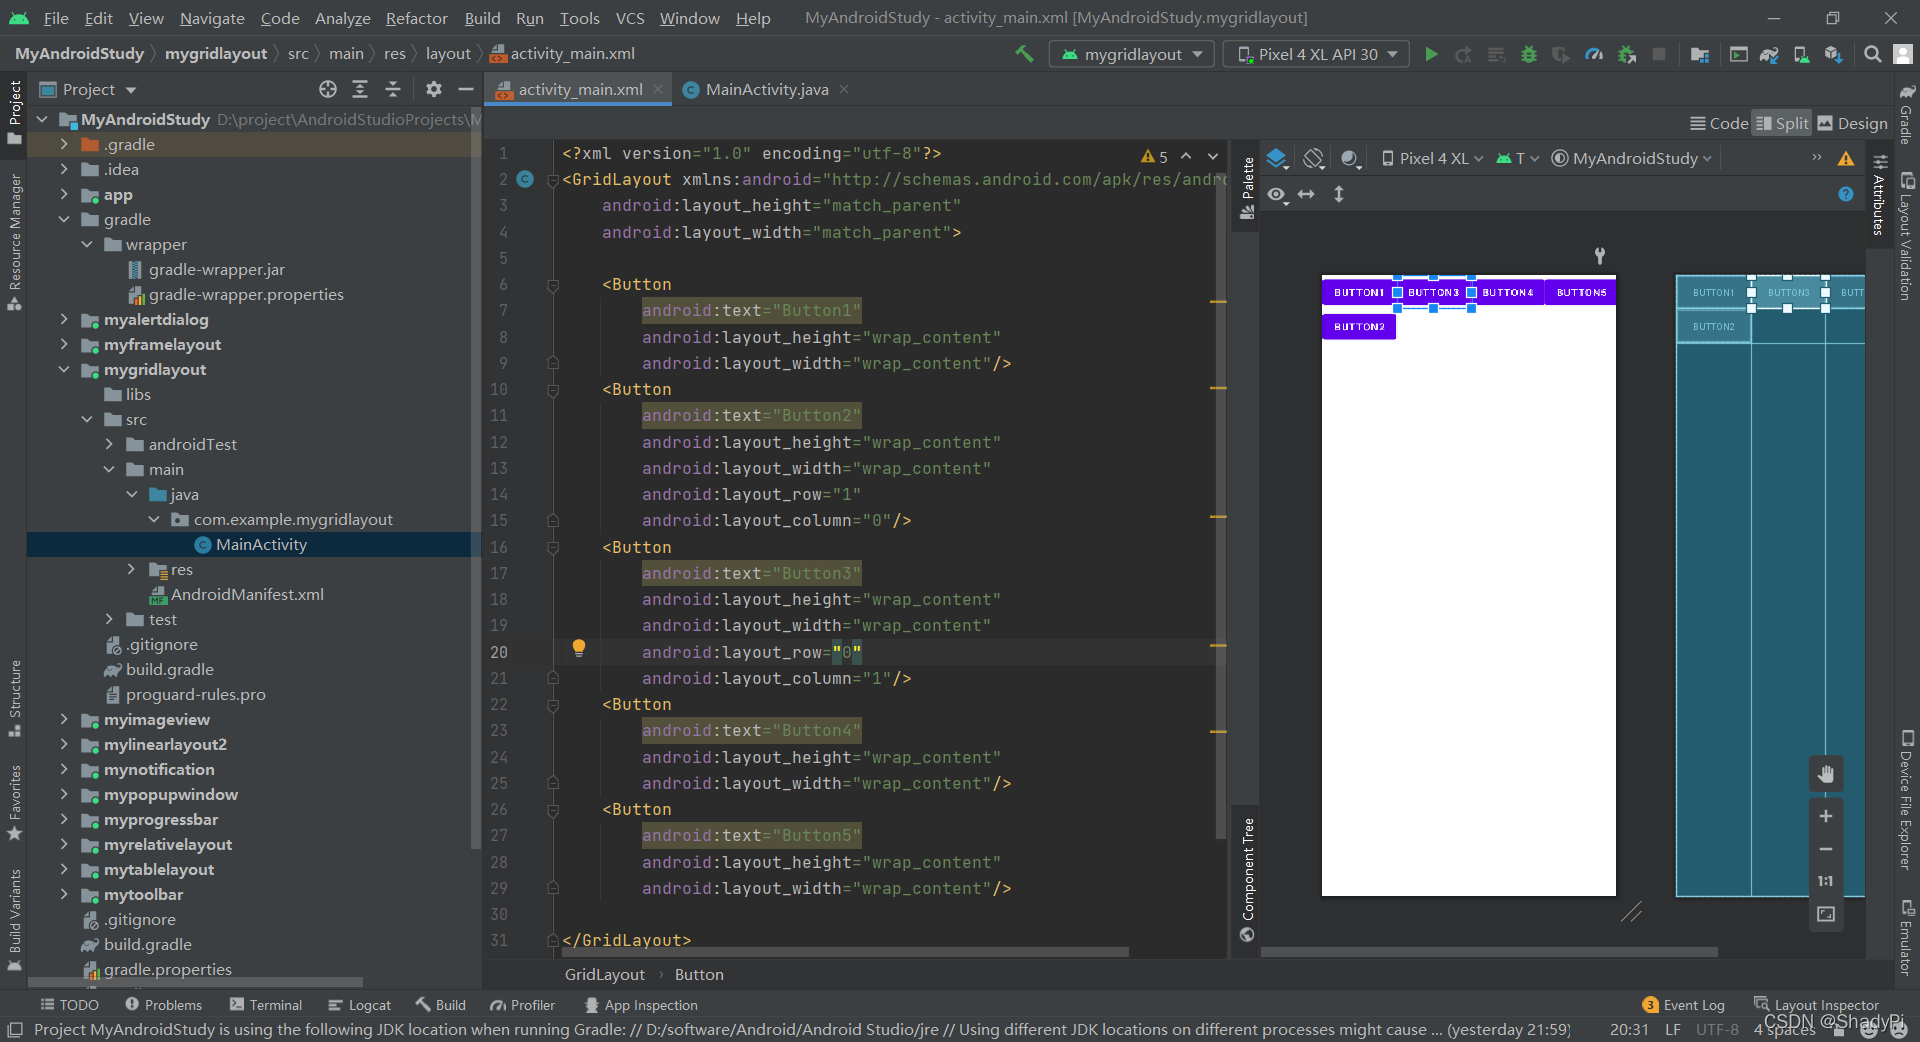
这些属性就与表格布局十分类似了,比如设置某个组件的行和列:
<Button
        android:text="Button2"
        android:layout_height="wrap_content"
        android:layout_width="wrap_content"
        android:layout_row="1"
        android:layout_column="0"/>
    <Button
        android:text="Button3"
        android:layout_height="wrap_content"
        android:layout_width="wrap_content"
        android:layout_row="0"
        android:layout_column="1"/>
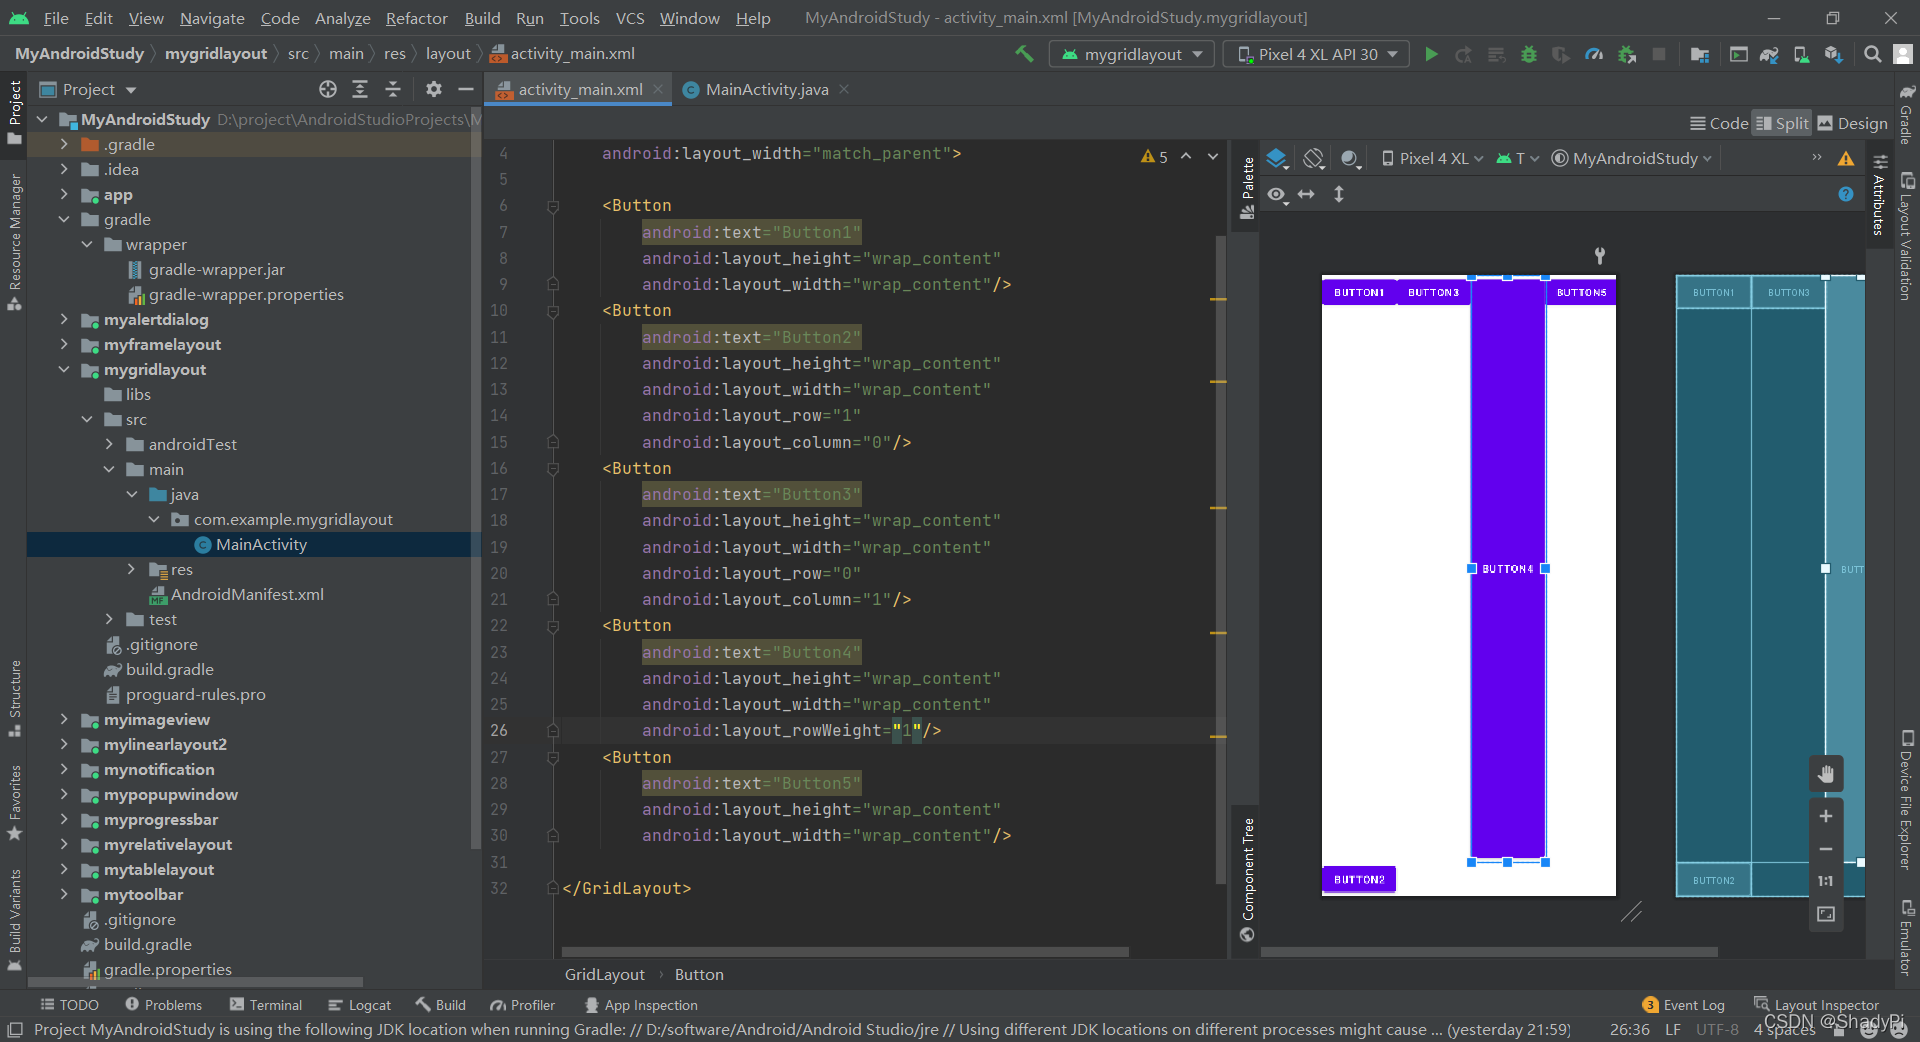
权重分配则与线性布局中的类似,将剩余空间按权重瓜分。
<Button
        android:text="Button4"
        android:layout_height="wrap_content"
        android:layout_width="wrap_content"
        android:layout_rowWeight="1"/>
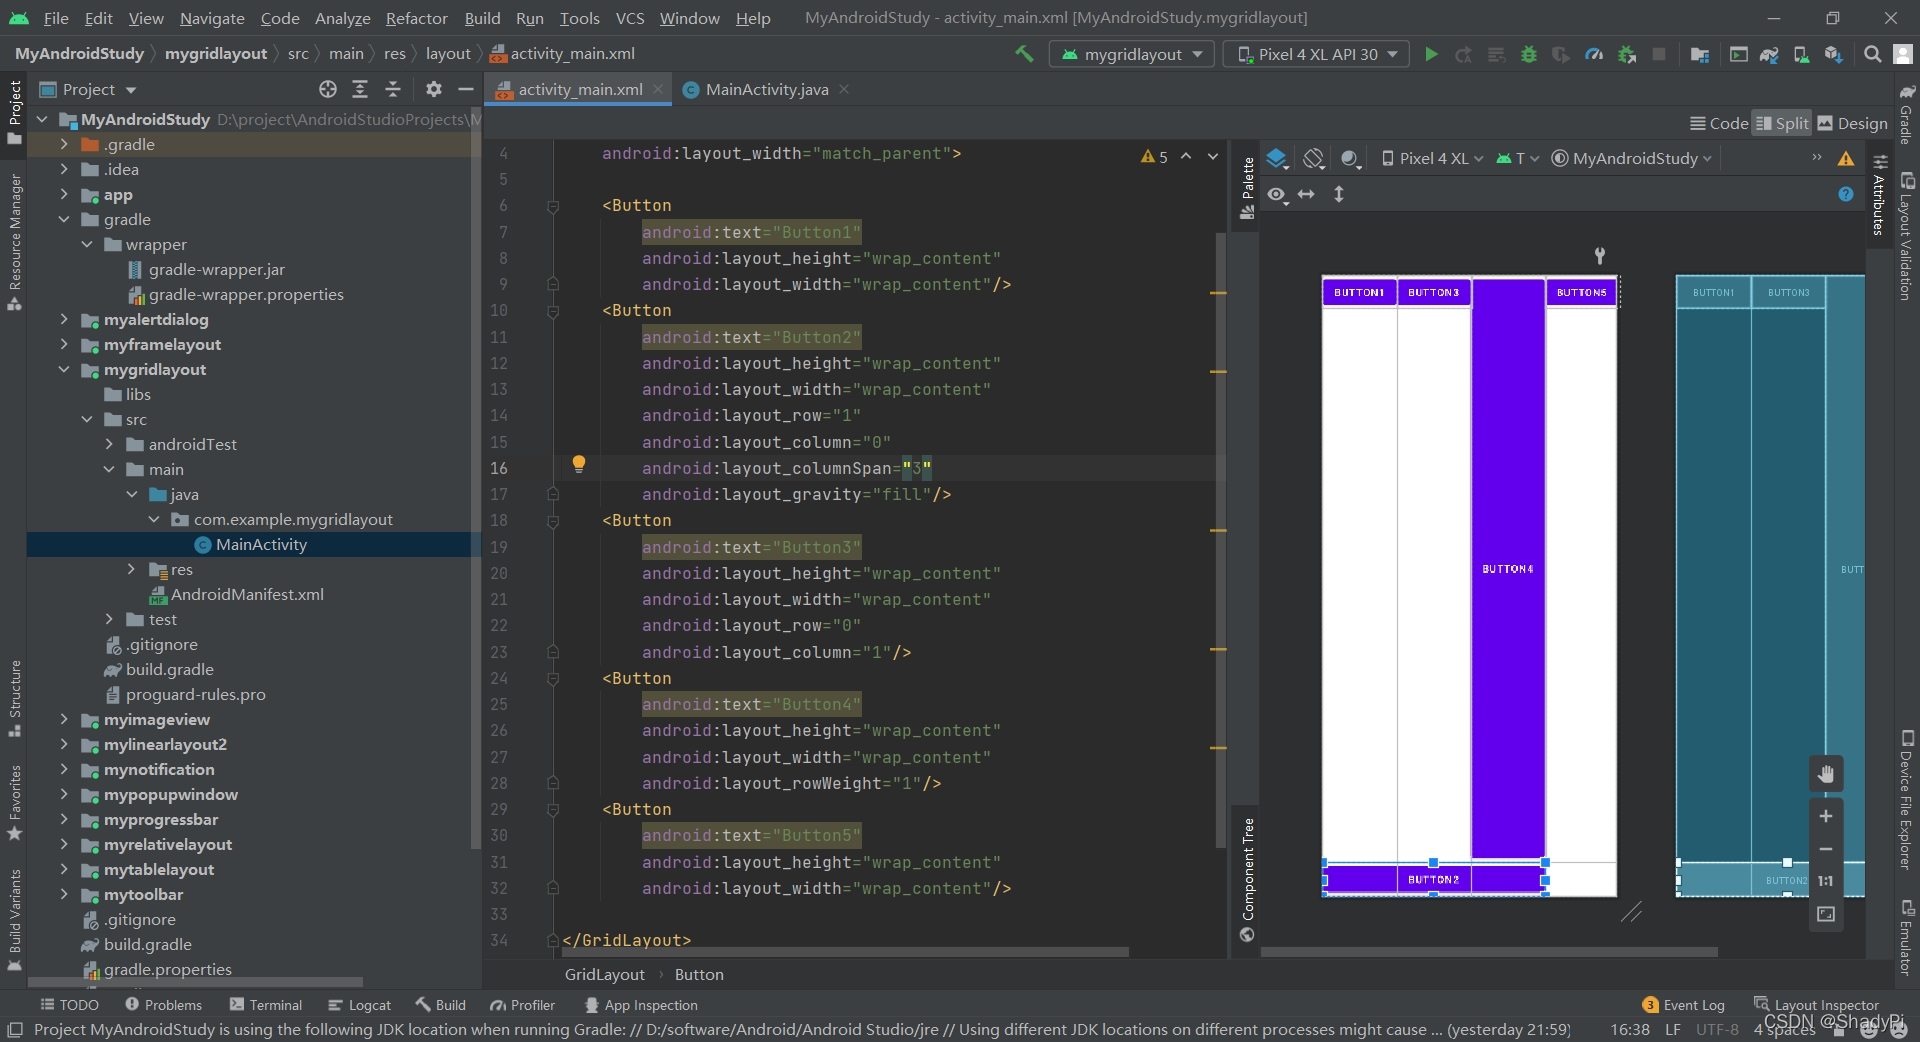
跨多行/列操作也是跟表格布局类似的,但是注意这里的跨列只是给该组件分配了空间,需要结合android:layout_gravity属性,比如用fill就可以看到组件填满了整个空间:
<Button
        android:text="Button2"
        android:layout_height="wrap_content"
        android:layout_width="wrap_content"
        android:layout_row="1"
        android:layout_column="0"
        android:layout_columnSpan="3"
        android:layout_gravity="fill"/>
相关文章
- Android百度地图SDK 导航初始化和地图初始化引起的冲突
- 一种更高效的组件自动注册方案(android组件化开发)
- CSDN日报191011:Android、Redis、Java开发干货分享!
- android事件详解
- C# and android
- 记录 android:sharedUserId 暴露的一个知识盲点
- android SQLiteOpenHelper 使用
- Android开发工程师文集-Fragment,适配器,轮播图,ScrollView,Gallery 图片浏览器,Android常用布局样式
- 《Android游戏开发详解》一2.17 对象是独立的
- 《Android游戏开发详解》一2.21 对象和基本类型的分组
- 《Java和Android开发学习指南(第2版)》—— 2.7 基本类型转换
- 《Java和Android开发学习指南(第2版)》——第1章,第1.4节集成开发环境
- 《OpenGL ES 3.x游戏开发(上卷)》一1.3 Hello Android应用程序的开发
- 《Android 应用案例开发大全(第3版)》——第2.1节壁纸的背景及功能概述
- 《Android开发秘籍(第2版)》——第1.8节Google Play
- 《Java和Android开发实战详解》——2.5节良好的Java程序代码编写风格
- Android存储及getCacheDir()、getFilesDir()、getExternalFilesDir()、getExternalCacheDir()区别
- Android手机摄像头编程入门
- android开发 系统时间与定时器之间有关系嘛?
- Android开发应用异步检查更新代码
- Android开发学习之Camera
- Android应用开发基础篇(4)-----TabHost(选项卡)
- Android解析WindowManager(二)Window的属性
- Android View体系(七)从源码解析View的measure流程