
springboot2专题之第二篇:Spring Boot 入门
2023-09-27 14:26:05 时间
1、系统要求
- Java 8 & 兼容java14 .
- Maven 3.3+
- idea 2019.1.2
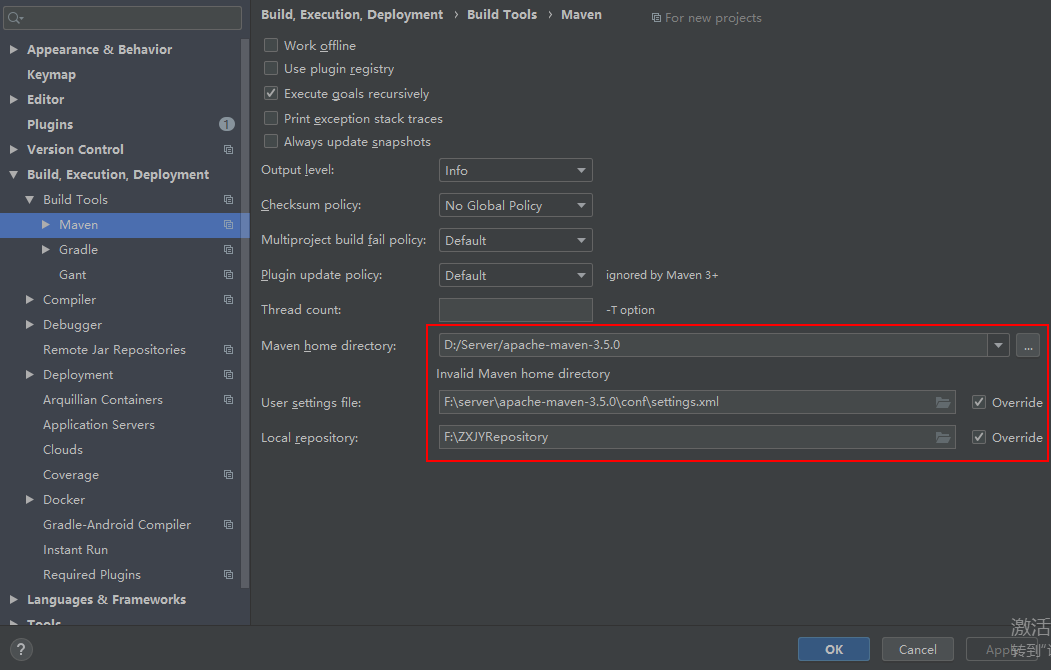
1.1、maven设置
<mirrors>
      <mirror>
        <id>nexus-aliyun</id>
        <mirrorOf>central</mirrorOf>
        <name>Nexus aliyun</name>
        <url>http://maven.aliyun.com/nexus/content/groups/public</url>
      </mirror>
  </mirrors>

  <profiles>
         <profile>
              <id>jdk-1.8</id>
              <activation>
                <activeByDefault>true</activeByDefault>
                <jdk>1.8</jdk>
              </activation>
              <properties>
                <maven.compiler.source>1.8</maven.compiler.source>
                <maven.compiler.target>1.8</maven.compiler.target>
                <maven.compiler.compilerVersion>1.8</maven.compiler.compilerVersion>
              </properties>
         </profile>
  </profiles>
2、HelloWorld
需求:浏览发送/hello请求,响应 Hello,Spring Boot 2
2.1、创建maven工程
注意maven设置
新建maven项目

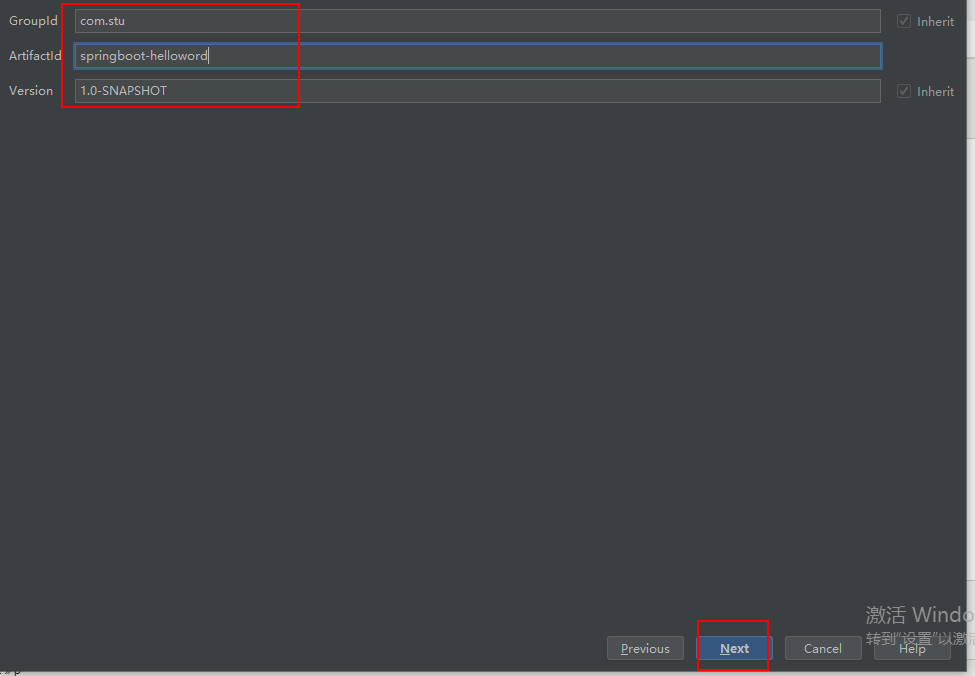
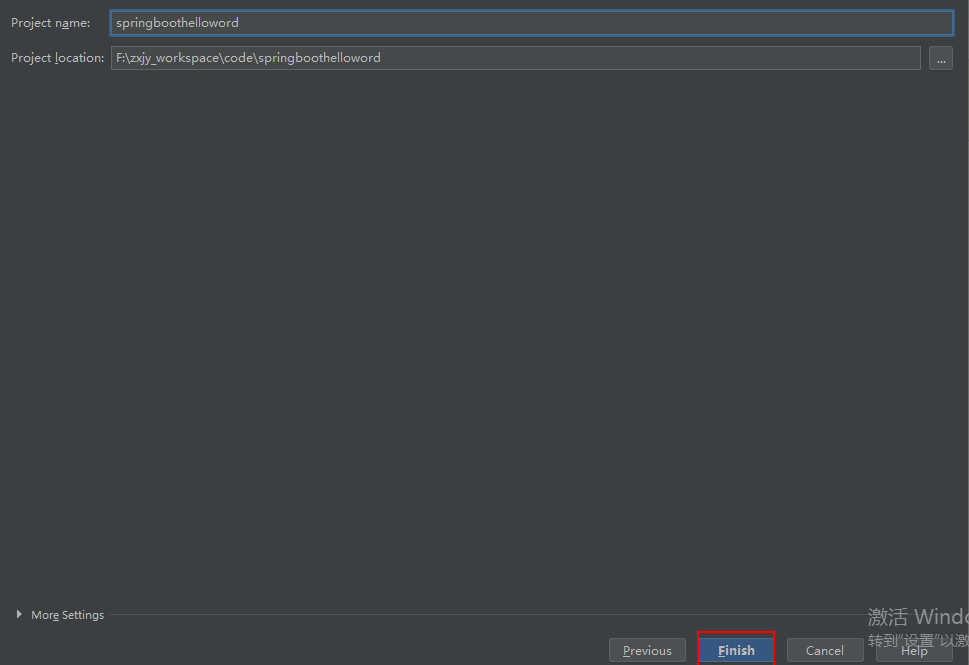
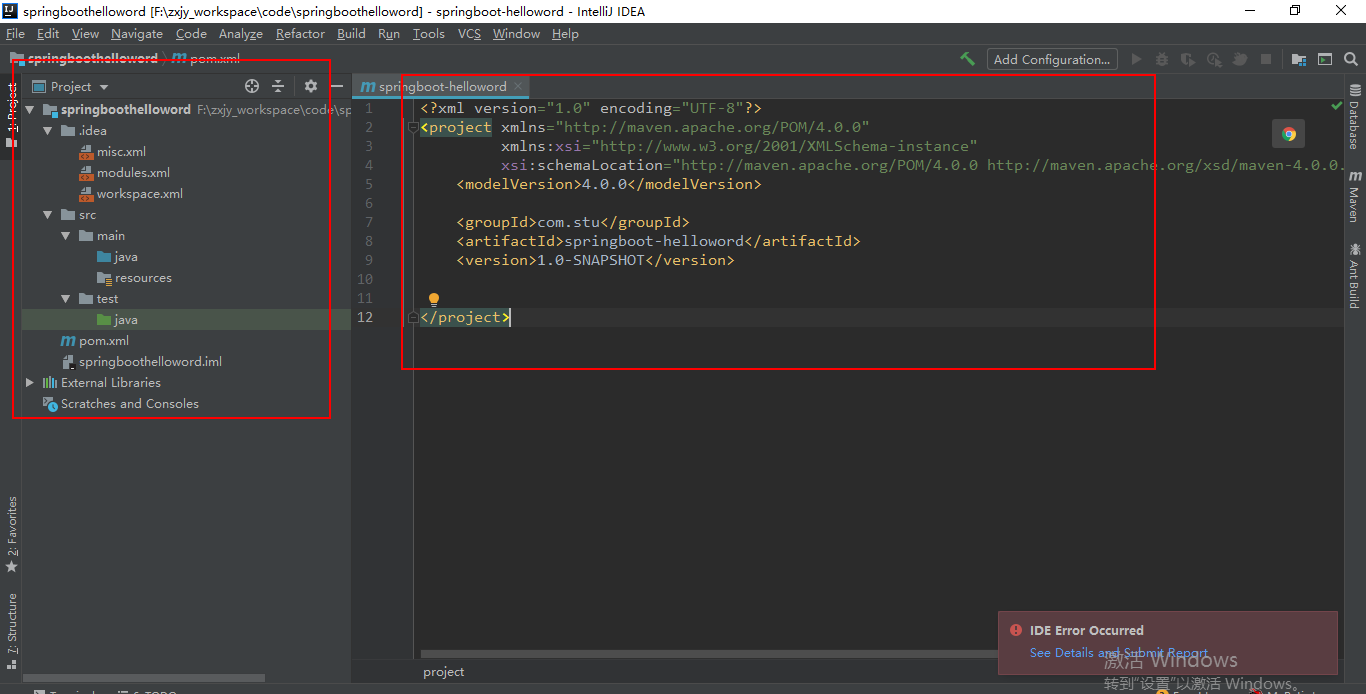
项目结构和pom文件
2.2、引入依赖
<parent>
        <groupId>org.springframework.boot</groupId>
        <artifactId>spring-boot-starter-parent</artifactId>
        <version>2.3.4.RELEASE</version>
    </parent>


    <dependencies>
        <dependency>
            <groupId>org.springframework.boot</groupId>
            <artifactId>spring-boot-starter-web</artifactId>
        </dependency>

    </dependencies>
完整pom
<?xml version="1.0" encoding="UTF-8"?>
<project xmlns="http://maven.apache.org/POM/4.0.0"
         xmlns:xsi="http://www.w3.org/2001/XMLSchema-instance"
         xsi:schemaLocation="http://maven.apache.org/POM/4.0.0 http://maven.apache.org/xsd/maven-4.0.0.xsd">
    <modelVersion>4.0.0</modelVersion>

    <groupId>com.stu</groupId>
    <artifactId>springboot-helloword</artifactId>
    <version>1.0-SNAPSHOT</version>

    <parent>
        <groupId>org.springframework.boot</groupId>
        <artifactId>spring-boot-starter-parent</artifactId>
        <version>2.3.4.RELEASE</version>
    </parent>


    <dependencies>
        <dependency>
            <groupId>org.springframework.boot</groupId>
            <artifactId>spring-boot-starter-web</artifactId>
        </dependency>

    </dependencies>
</project>
2.3、创建主程序
如果是idea可以使用点的方式给类加包路径。

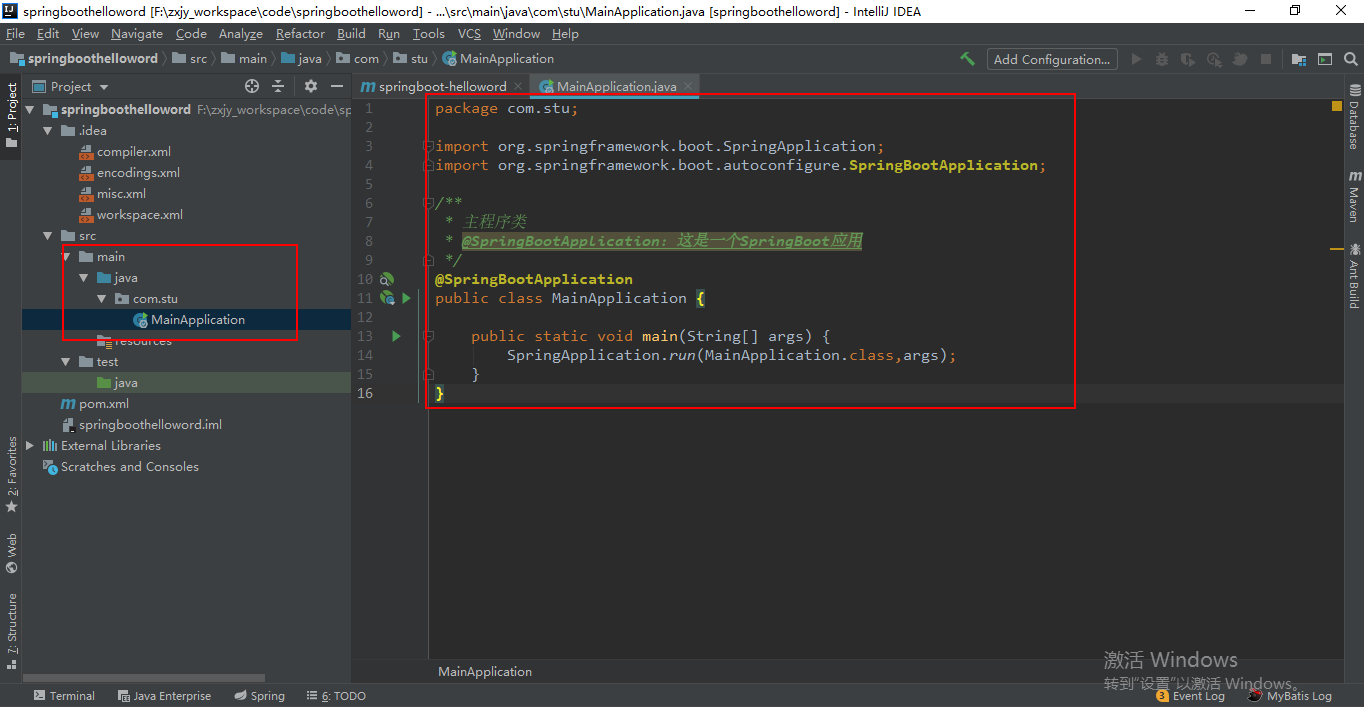
启动类代码
/**
 * 主程序类
 * @SpringBootApplication:这是一个SpringBoot应用
 */
@SpringBootApplication
public class MainApplication {

    public static void main(String[] args) {
        SpringApplication.run(MainApplication.class,args);
    }
}
2.4、编写业务
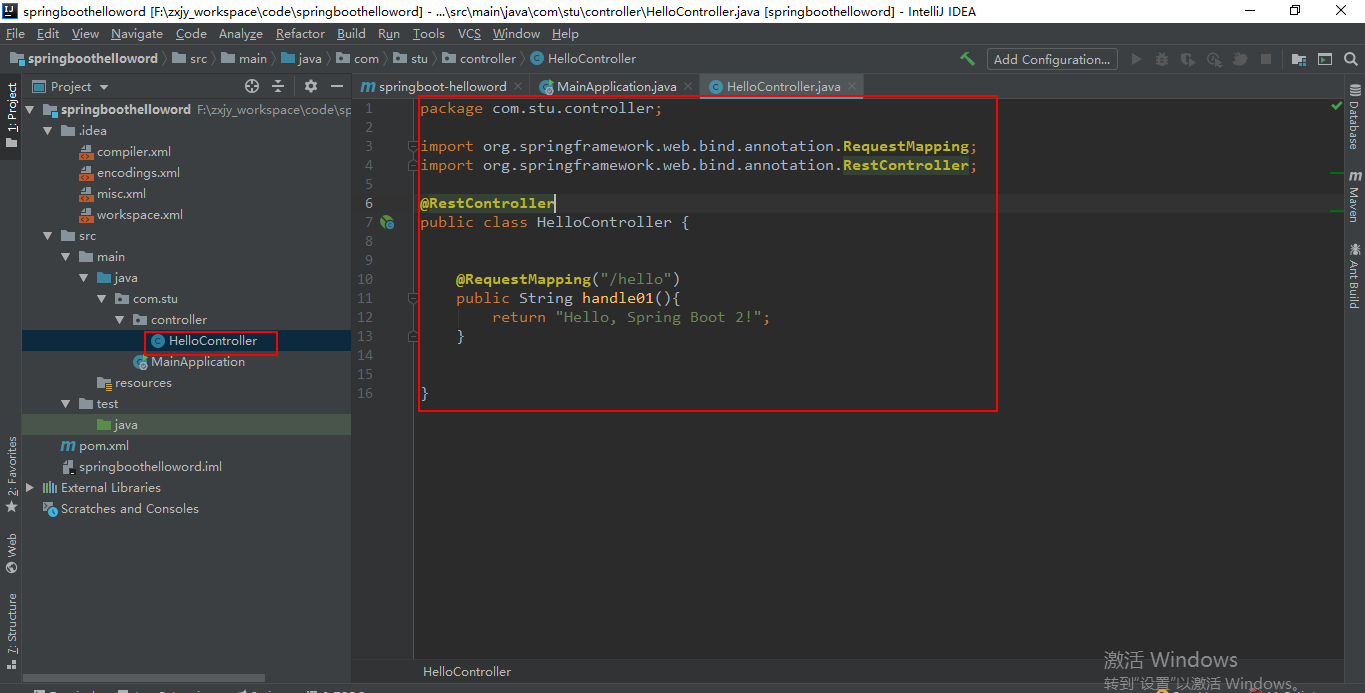
@RestController
public class HelloController {


    @RequestMapping("/hello")
    public String handle01(){
        return "Hello, Spring Boot 2!";
    }


}
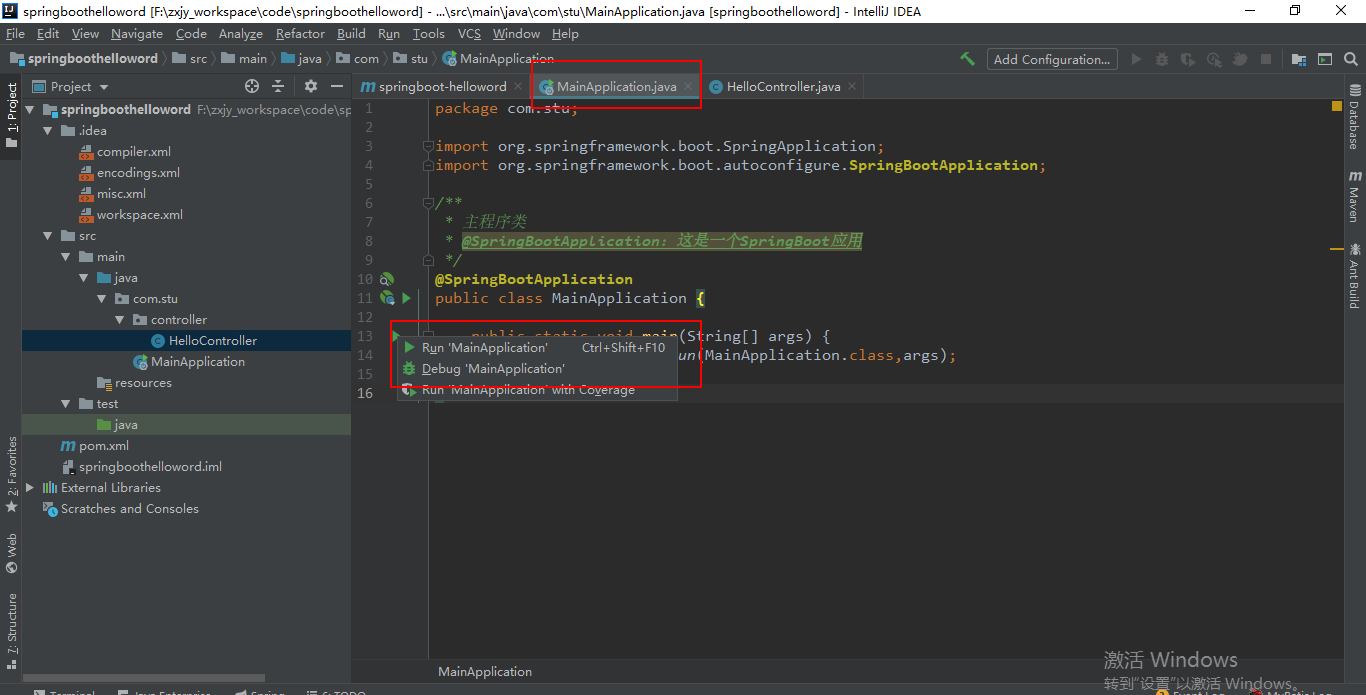
2.5、测试
直接运行main方法

游览器访问http://localhost:8080/hello

2.6、简化配置
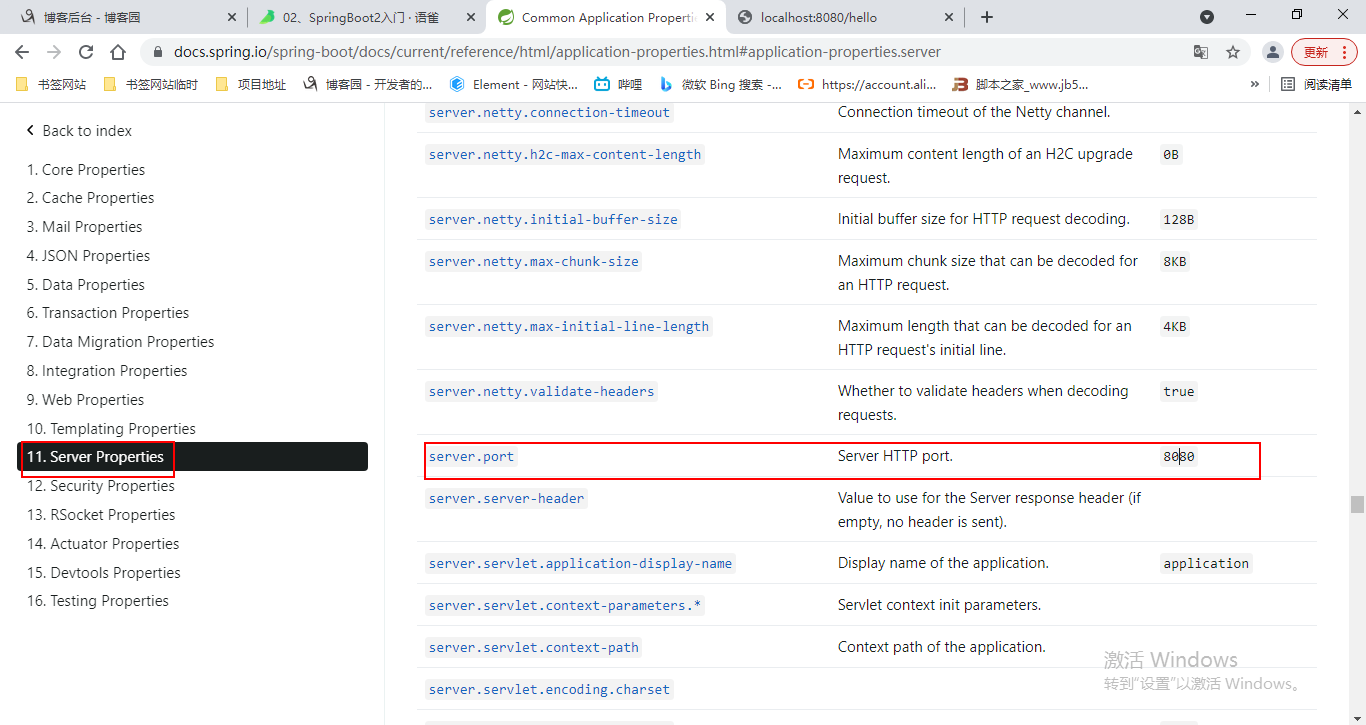
application.properties
server.port=8888
2.7、简化部署

 <build>
        <plugins>
            <plugin>
                <groupId>org.springframework.boot</groupId>
                <artifactId>spring-boot-maven-plugin</artifactId>
            </plugin>
        </plugins>
    </build>
添加后的完整pom文件
<?xml version="1.0" encoding="UTF-8"?>
<project xmlns="http://maven.apache.org/POM/4.0.0"
         xmlns:xsi="http://www.w3.org/2001/XMLSchema-instance"
         xsi:schemaLocation="http://maven.apache.org/POM/4.0.0 http://maven.apache.org/xsd/maven-4.0.0.xsd">
    <modelVersion>4.0.0</modelVersion>

    <groupId>com.stu</groupId>
    <artifactId>springboot-helloword</artifactId>
    <version>1.0-SNAPSHOT</version>

    <parent>
        <groupId>org.springframework.boot</groupId>
        <artifactId>spring-boot-starter-parent</artifactId>
        <version>2.3.4.RELEASE</version>
    </parent>


    <dependencies>
        <dependency>
            <groupId>org.springframework.boot</groupId>
            <artifactId>spring-boot-starter-web</artifactId>
        </dependency>

    </dependencies>
    <build>
        <plugins>
            <plugin>
                <groupId>org.springframework.boot</groupId>
                <artifactId>spring-boot-maven-plugin</artifactId>
            </plugin>
        </plugins>
    </build>
</project>
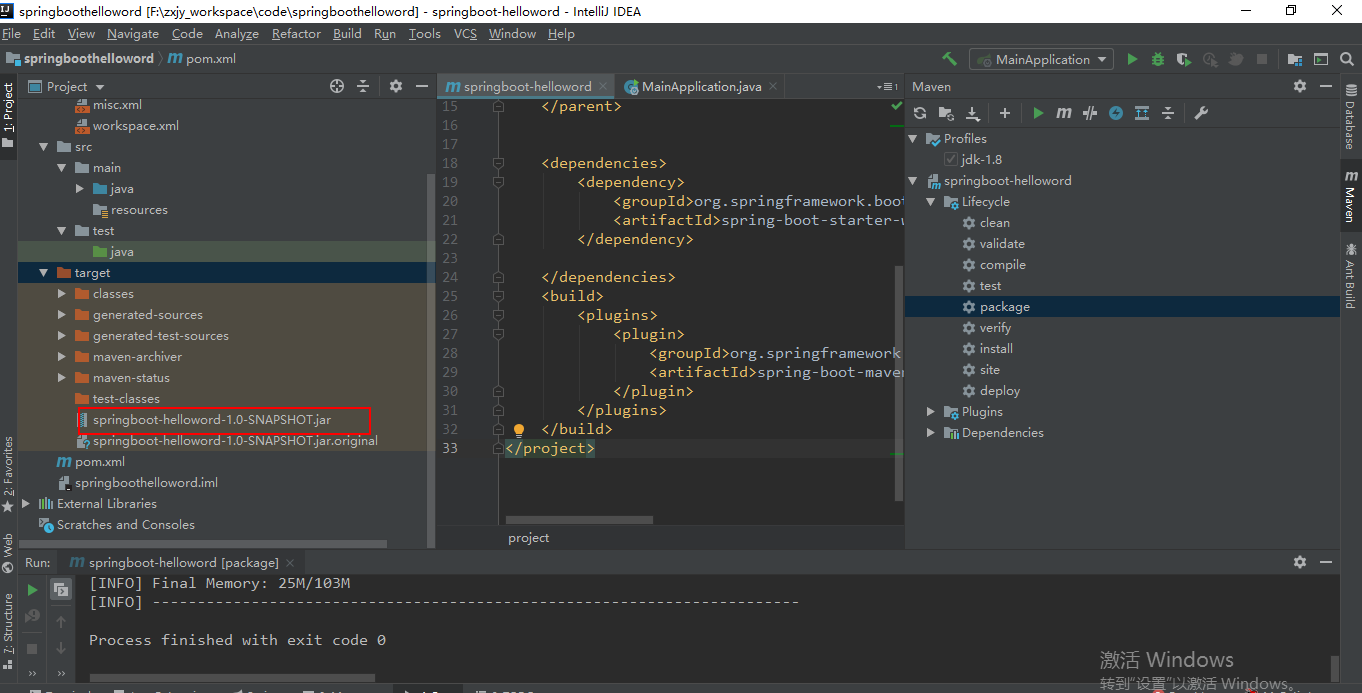
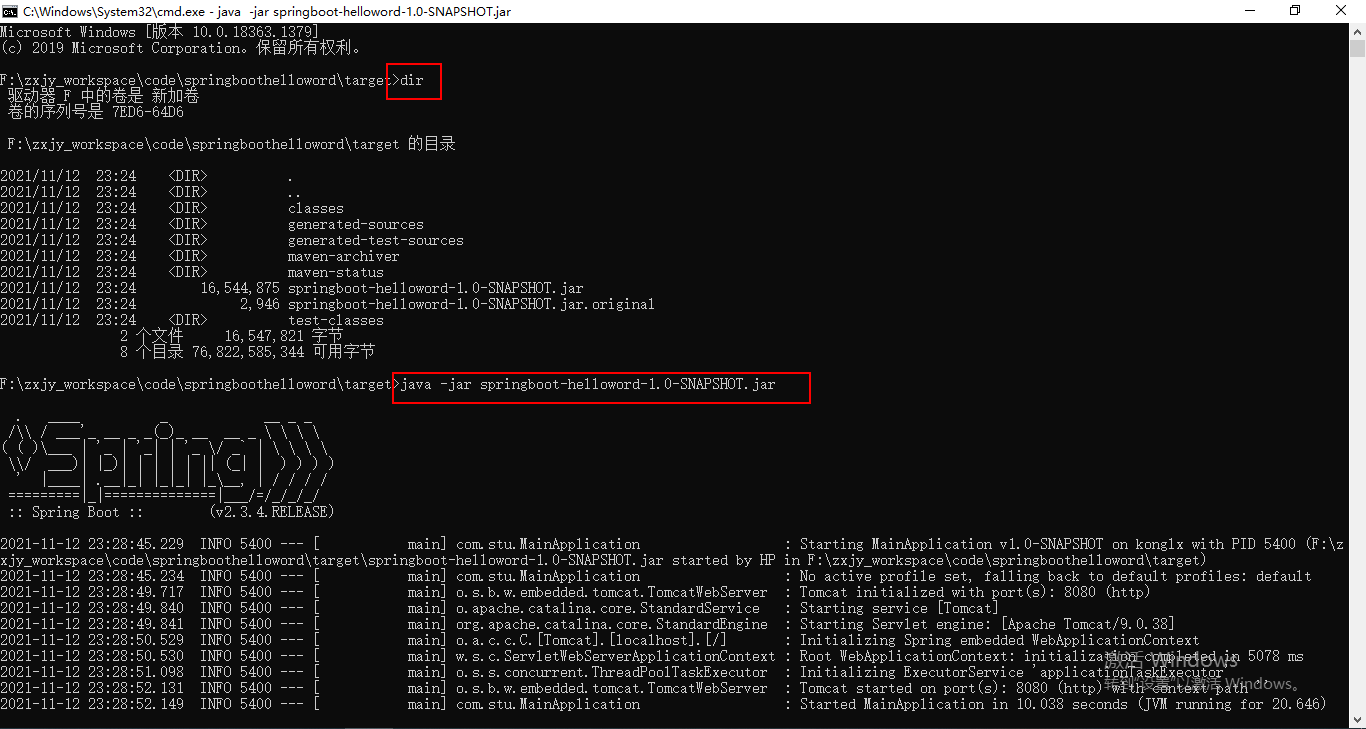
执行clean和package命令打包

打包成功后生成一个jar包,如下图
在生成的jar包地址里,cmd命令进入命令窗口
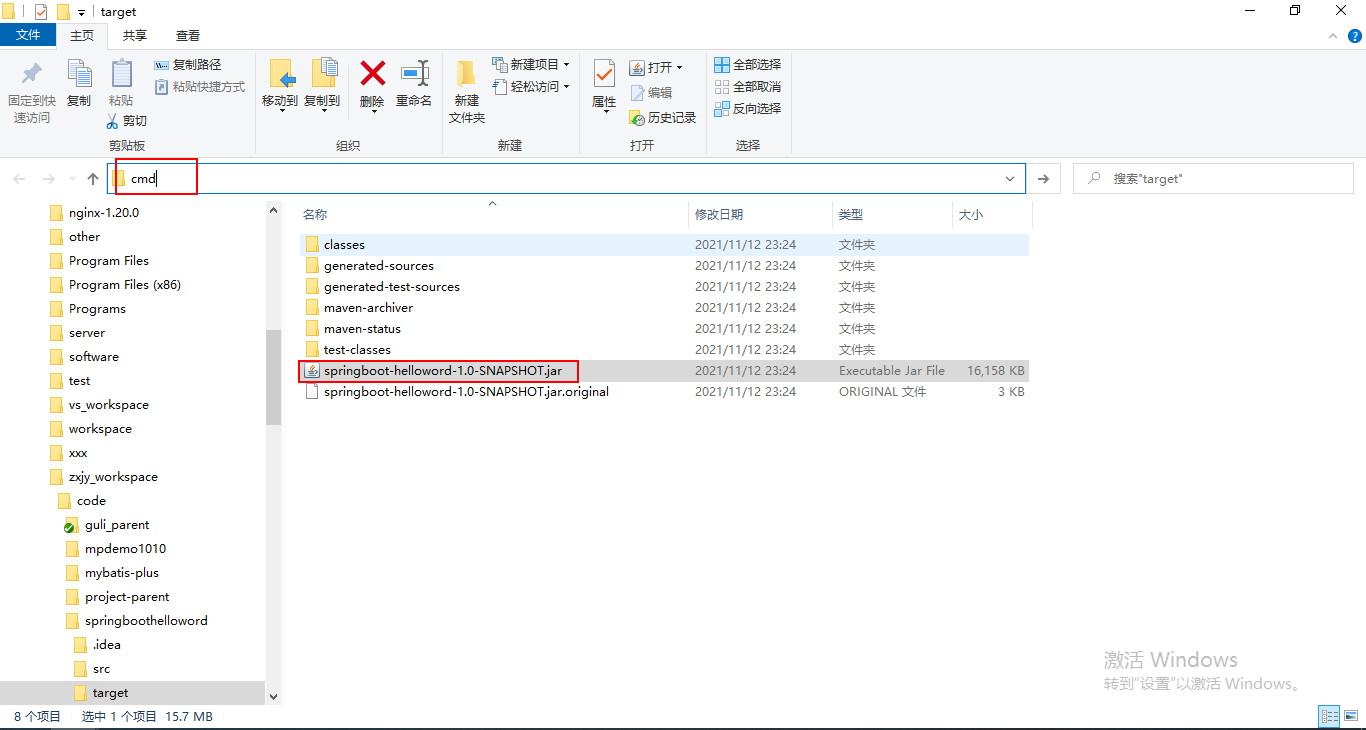
执行java -jar springboot-helloword-1.0-SNAPSHOT.jar,启动后直接在游览器访问就可以了。
把项目打成jar包,直接在目标服务器执行即可。
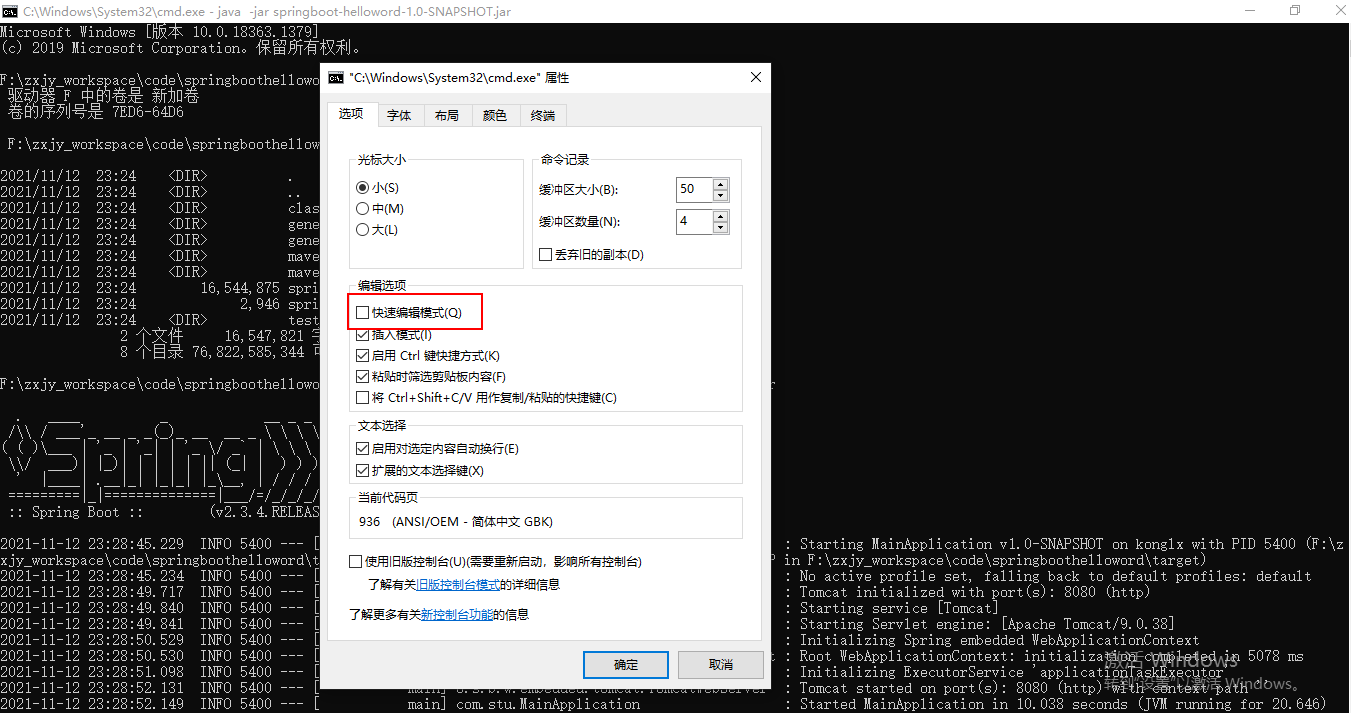
注意点:
- 取消掉cmd的快速编辑模式(防止鼠标点击的时候,启动服务卡住)
相关文章
- SpringBoot 集成Spring JDBC
- Spring Boot 之 RESTfull API简单项目的快速搭建(二)
- Git下载Spring源码 Gradle编译Spring源码为Eclipse工程文件
- 《深入实践Spring Boot》一第1章Spring Boot入门1.1 配置开发环境
- Spring Cloud系列Sentinel安装教程
- Spring Data 发布更改版本管理方案之后的第一个版本:2020.0.0
- Spring Boot 2.x基础教程:事务管理入门
- Spring Boot 2.x基础教程:默认数据源Hikari的配置详解
- Spring Boot 2.x基础教程:快速入门
- 2015第24周一Spring事务
- Spring Boot 快速入门
- spring boot 多模块简单示例
- Spring Boot 启动加载数据 CommandLineRunner
- spring mvc Spring Data Redis RedisTemplate [转]
- 【spring框架】通过XML配置事务(Transaction)
- Spring Boot 2 整合Swagger简单入门
- Spring Boot启动过程源码分析--转
- 曹工说Spring Boot源码(5)-- 怎么从properties文件读取bean
- spring-boot配置文件中server.context-path不起作用
- spring boot入门
- Spring Boot 2.X 加载 so 库