
C#WinForm开发:如何将图片添加到项目资源文件(Resources)中
C#WinForm开发:如何将图片添加到项目资源文件(Resources)中
-
引言
-
操作步骤
-
实例应用
-
功能延展
-
引言
在C#Winform开发中,有时需要在控件中插入一些图片,常见的有pictureBox控件的Image属性。那么,我们应当如何将现有图片添加到项目资源文件中? -
操作步骤
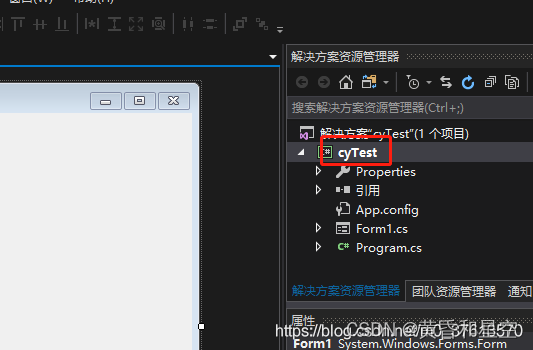
在VS 2017中新建一个“Windows窗体应用”项目,然后保存两张图片到桌面。这里,项目名称为“cyTest”,图片名称为“JapaneseBoy”和“WhiteBoard”,至此准备工作完成。
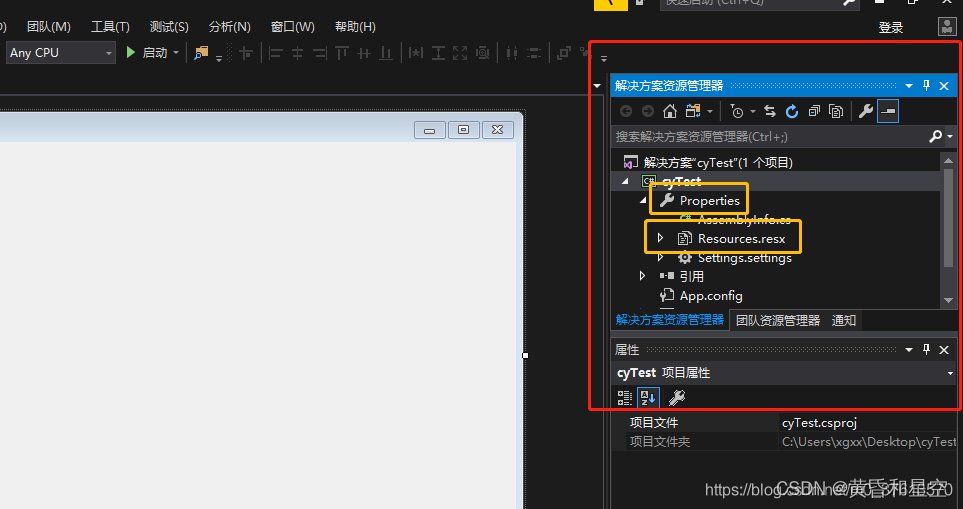
在“解决方案资源管理器”视图中,双击“Properities -> Resources.resx”选项:
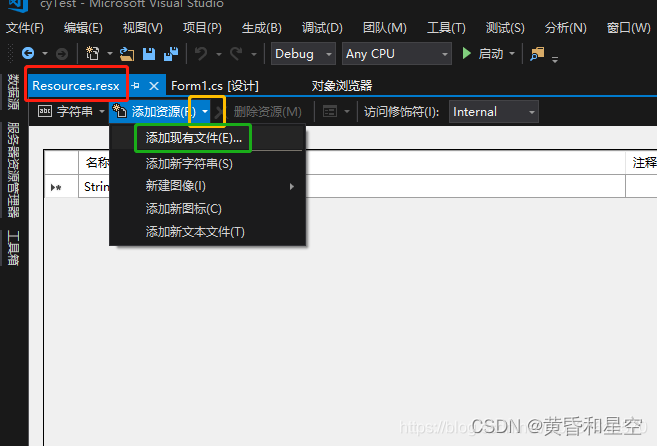
在弹出的“Resources.resx”窗口中,单击"添加资源"选项后的“倒三角”图标。然后,在出现的下拉菜单中,单击"添加现有文件"选项:
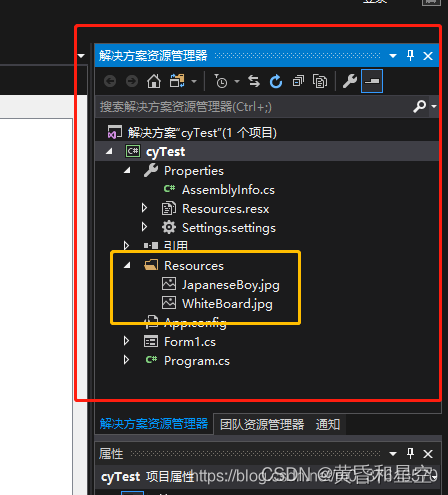
找到图片保存路径,选中两张图片,单击“打开”按钮即可:
“解决方案资源管理器”视图中“cyTest”项目下,自动生成“Resources”文件夹及已添加的两张图片。至此,已成功将图片添加至项目资源文件中。
实例应用
以在Form中插入两个图片为例:
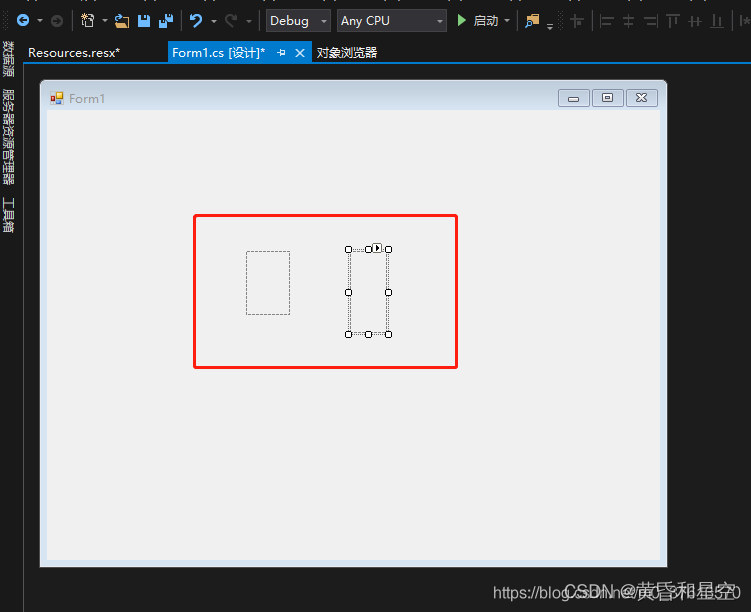
在Form中拖放两个pictureBox控件:
编写如下程序代码:
using System;
using System.Collections.Generic;
using System.ComponentModel;
using System.Data;
using System.Drawing;
using System.Linq;
using System.Text;
using System.Threading.Tasks;
using System.Windows.Forms;
namespace cyTest
{
public partial class Form1 : Form
{
public Form1()
{
InitializeComponent();
}
Image cyImage1, cyImage2;
private void Form1_Load(object sender, EventArgs e)
{
cyImage1 = Properties.Resources.JapaneseBoy;
pictureBox1.Image = cyImage1;
pictureBox1.Height = cyImage1.Height;
pictureBox1.Width = cyImage1.Width;
pictureBox1.Location = new Point(10, 10);
        cyImage2 = Properties.Resources.WhiteBoard;
        pictureBox2.Image = cyImage2;
        pictureBox2.Height = cyImage2.Height;
        pictureBox2.Width = cyImage2.Width;
        pictureBox2.Location = new Point(700, 10);
    }
}
}
相关文章
- 基础知识(C#语法、数据库SQL Server)回顾与总结
- C#【控件篇】Winform中使用MDI窗体
- C#,初学琼林(04)——查询(搜索)数组内指定(值)的元素与全文检索“倒排序”技术的实现代码源程序
- C# Winform 服务器和多个客户端通讯
- C# winform 禁用最小化和还原按钮(消息循环截获处理)
- C# -WinForm 中英文实现, 国际化实现的简单方法
- C# winform中ListView用法
- C# Winform picturebox 通过button按钮 点击显示图片
- C#Winform设计的通用标签设计器
- C#winform自定义控件模拟设计时界面鼠标移动和调节大小、选中效果
- Innershar C#中Skip和Take的用法
- 基于C#实现(WinForm)数值分析(图像扭曲变形)【100010441】
- 基于C#+SQlite开发(WinForm)个人日程管理系统【100010305】
- 基于C#+SQL Server2008 开发三层架构(WinForm)图书管理系统【100010014】
- c# Winform DataGridView 当前单元格失去焦点的有关问题
- C# Winform datagridview 列 DataGridViewCheckBoxColumn 复选框,没办法选择
- C#-获取文件夹下的所有文件
- C# winform 窗体弹出选择目录或文件 的对话框
- C#-yield"使用
- C# Winform 自动更新程序实例
- C# winform 启动外部程序