
VS2013+ffmpeg开发环境搭建
开发 环境 搭建 FFMPEG vs2013
2023-09-27 14:19:37 时间
VS2013+ffmpeg开发环境搭建
一、准备ffmpeg相对应开发dll、include、lib
- 官网ffmpeg下载链接:https://ffmpeg.zeranoe.com/builds/
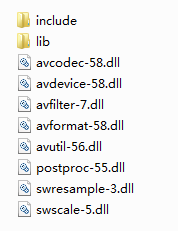
包含三个版本:Static、Shared以及Dev
- Static — 包含3个应用程序:ffmpeg.exe , ffplay.exe , ffprobe.exe,体积都很大,相关的DLL已经被编译到exe里面去了。
- Shared — 除了ffmpeg.exe , ffplay.exe , ffprobe.exe之外还有一些DLL,exe体积很小,在运行时到相应的DLL中调用功能。
- Dev — 开发者(developer)版本,里面包含了库文件xxx.lib以及头文件xxx.h,这个版本不含exe文件
二、开发者版本配置相关环境
1.新建工程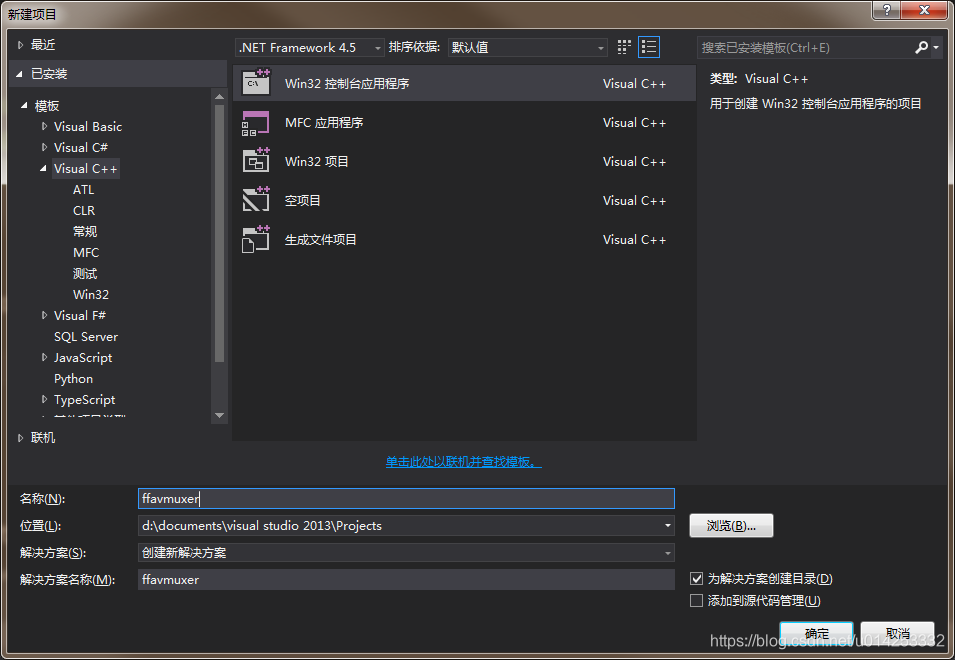
2.把一中ffmpeg准备的dll、include、lib拷贝到工程目录下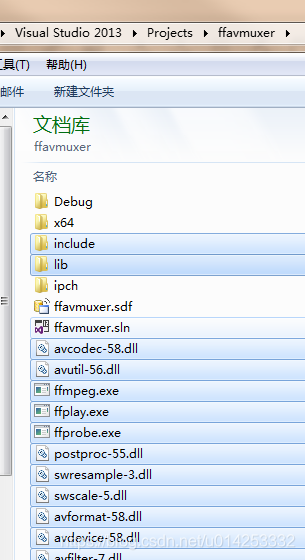
3.右击工程“属性”
4.“C/C++”——>“附加包含目录”——>添加3中拷贝到工程“include”文件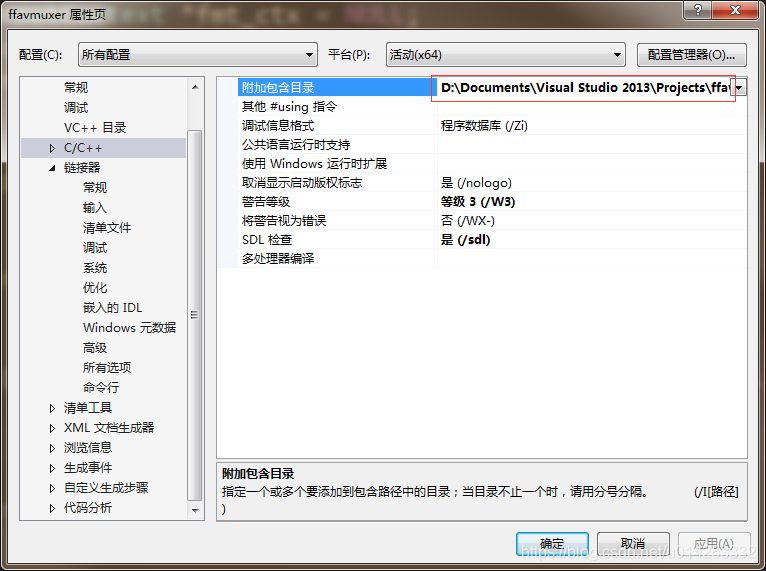
注意:平台会默认选择win32,我们下载的是Windows 64-bit的ffmpeg,因此要把平台改成活动(x64)!
5.“链接器”——>“常规”——>附加库目录”——>添加3中拷贝到工程“lib”文件
6.“链接器”——>“输入”——>附加依赖项”——>添加“avcodec.lib;avformat.lib;avutil.lib;avdevice.lib;avfilter.lib;postproc.lib;swresample.lib;swscale.lib;”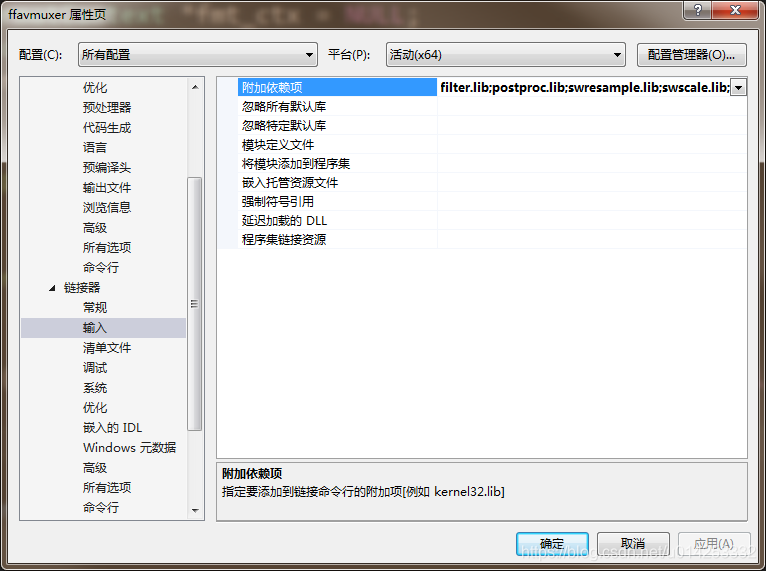
7.将文件夹内的dll文件拷贝到ffavmuxer里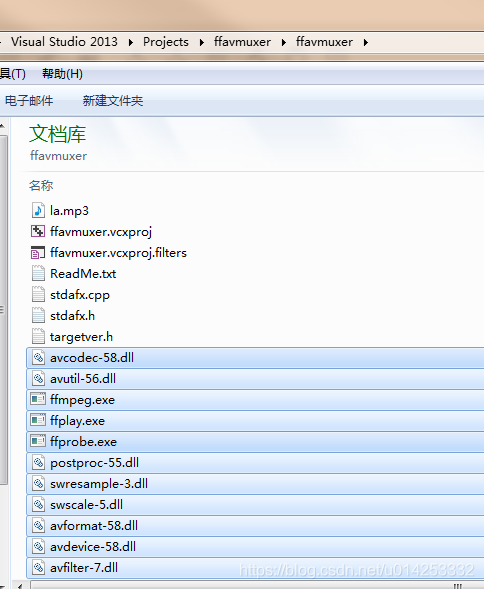
8.测试
#include "stdafx.h"
#include <stdio.h>
#include"stdlib.h"
//#include <rational.h>

extern "C"
{
#include <libavformat/avformat.h>
#include <libavutil/dict.h>
};
#pragma comment (lib,"avformat.lib")
#pragma comment (lib,"avutil.lib")

int main(int argc, char **argv)
{
	AVFormatContext *fmt_ctx = NULL;
	AVDictionaryEntry *tag = NULL;
	int ret;

	//if (argc != 2) {
	//	printf("usage: %s <input_file>\n"
	//		"example program to demonstrate the use of the libavformat metadata API.\n"
	//		"\n", argv[0]);
	//	return 1;
	//}

	if ((ret = avformat_open_input(&fmt_ctx, "la.mp3", NULL, NULL)))

	{

		return ret;
	}

	while ((tag = av_dict_get(fmt_ctx->metadata, "", tag, AV_DICT_IGNORE_SUFFIX)))
		printf("%s=%s\n", tag->key, tag->value);

	avformat_close_input(&fmt_ctx);

	return 0;
}
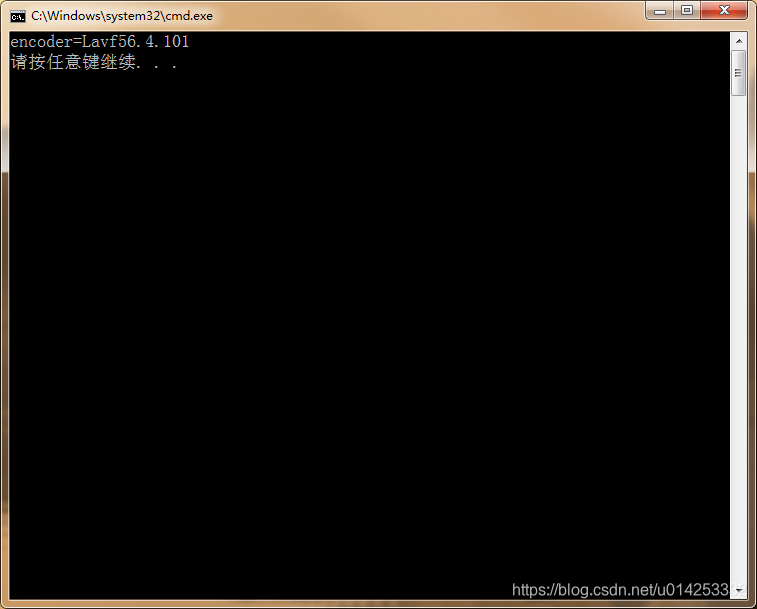
运行成功!环境配置完成!如果还有其他问题,请留言。
相关文章
- Linux基本开发环境配置git,c++,nodejs,nginx
- 在Mac OSX中搭建Python集成开发环境图解
- 单片机成长之路(51基础篇) - 006 在Linux下搭建51单片机的开发烧写环境
- windows下用ADT进行android NDK开发的具体教程(从环境搭建、配置到编译全过程)
- Sublime Text3 + Golang搭建开发环境
- gradle ofbiz 16 开发环境搭建
- eclipse+spket+Extjs4.2.1开发环境搭建
- 使用 Visual Studio Code(VSCode)搭建简单的Python+Django开发环境的方法步骤
- windows下搭建vue开发环境+IIS部署
- Swoft 新手向教程 - 通过 Docker 搭建一个开发环境
- 第92讲:Akka第一个案例动手实战开发环境的搭建
- 第93讲(HelloActor整体介绍):Akka第一个案例动手实战开发消息实体类
- Spark编译及spark开发环境搭建
- Vs2010 配置驱动的开发环境
- FFmpeg 开发(07):FFmpeg + OpenGLES 实现 3D 全景播放器
- 深入体验bash on windows,在windows上搭建原生的linux开发环境,酷!
- 【开发环境】Ubuntu 中使用 VSCode 开发 C/C++ ③ ( 创建工程目录 | 添加 C++ 源代码 | 代码自动提示 )
- 初学 go 入门-案例-教程-记录(2)安装 Golang 环境,开发环境
- 嵌入式linux/鸿蒙开发板(IMX6ULL)开发(三)配置网络环境
- Django入门之开发环境搭建1.1
- Windows下搭建UBuntu + Qt 5开发环境
- iOS搭建iOS开发环境
- Fedora Linux 下安装配置C开发环境Code::Blocks