
Camunda 使用restapi
参考:http://camunda-cn.shaochenfeng.com/reference/rest/task/get-query/
这里我就举一个流程的例子:
以下接口,除了端口和参数,其他无需改动
POM:
rest 就是接口
webapp 是网页
<dependency>
            <groupId>org.camunda.bpm.springboot</groupId>
            <artifactId>camunda-bpm-spring-boot-starter-rest</artifactId>
        </dependency>

        <dependency>
            <groupId>org.camunda.bpm.springboot</groupId>
            <artifactId>camunda-bpm-spring-boot-starter-webapp</artifactId>
        </dependency>
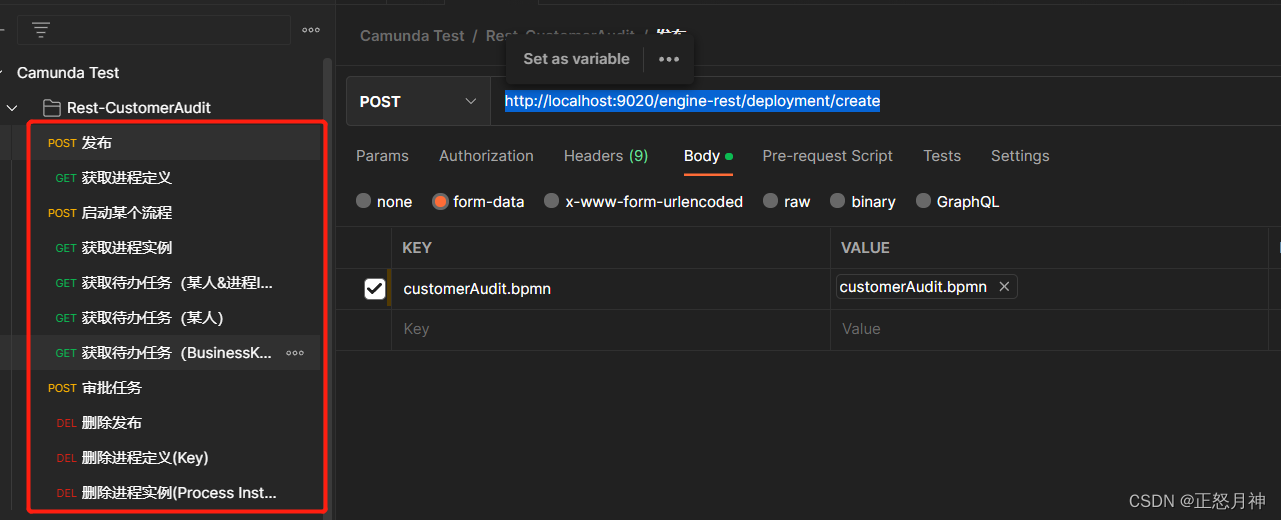
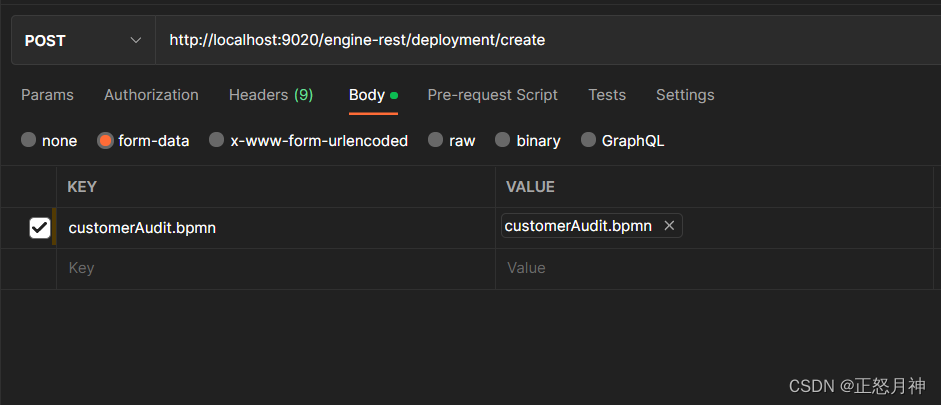
1 发布流程
http://localhost:9020/engine-rest/deployment/create
传递你的bpmn名称,通过file类型选择bpmn文件
2 获取进程定义
http://localhost:9020/engine-rest/process-definition
返回:
[
    {
        "id": "Process_1xebez9:1:7929ac88-64ac-11ed-946f-0892043f3120",
        "key": "Process_1xebez9",
        "category": "http://bpmn.io/schema/bpmn",
        "description": null,
        "name": "customerAudit",
        "version": 1,
        "resource": "customerAudit.bpmn",
        "deploymentId": "7924f196-64ac-11ed-946f-0892043f3120",
        "diagram": null,
        "suspended": false,
        "tenantId": null,
        "versionTag": null,
        "historyTimeToLive": null,
        "startableInTasklist": true
    },
    {
        "id": "audit_process:1:57b07816-63fa-11ed-ae19-0892043f3120",
        "key": "audit_process",
        "category": "http://bpmn.io/schema/bpmn",
        "description": null,
        "name": "Audit Process",
        "version": 1,
        "resource": "audit.bpmn",
        "deploymentId": "579a30f3-63fa-11ed-ae19-0892043f3120",
        "diagram": null,
        "suspended": false,
        "tenantId": null,
        "versionTag": null,
        "historyTimeToLive": null,
        "startableInTasklist": true
    }
]
3 启动流程
http://localhost:9020/engine-rest/process-definition/Process_1xebez9:1:7929ac88-64ac-11ed-946f-0892043f3120/start
上面的Id就是来自步骤2的id
参数:
这里我传递了审批人(流程界面中,设置了${adminList} ${mpmList})
并且设置了businessKey
{
  "variables": {
    "adminList" : {
        "value":"[\"admin\"]",
            "type":"Object",
            "valueInfo":{
                "objectTypeName":"java.util.ArrayList",
                "serializationDataFormat":"application/json"
            }
    },
    "mpmList": {
        "value":"[\"mpm1\"]",
            "type":"Object",
            "valueInfo":{
                "objectTypeName":"java.util.ArrayList",
                "serializationDataFormat":"application/json"
            }
    }
  },
 "businessKey" : 40
}
4 获取进程实例
http://localhost:9020/engine-rest/process-instance/1cef6cfa-64b3-11ed-946f-0892043f3120
上面的id,就是步骤3返回的id
5.1 获取待办任务 (某人&进程ID)
http://localhost:9020/engine-rest/task?assignee=mpm1&processInstanceId=1cef6cfa-64b3-11ed-946f-0892043f3120
5.2 获取待办任务 (某人)
http://localhost:9020/engine-rest/task?assignee=admin
5.3 获取待办任务 (BusinessKey)
http://localhost:9020/engine-rest/task?processInstanceBusinessKey=40
6 审批
http://localhost:9020/engine-rest/task/ae952619-64bd-11ed-946f-0892043f3120/complete
传参:
由于taskid已经在url中传递了,所以审批人是可以确定的。
{"variables":
    {
        "approve": {"value": true},
        "comment": {"value": "hello world112"}
    },
 "withVariablesInReturn": true
}
相关文章
- FastDFS 安装及使用
- 前端框架 seajs 使用总结
- 这几款强大的 Python 数据探索工具,推荐收藏使用!
- @Around简单使用示例——SpringAOP增强处理
- jquery插件jTemplates使用方法
- git的使用学习(二)git的操作使用
- LeetCode之LRU Cache 最近最少使用算法 缓存设计
- LabVIEW使用VI Server的时候出现1003错误
- python里函数怎么样使用元组或字典作为参数调用
- python里使用正则表达式的ASCII模式
- C#使用ActiveMQ实例
- 单片机中使用操作系统RTOS的好处
- 原子半导体第7题:请使用超过一种方法去写一个可综合的Verilog代码去选择一个64个输入数据给输出。