
win10环境下搭建zookeeper伪集群
2023-09-11 14:16:36 时间
一、下载zookeeper
https://mirrors.tuna.tsinghua.edu.cn/apache/zookeeper/
这里笔者下载的是zookeeper-3.3.6
二、配置zookeeper
1.解压到三个目录
我们想要在单机上搭建3个server的伪集群,需要将下载好的zookeeper压缩包解压到三个目录下。笔者的目录如下:
server1 : F:\paths\zookeeper\server1\zookeeper-3.3.6
server2 : F:\paths\zookeeper\server2\zookeeper-3.3.6
server3 : F:\paths\zookeeper\server3\zookeeper-3.3.6
2.创建配置文件(cfg文件)
解压之后,分别进入conf目录,可以看到zoo_sample.cfg,log4j.properties和configuration.xsl三个文件。
在该目录下创建一个zoo.cfg文件(也可以直接使用zoo_sample.cfg),配置如下:
- <span style="font-size:14px;"># The number of milliseconds of each tick
- tickTime=2000(2000ms,心跳间隔,也是zookeeper的时间单位)
- # The number of ticks that the initial synchronization phase can take
- initLimit=10(10*tickTime = 20s,定义初始化的时间限制)
- # The number of ticks that can pass between sending a request and getting an acknowledgement
- syncLimit=5 (5*tickTime = 10s,定义同步的时间限制)
- # the directory where the snapshot is stored.
- dataDir=F:\paths\zookeeper\server1\zookeeper-3.3.6\data (自定义数据快照的存放目录,data目录需要自行创建)
- dataLogDir=F:\paths\zookeeper\server1\zookeeper-3.3.6\log (自定义日志存放目录,log目录需要自行创建)
- # the port at which the clients will connect
- clientPort=2181 (zookeeper服务端口)
- server.1=localhost:2887:3887 (伪集群zookeeper的server1标识)
- server.2=localhost:2888:3888 (伪集群zookeeper的server2标识)
- server.3=localhost:2889:3889 (伪集群zookeeper的server3标识)</span>
以上就是zookeeper伪集群中server1的配置文件。同理在其他两个解压路径的conf目录下创建server2和server3的配置文件zoo.cfg。参数区别仅在于dataDir、dataLogDir和clientPort
server2的zoo.cfg
- <span style="font-size:14px;"># The number of milliseconds of each tick
- tickTime=2000
- # The number of ticks that the initial synchronization phase can take
- initLimit=10
- # The number of ticks that can pass between sending a request and getting an acknowledgement
- syncLimit=5
- # the directory where the snapshot is stored.
- dataDir=F:\paths\zookeeper\server2\zookeeper-3.3.6\data
- dataLogDir=F:\paths\zookeeper\server2\zookeeper-3.3.6\log
- # the port at which the clients will connect
- clientPort=2182
- server.1=localhost:2887:3887
- server.2=localhost:2888:3888
- server.3=localhost:2889:3889</span>
server3的zoo.cfg
- <span style="font-size:14px;"># The number of milliseconds of each tick
- tickTime=2000
- # The number of ticks that the initial synchronization phase can take
- initLimit=10
- # The number of ticks that can pass between sending a request and getting an acknowledgement
- syncLimit=5
- # the directory where the snapshot is stored.
- dataDir=F:\paths\zookeeper\server3\zookeeper-3.3.6\data
- dataLogDir=F:\paths\zookeeper\server3\zookeeper-3.3.6\log
- # the port at which the clients will connect
- clientPort=2183
- server.1=localhost:2887:3887
- server.2=localhost:2888:3888
- server.3=localhost:2889:3889</span>
3.创建myid文件
在上个步骤中,我们在dataDir中指定了快照存放目录,切换到各目录下,分别创建一个文件名为myid的文件(没有后缀名)。文件内容为一个整型数。
在server1的data目录下的myid文件,其内容为1。
在server2的data目录下的myid文件,其内容为2。
在server3的data目录下的myid文件,其内容为3。
三、启动zookeeper
分别切换到三个解压路径下的bin目录,在cmd上输入zkServer.cmd启动服务,可以同时用三个cmd窗口分别启动三个server,笔者的启动顺序是server1 -> server2 -> server3。启动的过程中是会报错的,信息如下:
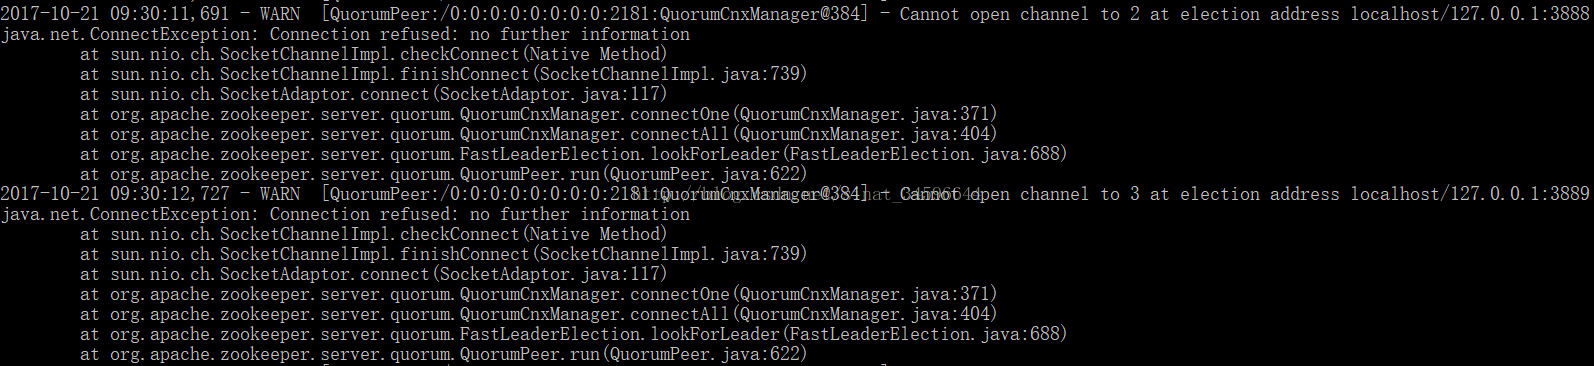
这是zookeeper的Leader选举算法的异常信息,当节点没有启动完毕的时候,Leader无法正常进行工作,这种错误信息是可以忽略的,等其他节点启动之后就正常了。
四、验证zookeeper服务是否启动
在cmd中输入jps,可以查看到相应的java进程。

相关文章
- 安装zookeeper(单机,伪集群)
- VMWare9下基于Ubuntu12.10搭建Hadoop-1.2.1集群—整合Zookeeper和Hbase
- Zookeeper知识点
- 分布式系列教程(14) -分布式协调工具Zookeeper(集群选举策略)
- 聊聊Zookeeper-快速开始
- 阿里巴巴为什么不用 ZooKeeper 做服务发现?
- Zookeeper常用节点命令
- Dubbo—Zookeeper的典型应用
- Windows 安装 Zookeeper (图文解说详细版)
- Zookeeper 3、Zookeeper工作原理(详细)
- Linux系统下安装zookeeper
- ZooKeeper 集群部署
- ZooKeeper程序员指南 (
- Zookeeper集群服务部署
- 翻译:ZooKeeper OverView
- springCloud zookeeper整合,Java Zookeeper微服务注册中心整合
- Apache Curator与Zookeeper版本兼容性异常:org.apache.zookeeper.KeeperException$UnimplementedException: KeeperErrorCode =Unimplemented
- 大数据教程之使用嵌入式 Zookeeper 设置 Apache Nifi 集群
- ZooKeeper 初体验
- zookeeper集群搭建
- ZooKeeper系列之二:Zookeeper常用命令
- 初识ZooKeeper与集群搭建实例
- zookeeper应用实例
- 综合对比ZooKeeper、Eureka、Consul 、Nacos等微服务注册中心,用途及优缺点分析
- Kafka+ZooKeeper高可用集群部署