
X11 Xlib截屏问题及深入分析一 —— 源码位置
源码 位置 深入分析 截屏 问题 X11
2023-09-14 09:15:40 时间
在使用类Ubuntu操作系统进行截屏时,发现屏幕有时不能正确截取,于是这才有了这段时间的Spetacle、Flameshot、X11 Xlib的系列文章。最后不使用Qt、直接使用X11 Xlib进行截屏仍然存在同样问题。这就需要深入对于代码进行分析了。再次列出源码如下:
#include <stdio.h>
#include <stdlib.h>
#include <X11/Xlib.h>

int main(int argc, char *argv[])
{
	Display *display = XOpenDisplay(NULL);
	if(!display)
	{
		printf("XOpenDisplay failed\n");
		return -1;
	}

	int screen_num = DefaultScreen(display);
	printf("default screen_num is: %d\n", screen_num);

	int screen_width = DisplayWidth(display, screen_num);
	int screen_height = DisplayHeight(display, screen_num);
	printf("screen_width: %d, screen_height: %d\n", screen_width, screen_height);

	Window root_win = RootWindow(display, screen_num);
	if(!root_win)
	{
		printf("can not get root window\n");
		return -1;
	}

	Window disp_win = XCreateSimpleWindow(display, root_win, 0, 0, screen_width, screen_height, 1, 0, 0) ;
	if(!disp_win)
	{
		printf("can not get snapshot display window\n");
		return -1;
	}

	XMapWindow(display, disp_win);

	XImage *img = XGetImage(display, root_win, 0, 0, screen_width, screen_height, ~0, ZPixmap);

	XPutImage(display, disp_win, DefaultGC(display, screen_num), img, 0, 0, 0, 0, screen_width, screen_height);

	char c = getchar();

	//XDestroyImage(img);
	XCloseDisplay(display);

	printf("screen_snapshot finished\n");

	return 0;
}
可以看到,源码比较简单,只是几个基本的接口函数。由于是经典的接口函数,因此基本上不用怀疑函数本身的问题,而是要深入跟到接口函数的底层,看看究竟是哪里出现了问题(初步分析是驱动问题或者缺少某些库)。
那么问题来了,这些接口函数的源码在哪里实现?也可以说是在哪个包、哪个库中实现?
源码中有一句#include <X11/Xlib.h>,在终端下搜索其是在哪个包中:
$ dpkg -S /usr/include/X11/Xlib.h
libx11-dev:amd64: /usr/include/X11/Xlib.h
既然有头文件,那么必有相同或者相似名称的源文件或者库文件,继续在终端下进行以下搜索:
$ dpkg -S /usr/lib/x86_64-linux-gnu/libX11.so
libx11-dev:amd64: /usr/lib/x86_64-linux-gnu/libX11.so
可见,libx11-dev就是我们要找的目标。那么libx11-dev对应的源码又在哪里?也就是说哪个源码包经过编译最终生成的libX11.so?
实际上源码是在这里:
https://www.linuxfromscratch.org/blfs/view/systemd/x/x7lib.html
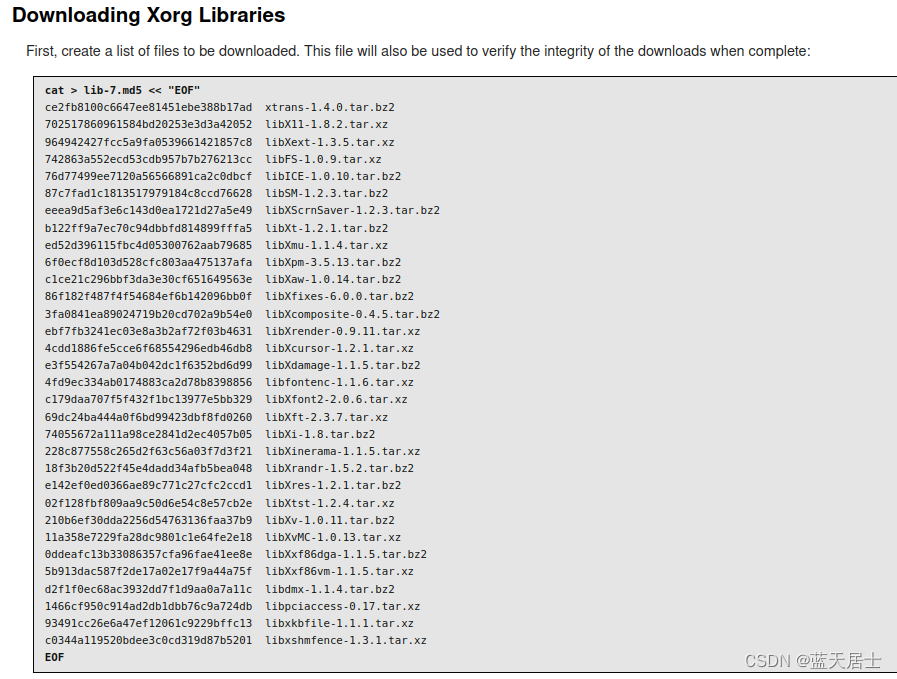
上图中的libX11-1.8.2.tar.xz(版本可能略有不同)就是libX11-dev对应的源码包。下载链接为:
https://www.x.org/archive//individual/lib/libX11-1.8.2.tar.xz
下载并解压后(过程略),内容如下:
$ ls
aclocal.m4  ChangeLog  config.guess  configure     COPYING      depcomp     include  install-sh  m4           Makefile.in  missing  NEWS  README.md  src          x11.pc.in
AUTHORS     compile    config.sub    configure.ac  cpprules.in  docbook.am  INSTALL  ltmain.sh   Makefile.am  man
源码包找到了,关于接口函数的具体位置对应的源码分析就是接下来要做的事情了。参见接下来的文章。
相关文章
- 【说站】宝宝起名神器小程序源码_支持多种流量主模式
- React源码之更新的创建
- Elastic-Job2.1.5源码-基于Zookeeper分布式锁实现选举作业主节点原理
- React源码学习入门(六)React Component是如何实现的?
- sqlmap 源码分析(三)在注入之前
- SocketRocket源码分析
- 【Android 异步操作】AsyncTask 异步任务 ( 参数简介 | 方法简介 | 使用方法 | AsyncTask 源码分析 )
- 【Linux 内核 内存管理】虚拟地址空间布局架构 ⑤ ( Linux 内核中对 “ 虚拟地址空间 “ 的描述 | task_struct 结构体源码 )
- 【Linux 内核 内存管理】引导内存分配器 bootmem ② ( bootmem_data 结构体源码分析 | bootmem_data 与内存节点 pglist_data 的关联 )
- Linux游戏源码的优势探究(linux游戏源码)
- xcache 源码包编译安装
- 解读Linux下nc命令源码实现(linuxnc源码)