
Presto 安装
Presto Server 安装
官网地址 : https://prestodb.github.io/

下载地址 : https://repo1.maven.org/maven2/com/facebook/presto/presto-server/
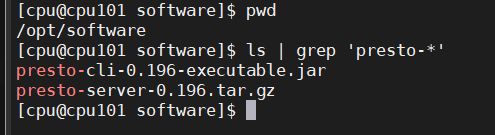
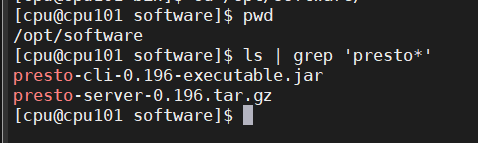
将 presto-server-0.196.tar.gz 导入cpu101 的 /opt/software 目录下
解压到 /opt/module 目录
tar -zxvf presto-server-0.196.tar.gz -C /opt/module/

修改名称
mv presto-server-0.196/ presto-0.196/

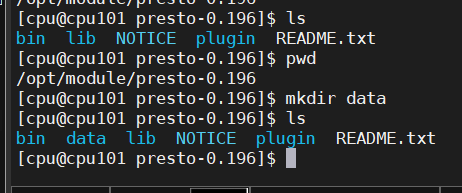
创建存储数据文件夹
进入到 /opt/module/presto-0.196 目录
mkdir data
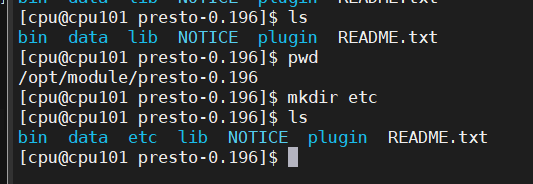
创建存储配置文件文件夹
进入到 /opt/module/presto-0.196 目录
mkdir etc
添加jvm.config配置文件
配置在 /opt/module/presto-0.196/etc 目录下
vim jvm.config

添加如下内容
-server
-Xmx16G
-XX:+UseG1GC
-XX:G1HeapRegionSize=32M
-XX:+UseGCOverheadLimit
-XX:+ExplicitGCInvokesConcurrent
-XX:+HeapDumpOnOutOfMemoryError
-XX:+ExitOnOutOfMemoryError
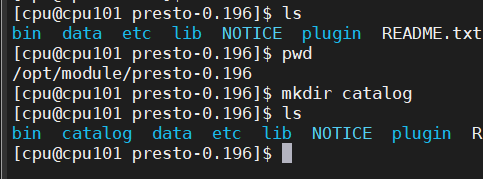
配置支持 Hive 的数据源
Presto 可以支持多个数据源 ( catalog )
配置支持 Hive 的数据源,配置一个 Hive 的 catalog
mkdir catalog
vim hive.properties
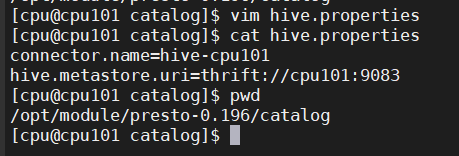
添加内容 :
connector.name=hive-cpu101
hive.metastore.uri=thrift://cpu101:9083
分发
将 cpu101 上的 presto 分发到其他服务器
xsync presto-0.196/

配置node属性
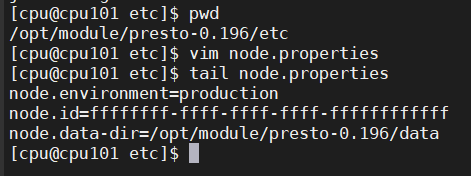
分发之后,分别进入cpu101、cpu102、cpu103三台主机的 /opt/module/presto-0.196/etc 的路径
cpu101
vim node.properties
node id 每个节点都不一样
node.environment=production
node.id=ffffffff-ffff-ffff-ffff-ffffffffffff
node.data-dir=/opt/module/presto-0.196/data
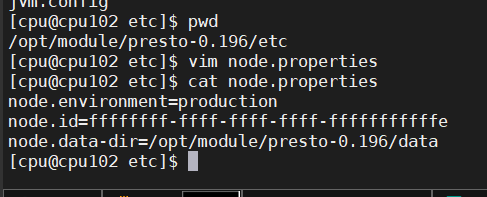
cpu102
vim node.properties
node.environment=production
node.id=ffffffff-ffff-ffff-ffff-fffffffffffe
node.data-dir=/opt/module/presto-0.196/data
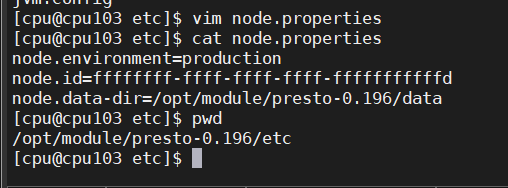
cpu103
vim node.properties
node.environment=production
node.id=ffffffff-ffff-ffff-ffff-fffffffffffd
node.data-dir=/opt/module/presto-0.196/data
Presto 是由一个 coordinator 节点和多个 worker 节点组成
在 cpu101 上配置成 coordinator ,在 cpu102 、cpu103 上配置为 worker
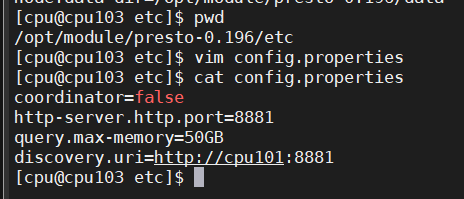
配置 coordinator 节点
cpu101 上
vim config.properties
添加内容如下
coordinator=true
node-scheduler.include-coordinator=false
http-server.http.port=8881
query.max-memory=50GB
discovery-server.enabled=true
discovery.uri=http://cpu101:8881

配置 worker 节点
cpu102、cpu103 上
vim config.properties
添加内容如下
coordinator=false
http-server.http.port=8881
query.max-memory=50GB
discovery.uri=http://cpu101:8881

vim config.properties
添加内容如下
coordinator=false
http-server.http.port=8881
query.max-memory=50GB
discovery.uri=http://cpu101:8881
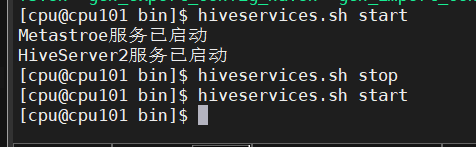
启动Hive Metastore
在cpu101 的 /opt/module/hive 目录下,用 cpu 角色
nohup bin/hive --service metastore >/dev/null 2>&1 &
脚本启动 :
hiveservices.sh start
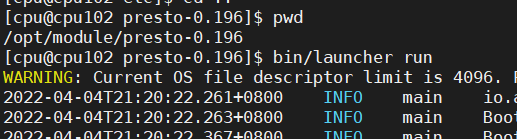
启动 Presto Server
分别在 cpu101 、cpu102 、cpu103 上 , 前台启动Presto,控制台显示日志
bin/launcher run
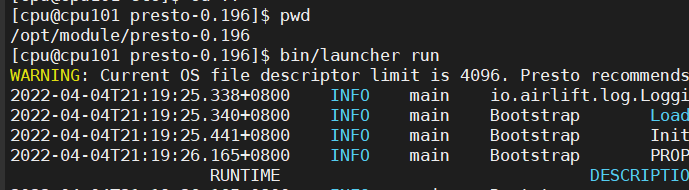
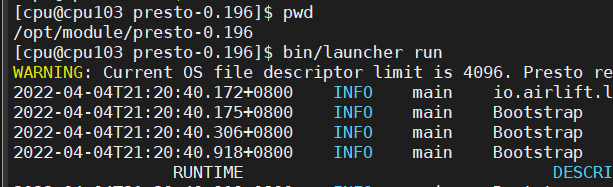
日志查看路径 /opt/module/presto/data/var/log

脚本
vim presto_server.sh
#!/bin/bash

case $1 in
"start"){
        for i in cpu101 cpu102 cpu103
        do
                echo ---------- Presto Server $i 启动 ------------
                ssh $i "/opt/module/presto-0.196/bin/launcher start"
        done
};;

"stop"){
        for i in cpu101 cpu102 cpu103
        do
                echo ---------- Presto Server $i 停止 ------------
                ssh $i "/opt/module/presto-0.196/bin/launcher stop"
        done
};;

"status"){
        for i in cpu101 cpu102 cpu103
        do
                echo ---------- Presto Server $i 状态 ------------
                ssh $i "/opt/module/presto-0.196/bin/launcher status"
        done
};;
esac
权限
chmod 777 presto_server.sh

启动
presto_server.sh start

Presto 命令行 Client 安装
下载 Presto 的客户端
https://repo1.maven.org/maven2/com/facebook/presto/presto-cli
将 presto-cli-0.196-executable.jar上传到 cpu101 的 /opt/software 文件夹下
拷贝
cp presto-cli-0.196-executable.jar /opt/module/presto-0.196/

修改文件名称
mv presto-cli-0.196-executable.jar prestocli

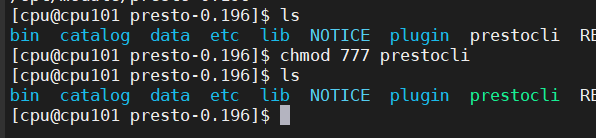
增加执行权限
chmod 777 prestocli
启动 prestocli
./prestocli --server cpu101:8881 --catalog hive --schema default

Presto命令行操作
Presto的命令行操作 ( Hive 命令行操作 ) 。每个表必须要加上 schema
例子 :
SELECT * FROM system.runtime."nodes" LIMIT 100;

Presto 可视化 Client 安装
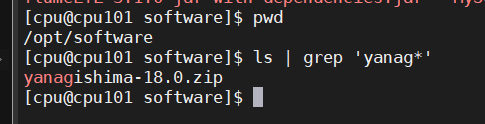
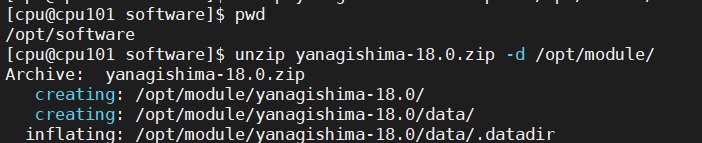
将 yanagishima-18.0.zip 上传到 cpu101 的 /opt/software 目录
解压缩 yanagishima
下载 zip
yum -y install zip unzip

unzip yanagishima-18.0.zip -d /opt/module/
配置文件
进入到 /opt/module/yanagishima-18.0/conf 文件夹
编写yanagishima.properties 配置
vim yanagishima.properties

添加如下内容
jetty.port=7080
presto.datasources=cpu-presto
presto.coordinator.server.cpu-presto=http://cpu101:8881
catalog.cpu-presto=hive
schema.cpu-presto=default
sql.query.engines=presto
脚本
vim yanagishima.sh

#!/bin/bash

YANAGISHIMA_HOME=/opt/module/yanagishima-18.0

#检查进程是否运行正常,参数1为进程名
function check_process()
{
    result=`ps -ef 2>/dev/null | grep -v grep | grep -i YanagishimaServer | wc -l`
    if [[ $result -lt 1 ]]; then
        echo "yanagishima 未在运行"
    else
        echo "yanagishima 正在运行"
    fi
	return $result
}

function yanagishima_start()
{
    check_process
    if [[ $? -lt 1 ]]; then
        echo "启动 yanagishima "
        `cd $YANAGISHIMA_HOME;nohup bin/yanagishima-start.sh >y.log 2>&1 &`
    fi
}

function yanagishima_stop()
{
    check_process
    if [[ $? -gt 0 ]]; then
        echo "停止 yanagishima "
        `ps -ef 2>/dev/null | grep -v grep | grep -i YanagishimaServer | awk '{print $2}' | xargs kill`
    fi
}


case $1 in
    "start")
        yanagishima_start
    ;;
    "stop")
        yanagishima_stop
    ;;
    "restart")
        yanagishima_stop
        sleep 2
        yanagishima_start
    ;;
    "status")
        check_process
    ;;
    *)
        echo Invalid Args!
        echo 'Usage: '$(basename $0)' start|stop|restart|status'
    ;;
esac
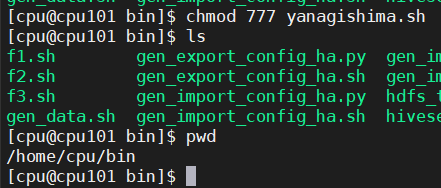
权限
chmod 777 yanagishima.sh
启动web页面
http://cpu101:7080
看到界面,进行查询了

查看表结构
Tree View,可以查看所有表的结构 :
- Schema
- 表
- 字段

执行 ( ctrl + enter ):
SELECT * FROM system.runtime."nodes" LIMIT 100

每个表后面都有个复制键,点一下会复制完整的表名

相关文章
- SketchUp Pro 2022 for Mac(草图大师)中英版安装教程
- Mac安装brew
- Linux安装Zookeeper
- WordPress安装MarkDown插件
- 三维设计软件solidworks2023最新版,solidworks软件安装教程下载
- 地理信息软件ArcGIS中文版,ArcGISPro3.0软件安装激活教程
- 南方CASS测绘最新版下载_南方CASS安装包下载附安装教程
- Linux安装Squid:深入解析(linux安装squid)
- Java MySQL数据库安装步骤指南(javamysql下载)
- 如何在 Linux 中安装微软的 .NET Core SDK
- Ubuntu Make 新版上线:支持安装 Swift 编程语言
- Ubuntu下,如何安装Swift
- 使用VHD实现Linux安装(vhd安装linux)
- Linux驱动安装指南:简易教程(linux驱动安装教程)
- 轻松搞定!快速学会Linux中如何安装Pg数据库(linux安装pg)
- 检查Redis服务:安装成功与否判断(redis是否安装成功)
- Linux 下快速安装FTP服务器(linux下安装ftp)
- 成功SQLServer安装失败:挫败与困惑(sqlserver安装不)