
linux kvm 命令行安装Windows xp虚拟机
古老的操作系统Windowsxp还是比较香的,有一些单机游戏或者其它比较旧的软件还是需要Windowsxp的,那么,使用kvm安装一个Windowsxp是一个不错的主意了。
一,实验目标
通过linux 的centos7操作系统内搭建的kvm环境,安装一个Windowsxp的虚拟机,并使得该虚拟机可以远程连接,可以使用宿主机的外网。能够运行一些特定的比较古老的软件。
二,实验环境介绍
(1)
kvm环境,kvm环境搭建见我的博客:kvm环境精讲和kvm环境离线安装包_zsk_john的博客-CSDN博客_kvm离线安装包
(2)
Windowsxp的安装包
MSDN, 我告诉你 - 做一个安静的工具站在这里面下载,通常是使用迅雷下载的哦。

现在是要安装Windowsxp,自然从xp里选择一款操作系统来安装啦。
(3)
windows的驱动
驱动下载地址:
https://fedorapeople.org/groups/virt/virtio-win/direct-downloads/archive-virtio/xp一般是使用的96
三,
安装步骤
- 生成kvm的虚拟磁盘 命令如下:
qemu-img create -f qcow2 /opt/winxp.qcow2 5G这里生成的文件大小是5G,出于Windowsxp是比较小的操作系统,也是测试性质,因此,没有设置太大。
- virsh-install 命令开始第一次初始安装(第一次安装完毕后,还需要调整系统,修改xml配置文件):
virt-install --name=xp --ram 2048 --vcpus=2 --os-type=windows --os-variant winxp --disk path=/opt/winxp.qcow2,bus=virtio,size=5,format=qcow2 --accelerate --cdrom /opt/windows_xp_professional_with_service_pack_3_x86_cd_x14-80404.iso --vnc --vncport=5955 --vnclisten=0.0.0.0 --network bridge=br0 --force --autostart --disk path=/opt/virtio-win-0.1.96_x86.vfd,device=floppy --boot cdrom安装截图:
1,此时需要摁F6确认一下xp

2,按s 确认一下,然后两次回车

3,默认选择,直接回车两次

4, 回车,没什么好说的

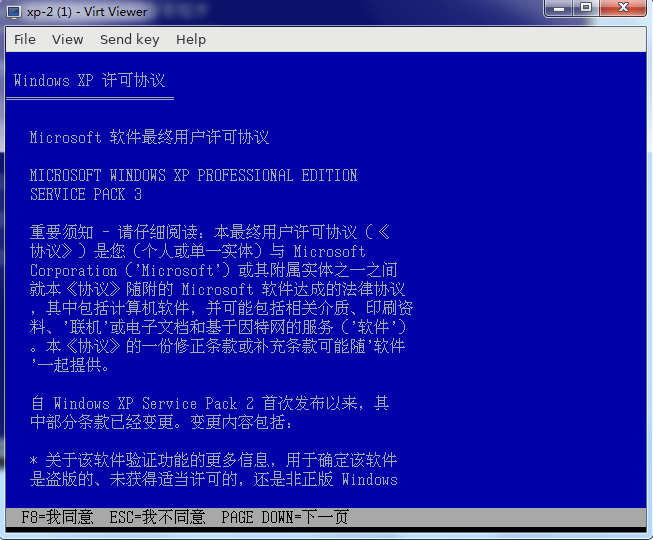
5,F8按一哈
6,可以看到一个5G的磁盘了哈,证明前面工作做的是对的。已经是选择上的状态,因此,直接回车就可以了。

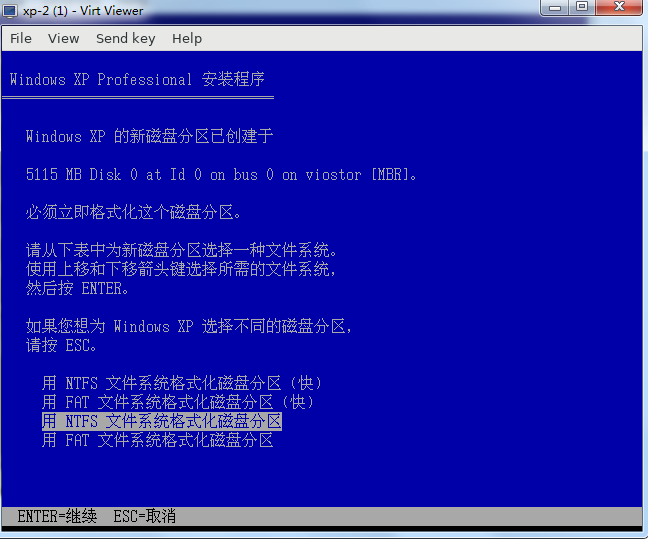
7,默认选择的是第三个,不需要更改,直接回车
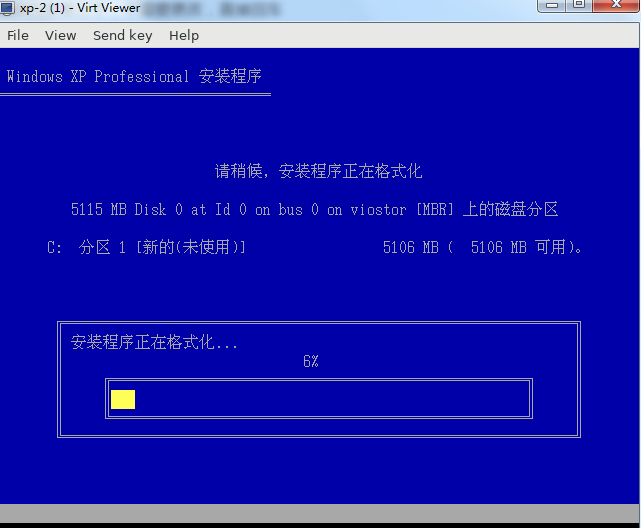
8,等待几分钟
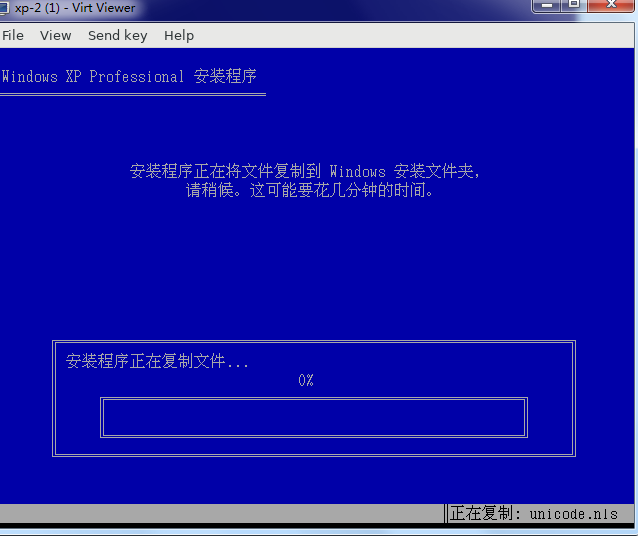
9, 仍然等待

10, 仍然等待,大概需要5-10分钟左右时间
11, 仍然等待,大概20分钟

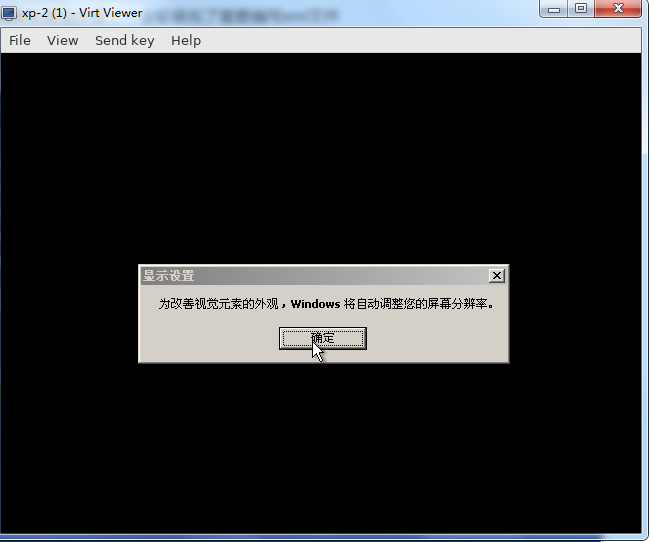
12,需要手动干预两下,确认两哈啊
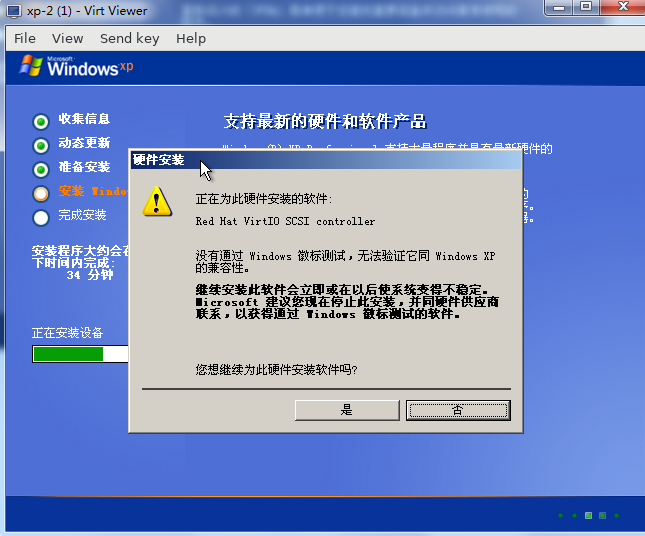
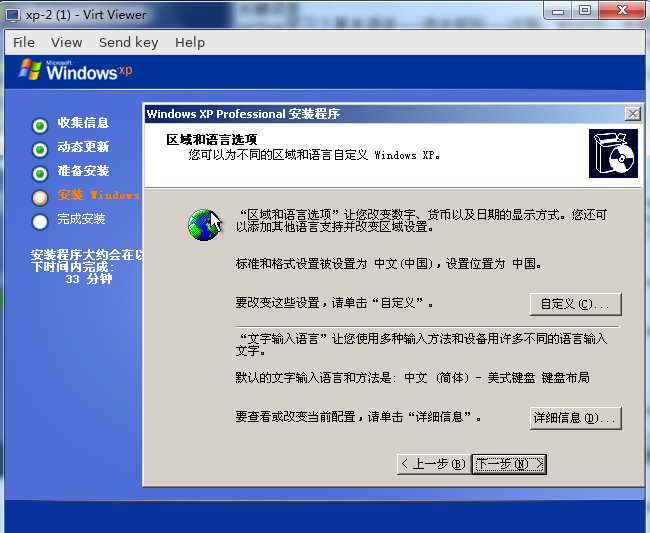
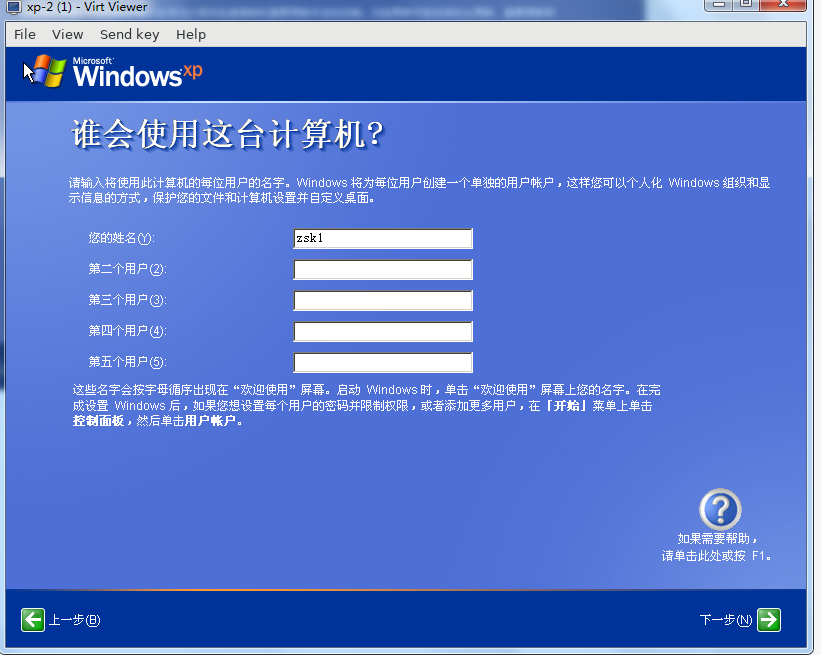
13,时间,账号,根据自己情况设置
14,
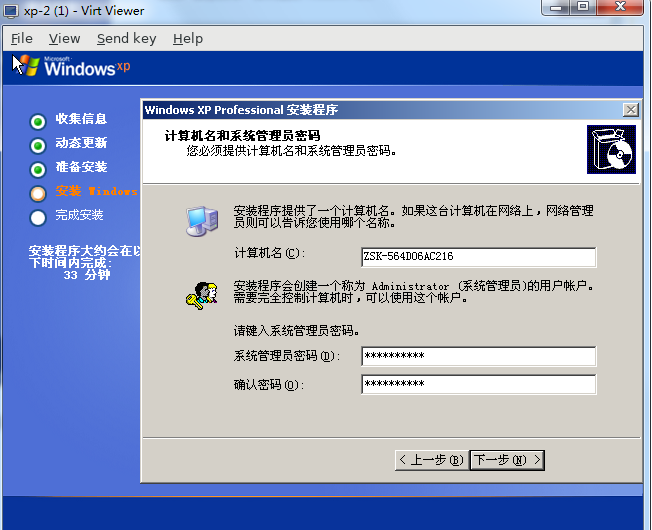
15,设置administrator的密码
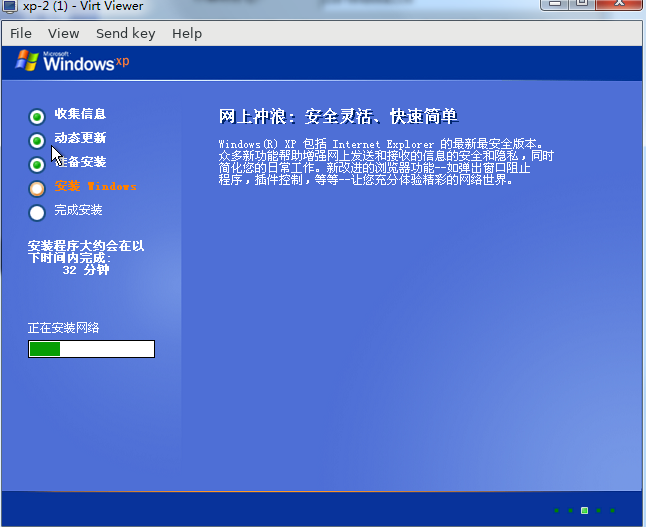
16,网络安装会失败,一会安装完了需要编写xml文件
17,确定一哈
18,

19,
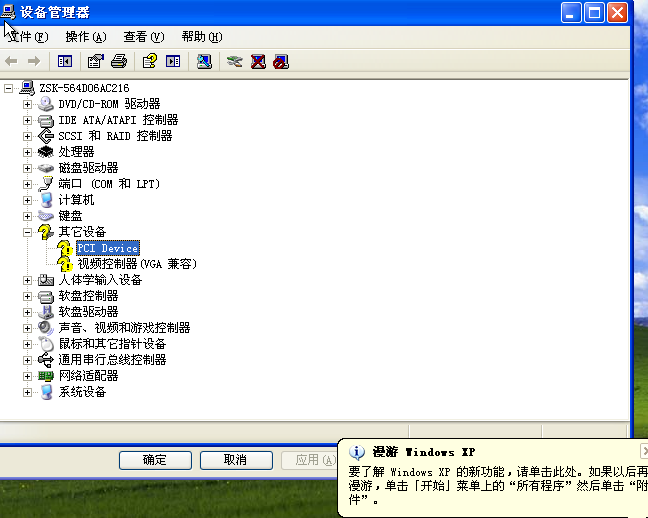
20,有驱动没有安装,尤其是网卡的,怎么办呢?

21,关机,修改配置文件,在开机,安装驱动就可以啦
关机前复制一份配置文件到/opt目录下
cp /etc/libvirt/qemu/xp-2.xml /opt/关机命令:
virsh destroy xp-2
virsh undefine xp-2
关机后,修改一个单词,修改前:
<interface type='bridge'>
      <mac address='52:54:00:f2:2b:52'/>
      <source bridge='br0'/>
      <model type='e1000'/>
      <address type='pci' domain='0x0000' bus='0x00' slot='0x03' function='0x0'/>
    </interface>
修改model type= rtl8139,也就是这样的(修改后):
<interface type='bridge'>
      <mac address='52:54:00:f2:2b:52'/>
      <source bridge='br0'/>
      <model type='rtl8139'/>
      <address type='pci' domain='0x0000' bus='0x00' slot='0x03' function='0x0'/>
    </interface>
在通过该xml文件启动kvm镜像:
virsh create xp-2.xmlvnc 连接kvm镜像,IP+5956(端口是前面的安装命令定义过的哦)端口即可。
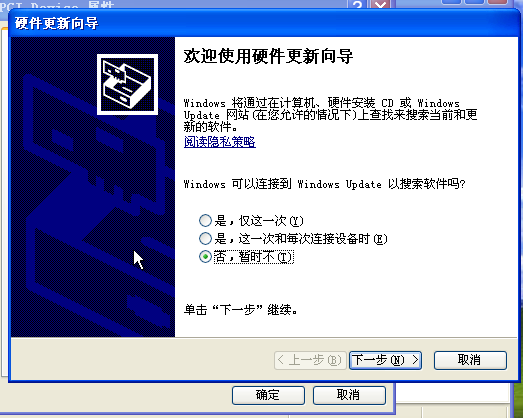
22,手动安装驱动
23,可以看到网卡驱动已经自动安装好了,pci可以不用管,不影响使用啦。
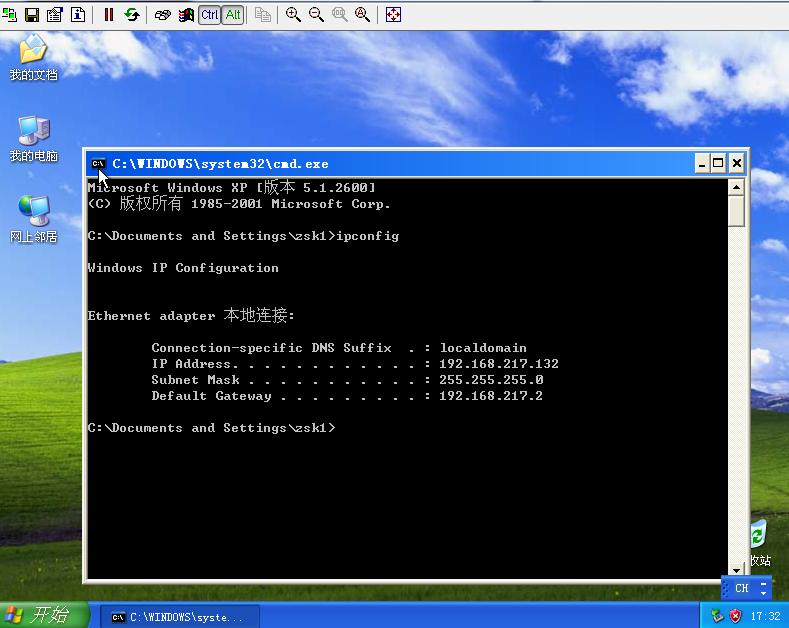
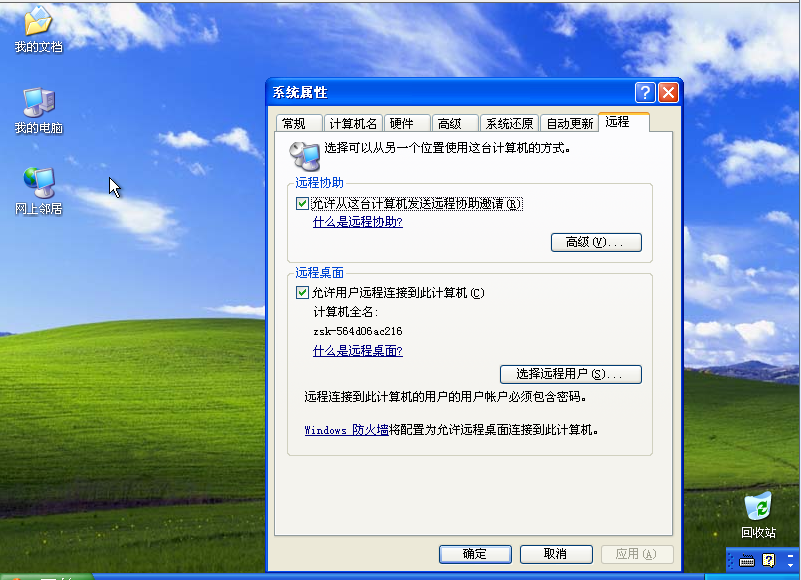
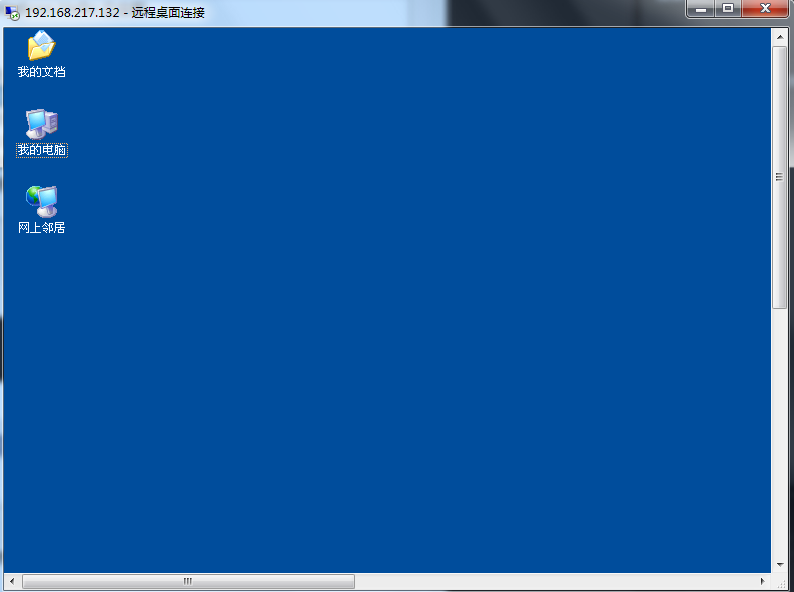
现在在其它的服务器上就可以远程连接这个kvm虚拟机啦(IP地址是192.168.217.132)
xsl文件的完整内容:
<!--
WARNING: THIS IS AN AUTO-GENERATED FILE. CHANGES TO IT ARE LIKELY TO BE
OVERWRITTEN AND LOST. Changes to this xml configuration should be made using:
  virsh edit xp-2
or other application using the libvirt API.
-->

<domain type='kvm'>
  <name>xp-2</name>
  <uuid>61ce1eca-a0cb-483d-835e-9ab1325d5aeb</uuid>
  <memory unit='KiB'>2097152</memory>
  <currentMemory unit='KiB'>2097152</currentMemory>
  <vcpu placement='static'>2</vcpu>
  <os>
    <type arch='x86_64' machine='pc-i440fx-rhel7.0.0'>hvm</type>
    <boot dev='cdrom'/>
  </os>
  <features>
    <acpi/>
    <apic/>
    <hyperv>
      <relaxed state='on'/>
      <vapic state='on'/>
      <spinlocks state='on' retries='8191'/>
    </hyperv>
  </features>
  <cpu mode='custom' match='exact' check='partial'>
    <model fallback='allow'>SandyBridge</model>
  </cpu>
  <clock offset='localtime'>
    <timer name='rtc' tickpolicy='catchup'/>
    <timer name='pit' tickpolicy='delay'/>
    <timer name='hpet' present='no'/>
    <timer name='hypervclock' present='yes'/>
  </clock>
  <on_poweroff>destroy</on_poweroff>
  <on_reboot>restart</on_reboot>
  <on_crash>destroy</on_crash>
  <pm>
    <suspend-to-mem enabled='no'/>
    <suspend-to-disk enabled='no'/>
  </pm>
  <devices>
    <emulator>/usr/libexec/qemu-kvm</emulator>
    <disk type='file' device='disk'>
      <driver name='qemu' type='qcow2'/>
      <source file='/opt/winxp-2.img'/>
      <target dev='vda' bus='virtio'/>
      <address type='pci' domain='0x0000' bus='0x00' slot='0x05' function='0x0'/>
    </disk>
    <disk type='file' device='floppy'>
      <driver name='qemu' type='raw'/>
      <source file='/opt/virtio-win-0.1.96_x86.vfd'/>
      <target dev='fda' bus='fdc'/>
      <address type='drive' controller='0' bus='0' target='0' unit='0'/>
    </disk>
    <controller type='usb' index='0' model='ich9-ehci1'>
      <address type='pci' domain='0x0000' bus='0x00' slot='0x04' function='0x7'/>
    </controller>
    <controller type='usb' index='0' model='ich9-uhci1'>
      <master startport='0'/>
      <address type='pci' domain='0x0000' bus='0x00' slot='0x04' function='0x0' multifunction='on'/>
    </controller>
    <controller type='usb' index='0' model='ich9-uhci2'>
      <master startport='2'/>
      <address type='pci' domain='0x0000' bus='0x00' slot='0x04' function='0x1'/>
    </controller>
    <controller type='usb' index='0' model='ich9-uhci3'>
      <master startport='4'/>
      <address type='pci' domain='0x0000' bus='0x00' slot='0x04' function='0x2'/>
    </controller>
    <controller type='pci' index='0' model='pci-root'/>
    <controller type='fdc' index='0'/>
    <controller type='ide' index='0'>
      <address type='pci' domain='0x0000' bus='0x00' slot='0x01' function='0x1'/>
    </controller>
    <interface type='bridge'>
      <mac address='52:54:00:f2:2b:52'/>
      <source bridge='br0'/>
      <model type='rtl8139'/>
      <address type='pci' domain='0x0000' bus='0x00' slot='0x03' function='0x0'/>
    </interface>
    <serial type='pty'>
      <target type='isa-serial' port='0'>
        <model name='isa-serial'/>
      </target>
    </serial>
    <console type='pty'>
      <target type='serial' port='0'/>
    </console>
    <input type='tablet' bus='usb'>
      <address type='usb' bus='0' port='1'/>
    </input>
    <input type='mouse' bus='ps2'/>
    <input type='keyboard' bus='ps2'/>
    <graphics type='vnc' port='5956' autoport='no' listen='0.0.0.0'>
      <listen type='address' address='0.0.0.0'/>
    </graphics>
    <video>
      <model type='vga' vram='16384' heads='1' primary='yes'/>
      <address type='pci' domain='0x0000' bus='0x00' slot='0x02' function='0x0'/>
    </video>
    <memballoon model='virtio'>
      <address type='pci' domain='0x0000' bus='0x00' slot='0x06' function='0x0'/>
    </memballoon>
  </devices>
</domain>
相关文章
- 阿里云磁盘无损扩容&Windows,Linux无损扩容分区大小
- Linux下使用screen工作How-to
- [Linux]linux下取消用户名和密码直接登录
- [Linux]如何查看系统的Time Slice
- linux中chkconfig 启动程序顺序介绍
- 如何从windows中拷贝文件到linux (ubuntu)??
- linux安装splunk-enterprise
- Linux-ubuntu向windows共享文件
- 【Linux 内核】进程管理 - 进程优先级 ① ( 限期进程 | 实时进程 | 普通进程 | 进程优先级相关字段 )
- 【错误记录】解压 Linux 内核报错 ( Can not create symbolic link : 客户端没有所需的特权 | Windows 中配置 7z 命令行执行解压操作 )
- linux 中文件权限和磁盘管理、linux服务器项目如何部署
- L85.linux命令每日一练 -- 第12章 Linux系统常用内置命令(一)
- L75.linux命令每日一练 -- 第11章 Linux系统管理命令 -- lsof和uptime
- L69.linux命令每日一练 -- 第十章 Linux网络管理命令 -- arpping和telnet
- L58.linux命令每日一练 -- 第九章 Linux进程管理命令 -- pgrep和kill
- L41.linux命令每日一练 -- 第七章 Linux用户管理及用户信息查询命令 -- userdel和groupadd
- L2.linux命令每日一练 -- 第一章 Linux命令行简介
- 3种改变Linux中打开文件限制的方法
- Linux基础命令-alias设置别名
- Linux 挂载 Windows 磁盘
- ASP.NETCore微服务(七)——【docker部署linux上线】(ECS+linux+docker+API上线部分)
- Linux 交换分区与链接文件
- docker cobbler批量部署Linux/windows系统(三)——筑梦之路