
Docker 实战教程之从入门到提高 (四)
本系列的前三篇文章,我们学习了如何在 Ubuntu 操作系统安装 Docker,并且通过实战练习,了解了 Docker 和宿主机操作系统文件目录互相隔离的实现原理,以及 Docker Volume 的工作原理。通过动手对 Nginx Docker 镜像进行修改,达到自定义其首页显示的目的。
其中系列的第三篇文章,包含了使用 Dockerfile 基于已有的 Nginx 镜像制作一个支持 SSL 访问的 Nginx Docker 镜像的步骤。
本文继续我们的 Docker 学习之路。
练习1:从头基于空镜像 scratch 创建一个新的 Docker 镜像
我们在使用 Dockerfile 构建 docker 镜像时,一种方式是使用官方预先配置好的容器镜像。优点是我们不用从头开始构建,节省了很多工作量,但付出的代价是需要下载很大的镜像包。
比如我机器上 docker images 返回的这些基于 nginx 的镜像,每个都超过了 100MB,而一个简单的 Ubuntu 的容器超过了 200MB,如果安装了相关的软件,尺寸会更大。
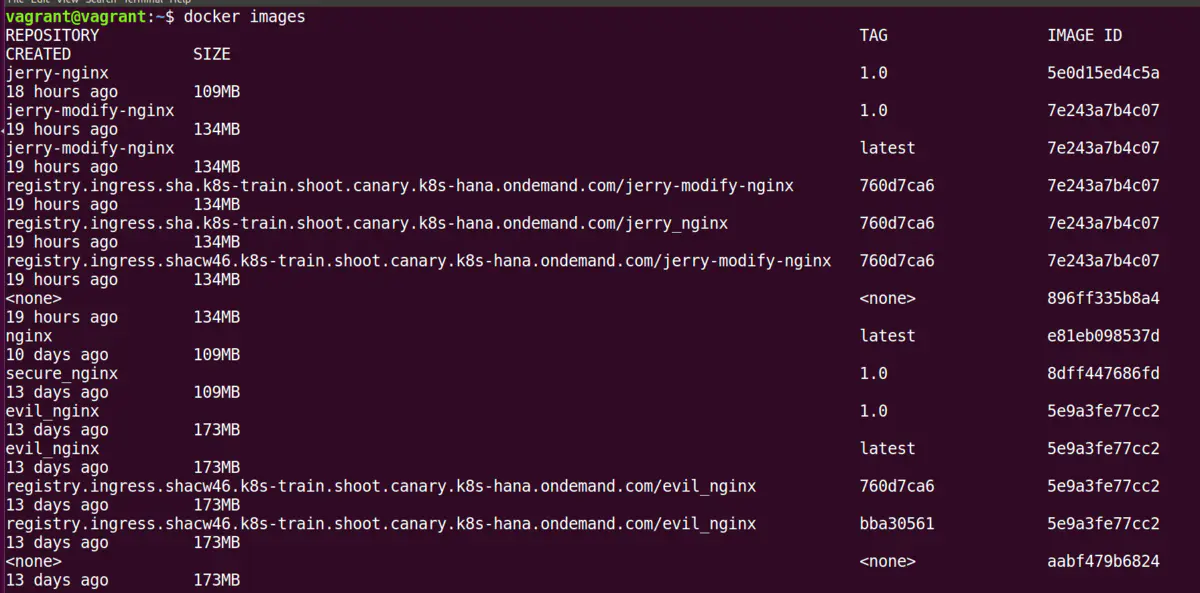
如果我们的需求是在构建一个符合我们实际业务需求的 Docker 镜像的前提下,确保镜像尺寸尽可能的小,应该怎么做呢?
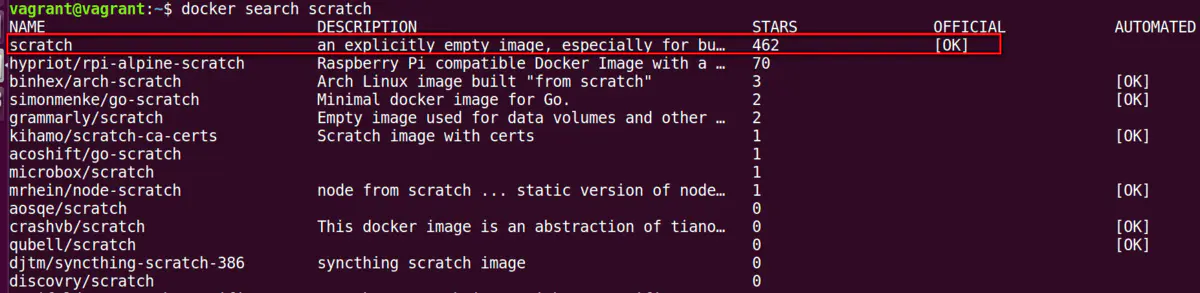
思路是使用空镜像 scratch.
新建一个文件夹,用 wget 下载 rootfs.tar.xz 压缩包。
wget -O rootfs.tar.xz https://github.com/debuerreotype/docker-debian-artifacts/raw/b024a792c752a5c6ccc422152ab0fd7197ae8860/jessie/rootfs.tar.xz
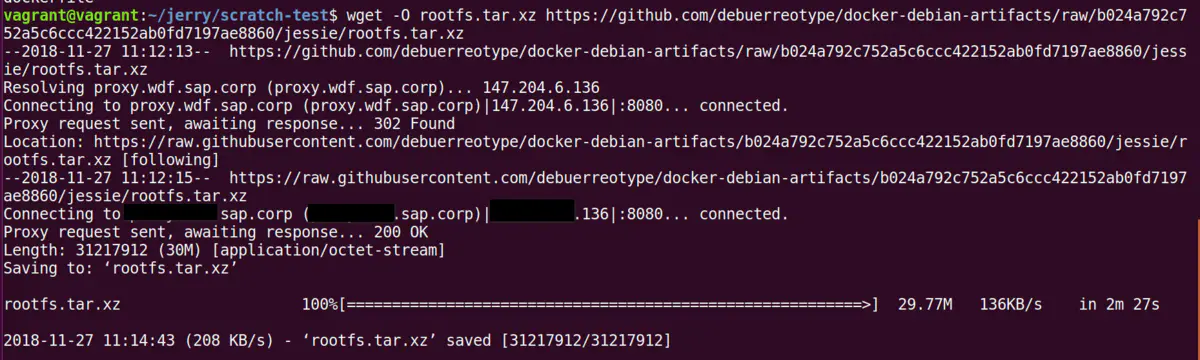
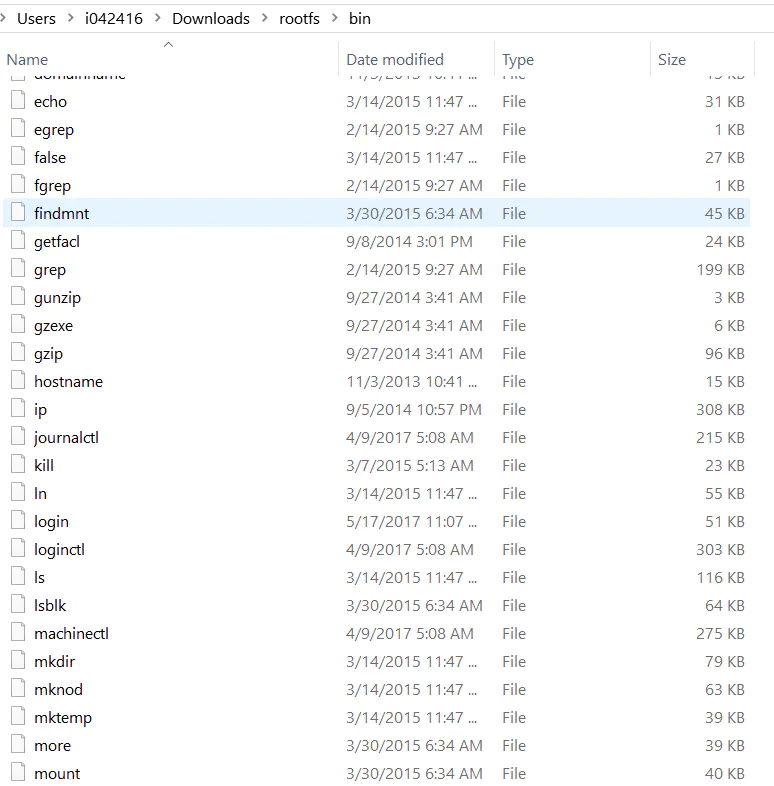
这个将近 30MB的压缩包是个什么东东?
解压之后看内容就知道了,包含了操作系统大部分常用命令。
wget -O nginx.conf https://github.diablo.corp/raw/slvi/docker-k8s-training/master/docker/res/nginx.conf
新建一个 dockerfile 文件,将下列内容粘贴进去:
FROM scratch

# set the environment to honour SAP's proxy servers
ENV http_proxy http://sap.corp:8080
ENV https_proxy http://sap.corp:8080
ENV no_proxy .sap.corp

# give yourself some credit
LABEL maintainer="Jerry Wang"

# add and unpack an archive that contains a Debian root filesystem
ADD rootfs.tar.xz /

# use the apt-get package manager to install nginx and wget
RUN apt-get update && \
apt-get -y install nginx wget

# use wget to download a custom website into the image
RUN wget --no-check-certificate -O /usr/share/nginx/html/cheers.jpg https://github.diablo.corp/raw/slvi/docker-k8s-training/master/docker/res/cheers.jpg && \
wget --no-check-certificate -O /usr/share/nginx/html/index.html https://github.diablo.corp/raw/slvi/docker-k8s-training/master/docker/res/cheers.html

# copy the custom nginx configuration into the image
COPY nginx.conf /etc/nginx/nginx.conf

# link nginx log files to Docker log collection facility
RUN ln -sf /dev/stdout /var/log/nginx/access.log && \
ln -sf /dev/stderr /var/log/nginx/error.log

# expose port 80 - the standard port for webservers
EXPOSE 80

# and make sure that nginx runs when a container is created
CMD ["nginx", "-g", "daemon off;"]
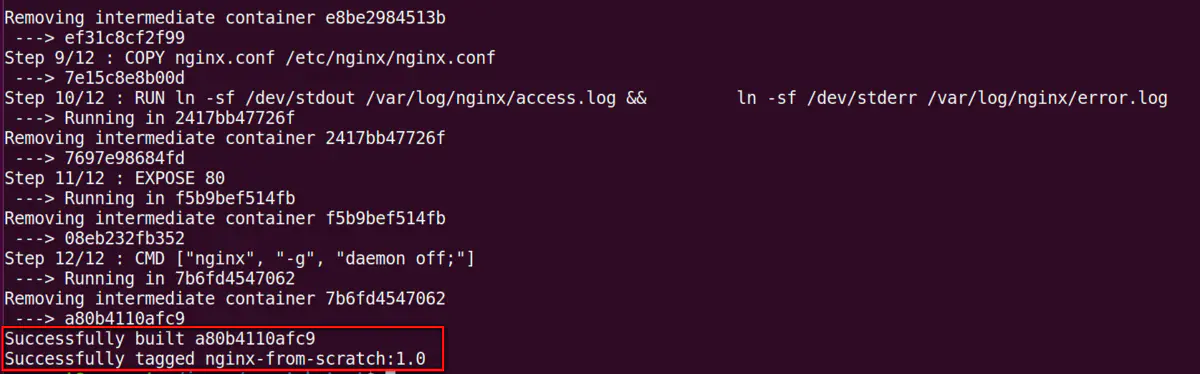
执行命令进行镜像的构建:
docker build -t nginx-from-scratch1.0 .

产生的日志:

最后看到镜像成功构建的消息。
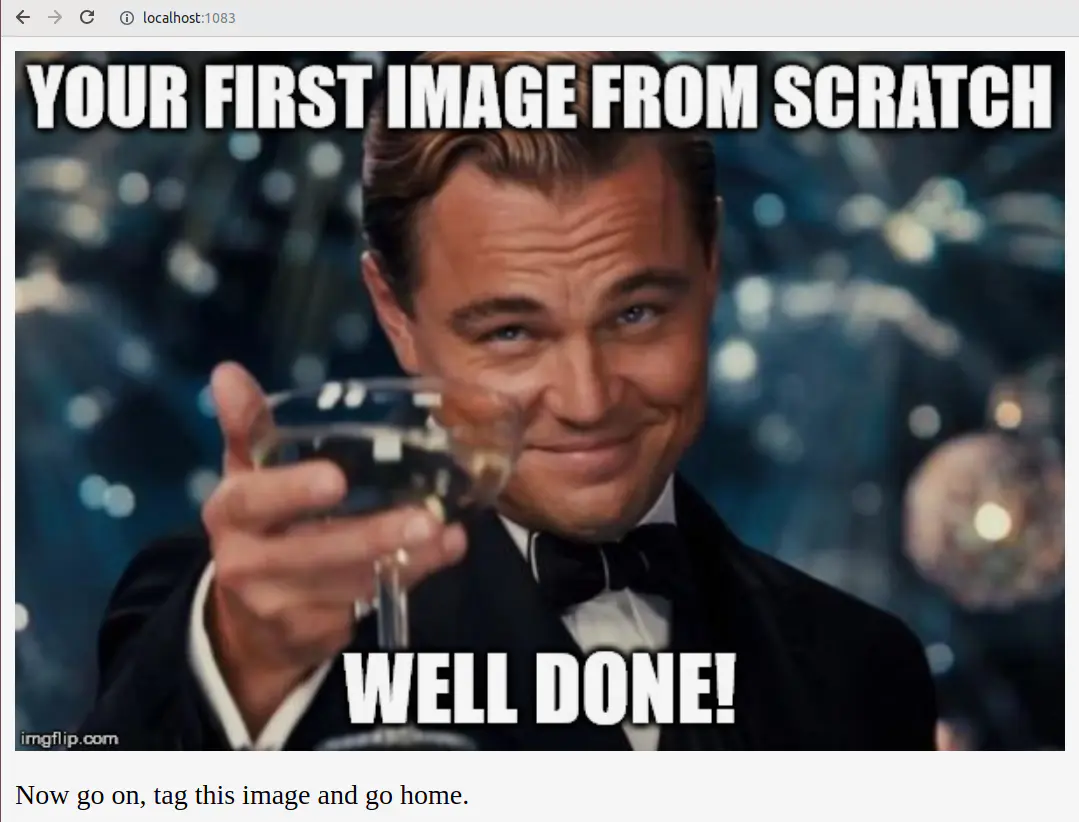
基于这个名为 nginx-from-scratch 的镜像启动一个新的 nginx 容器:

localhost:1083, 看到首页,说明这个新构建的镜像工作正常。
练习2:删除所有正在运行和退出的 Docker 实例
经过本系列三篇文章的练习,我们本机想必已经创建了不少 Docker 实例了,是时候对它们进行一次清理了。
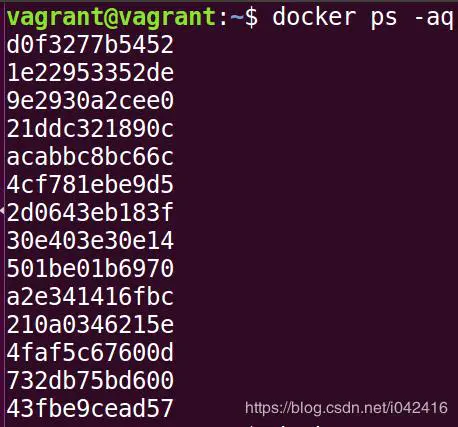
docker ps -a 能显示所有 docker 实例的状态,包含已经退出了的:

加上-q参数,只显示container id
使用这个命令,把 docker ps -aq 产生的输入作为输入传入到 docker rm 命令,达到删除所有容器实例的效果。
docker rm $(docker ps -aq)
练习3:在一个 Docker 容器里运行指定的 web 应用
实现题目描述的这个需求有很多种办法,作为入门,让我们从最简单的办法开始。
首先使用命令 docker ps 确保当前没有正在运行的 Docker 实例。

运行命令 docker run -it nginx:
然后我们另外开一个终端,用 docker ps 命令查看这个运行起来的容器实例,Status 的 Up 54 seconds 意思是从该实例启动到现在已经经过了 54 秒。

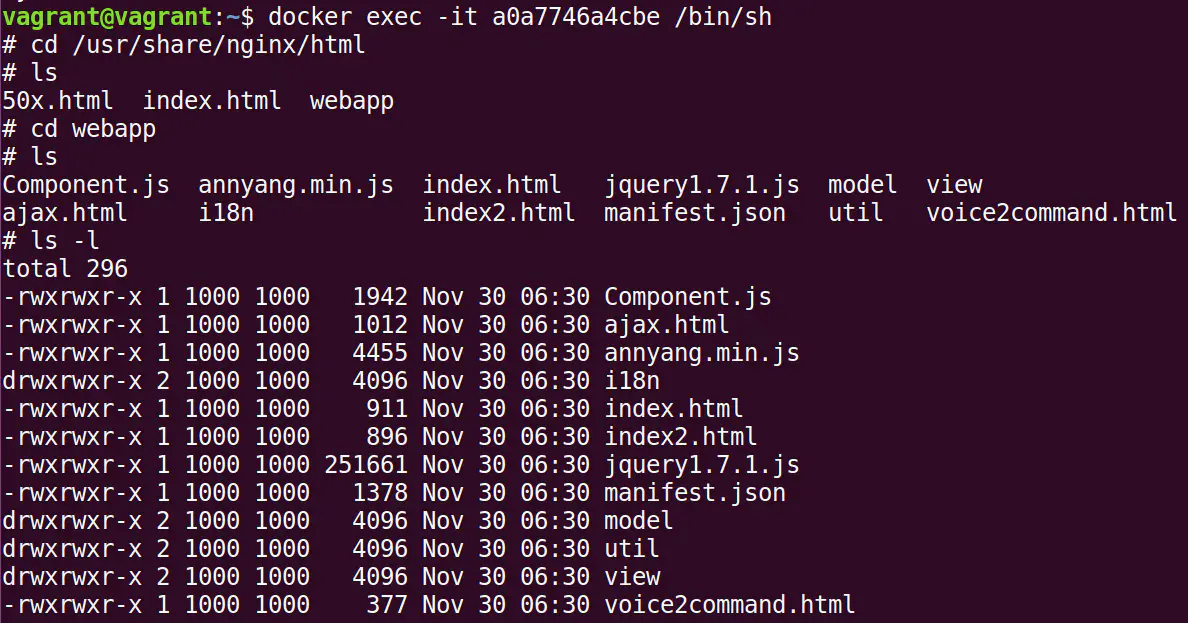
使用命令进入这个容器实例:
docker exec -it bbc5d48a761c /bin/sh

进入之后看到 shell 提示符 #,我们就可以在 nginx 容器内执行一些常用命令了。
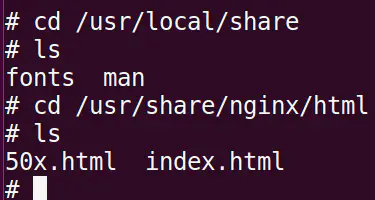
/usr/share/nginx/html 就是 nginx 服务器内存放 web 应用的位置,现在我们只要想办法将我们的 web 应用放到这个文件夹里就可以了。
问题就是如何把这个 web 应用搞到容器内的对应文件夹里。
我使用的是通过 docker volume 实现 docker 和宿主机之间的数据共享。使用 docker stop 将原来的 docker 实例停掉,然后启动新的实例。
假设我把 webapp 文件夹下载到 ~目录,然后用下面的命令行将 webapp 文件夹挂接到 nginx 容器内的同名文件夹:
docker run -d -p 1081:80 -v
pwd/webapp:/usr/share/nginx/html/webapp --name jerry-custom nginx

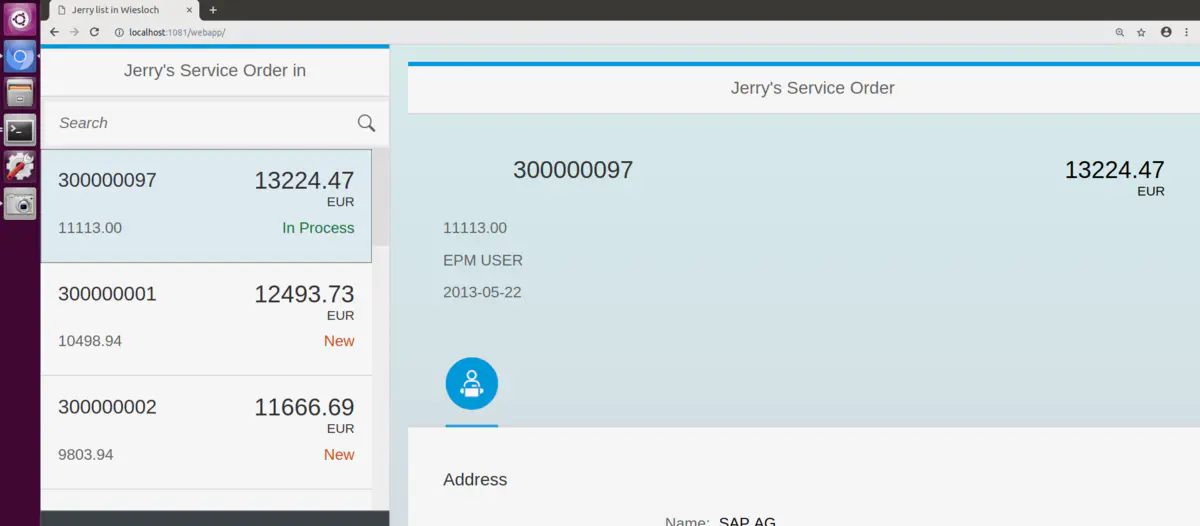
最后使用 url localhost:8081/webapp, 就能访问到这个运行在 Docker 容器里的 web 应用了。
总结
本文首先介绍了如何基于 scratch 空镜像来创建新的 Docker 镜像,以此来减小最后制作出来的镜像文件大小。接着介绍了如何用命令行删除所有正在运行和退出的 Docker 实例。最后是一个实际的例子,如何将一个开发好的 Web 应用,在 Docker 容器里运行。
本系列前三篇文章的链接:
相关文章
- docker 权限问题 Got permission denied while trying to connect to the Docker daemon socket at 。。。「建议收藏」
- Docker安装Jenkins教程
- Cannot connect to the Docker daemon at unix:///var/run/docker.sock. Is the docker daemon running?
- docker快速安装fastdfs服务springboot访问
- docker部署jenkins安装使用教程_docker封装python程序
- docker安装oracle11g
- Docker API 未授权访问漏洞复现
- Linux+MCSM9+Docker 搭建我的世界Java版服务器,MC开服教程
- 【已解决】Cannot connect to the Docker daemon at unix:///var/run/docker.sock. Is the docker daemon runnin
- Docker服务的查看服务状态命令(systemctl status docker)
- Docker服务的拉取镜像命令(docker pull 镜像名称)
- 「 【Docker】用docker运行2048小游戏(玩转docker) 」
- Docker安装 Mysql主从同步
- 【ES三周年】 docker搭建elk初体验
- docker (56) Recv failure: Connection reset by peer
- Dockerfile 常用指令 – 每天5分钟玩转 Docker 容器技术(16)
- 使用 Docker 轻松安装 MySQL 数据库(docker安装mysql)