
深度学习PyTorch入门(1):3060 Pytorch+pycharm环境搭建
WIN10, NVIDIA GeForce RTX 3060
python 3.7, CUDAv11.1.1, PyTorch 1.9, PyCharm
1.安装anacodah和PyCharm:
1.1为了稳定,此处安装了2019年10月16日的Anaconda3-2019.10-Windows-x86_64.exe
1.2 更换清华源:(更换 conda 源,将默认的国外源更换成国内源,显著提升相关库的下载速度。)编辑用户目录下的 .condarc 文件即可更换 conda 默认源。
Windows 用户无法直接创建名为 .condarc 的文件,需要先执行如下命令,生成该文件后再修改。
conda config --set show_channel_urls yes在 .condarc 文件中添加清华源:
ssl_verify: true
show_channel_urls: true
channels:
- http://mirrors.tuna.tsinghua.edu.cn/anaconda/pkgs/free/win-64/
- http://mirrors.tuna.tsinghua.edu.cn/anaconda/pkgs/main/win-64/1.3安装PyCharm,学生邮箱注册账号免费使用PyCharm专业版,无学生邮箱可以下载Community社区版使用。
2.创建虚拟环境:
#创建新的虚拟环境,环境名为pytorch,python版本为3.9,都可以根据需求来指定
conda create -n pytorch python==3.9
#删除虚拟环境
conda remove -n pytorch --all
#切换虚拟环境
conda activate pytorch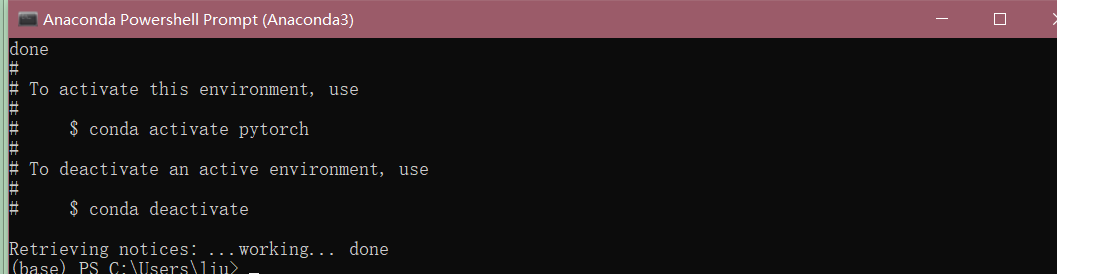
#查看当前所有虚拟环境,*表示当前所在环境
conda env list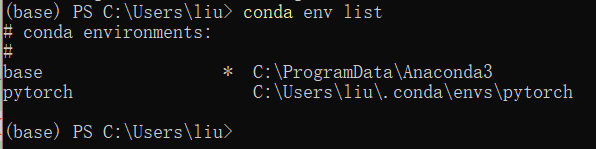
3.安装CUDA:
不建议直接安装最高版本的CUDA,因为如果后续使用PyTorch或TensorFlow,大概率不兼容。笔者安装的为CUDA Toolkit 11.1.0。
#CUDA版本查询
nvcc -V
4.配置cuDNN:
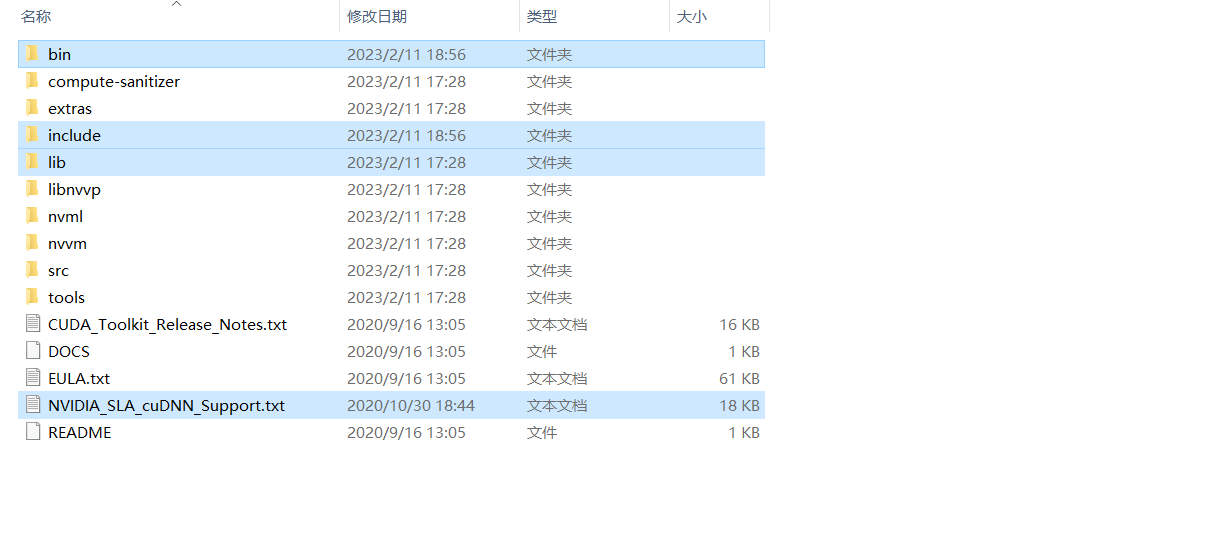
30系显卡最低支持cuDNN v8.0.5,把解压的文件复制,粘贴到CUDA的安装根目录。
在cmd下进入到安装目录中C:Program FilesNVIDIA GPU Computing ToolkitCUDAv11.1extrasdemo_suite,然后直接执行bandwidthTest.exe和deviceQuery.exe程序,如果返回结果都是pass,那么恭喜,安装成功!


5.安装pytorch:
进入pytorch官网,选择想要安装的版本,可以点击REVIOUS VERSIONS OF PYTORCH选择安装历史版本,笔者选择安装CUDAv11.1。

网络好的直接在线安装:
# CUDA 11.1
pip install torch==1.9.1+cu111 torchvision==0.10.1+cu111 torchaudio==0.9.1 -f https://download.pytorch.org/whl/torch_stable.html网络不好的下载torch-1.9.0+cu111-cp37-cp37m-win_amd64.whl、torchvision-0.10.0+cu111-cp37-cp37m-win_amd64和torchaudio-0.9.0-cp37-cp37m-win_amd64.whl离线安装:
#不加 --no-deps 报错:
#ERROR: Could not find a version that satisfies the requirement typing-extensions (from torch) (from versions: none)
#ERROR: No matching distribution found for typing-extensions
pip install --no-deps torch-1.9.0+cu111-cp37-cp37m-win_amd64.whl
pip install --no-deps torchvision-0.10.0+cu111-cp37-cp37m-win_amd64.whl
pip install --no-deps torchaudio-0.9.0-cp37-cp37m-win_amd64.whl
## 按顺序安装,不然可能安装torchvision的时候给你安装了cpu版本的torch
#卸载
conda uninstall pytorchpython
>>> import torch报错:UserWarning: Failed to initialize NumPy
pip install numpy -i https://pypi.tuna.tsinghua.edu.cn/simple继续
>>> torch.__version__
>>> torch.cuda.is_available() ## 一定要输出True才是成功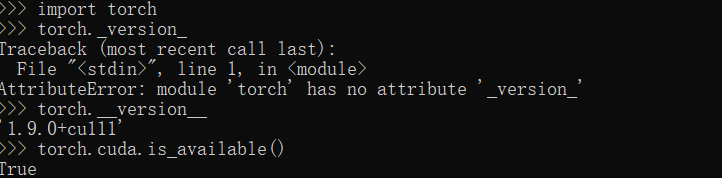
6.配置PyCharm:
File→settings

Project pythonProject→Python Interpreter

Add Interpreter→Add Local Interpreter
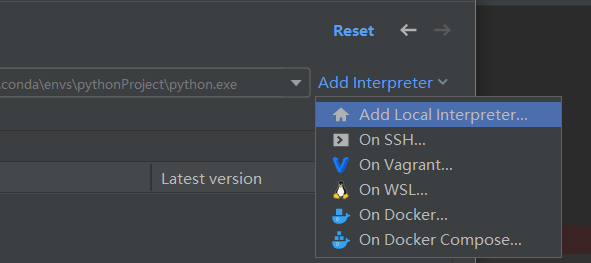
选择Existing Environment:
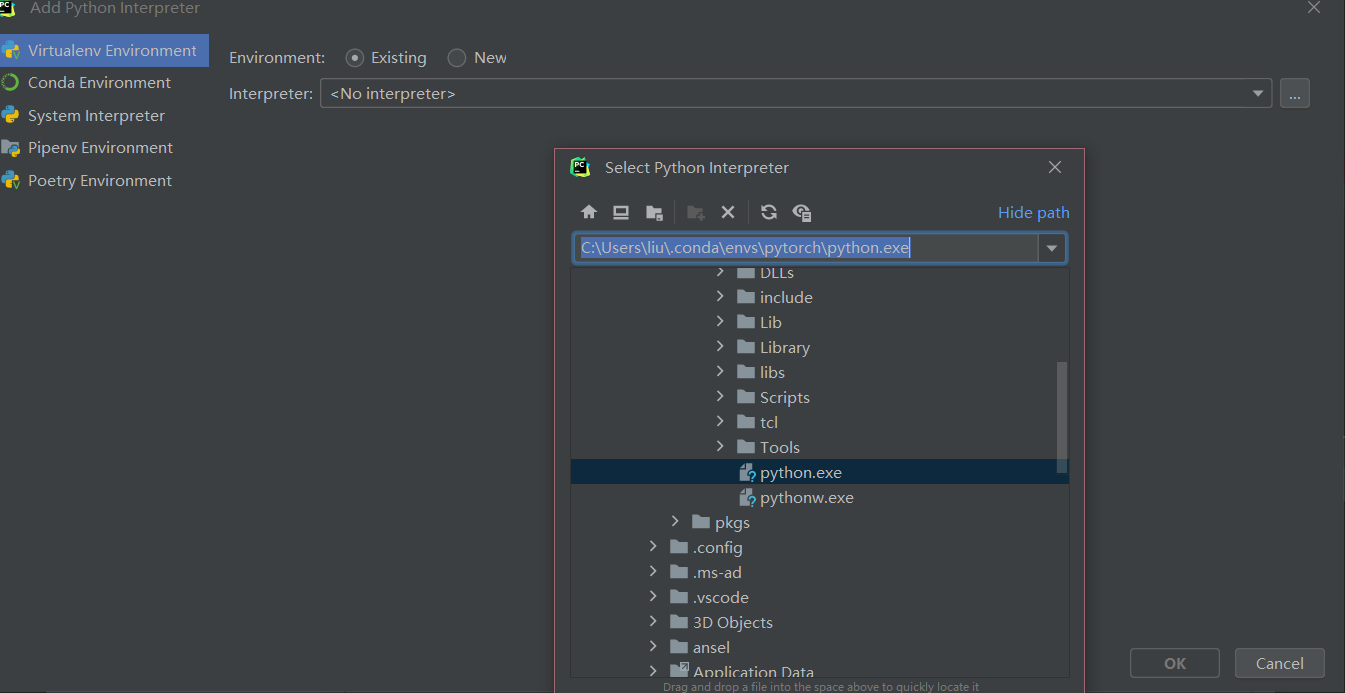
完成配置。
参考:
1. 第五步:RTX 3060配置CUDA和cuDNN、安装PyTorch
2. PyTorch环境搭建
相关文章
- EasyCVR对接华为iVS订阅摄像机和用户变更请求接口介绍
- 精选 | 腾讯云CDN内容加速场景有哪些?
- 模块化网络防止基于模型的多任务强化学习中的灾难性干扰
- 用搜索和注意力学习稳健的调度方法
- 用于多变量时间序列异常检测的学习图神经网络
- 助力政企自动化自然生长,华为WeAutomate RPA是怎么做到的?
- 使用腾讯轻量云搭建Fiora聊天室
- TSRC安全测试规范
- 云计算“功守道”
- 助力成本优化,腾讯全场景在离线混部系统Caelus正式开源
- Flink 利器:开源平台 StreamX 简介
- 腾讯云实践 | 一图揭秘腾讯碳中和?解决方案
- 深度学习中的轻量级网络架构总结与代码实现
- 信息系统项目管理师(高项复习笔记三)
- Adobe国际认证让科技赋能时尚
- c++该怎么学习(面试吃土记)
- 面试官问发布订阅模式是在问什么?
- 面试官:请实现一个通用函数把 callback 转成 promise
- 空中悬停、翻滚转身、成功着陆,我用强化学习「回收」了SpaceX的火箭
- 中山大学林倞解读视觉语义理解新趋势:从表达学习到知识及因果融合