SpringMVC学习(八):使用RESTFul模拟操作用户数据资源
2023-03-14 22:59:27 时间
文档结构:

springMVC.xml:
<?xml version="1.0" encoding="UTF-8"?>
<beans xmlns="http://www.springframework.org/schema/beans"
       xmlns:xsi="http://www.w3.org/2001/XMLSchema-instance"
       xmlns:context="http://www.springframework.org/schema/context"
       xmlns:mvc="http://www.springframework.org/schema/mvc"
       xsi:schemaLocation="http://www.springframework.org/schema/beans http://www.springframework.org/schema/beans/spring-beans.xsd http://www.springframework.org/schema/context https://www.springframework.org/schema/context/spring-context.xsd http://www.springframework.org/schema/mvc https://www.springframework.org/schema/mvc/spring-mvc.xsd">


<!--    开启组件扫描-->
    <context:component-scan base-package="demo.controller"></context:component-scan>

    <!-- 配置Thymeleaf视图解析器 -->
    <bean id="viewResolver" class="org.thymeleaf.spring5.view.ThymeleafViewResolver">
        <property name="order" value="1"/>
        <property name="characterEncoding" value="UTF-8"/>
        <property name="templateEngine">
            <bean class="org.thymeleaf.spring5.SpringTemplateEngine">
                <property name="templateResolver">
                    <bean class="org.thymeleaf.spring5.templateresolver.SpringResourceTemplateResolver">

                        <!-- 视图前缀 -->
                        <property name="prefix" value="/WEB-INF/templates/"/>

                        <!-- 视图后缀 -->
                        <property name="suffix" value=".html"/>
                        <property name="templateMode" value="HTML5"/>
                        <property name="characterEncoding" value="UTF-8" />
                    </bean>
                </property>
            </bean>
        </property>
    </bean>


<!--    视图控制器,没有控制器也可以跳转到首页,适用于仅仅用来实现页面跳转,没有任何请求处理的过程-->
    <mvc:view-controller path="/" view-name="index"></mvc:view-controller>
<!--    开启mvc的注解驱动-->
    <mvc:annotation-driven></mvc:annotation-driven>

    <mvc:view-controller path="/test_rest" view-name="test_rest"></mvc:view-controller>

</beans>
web.xml:
<?xml version="1.0" encoding="UTF-8"?>
<web-app xmlns="http://xmlns.jcp.org/xml/ns/javaee"
         xmlns:xsi="http://www.w3.org/2001/XMLSchema-instance"
         xsi:schemaLocation="http://xmlns.jcp.org/xml/ns/javaee http://xmlns.jcp.org/xml/ns/javaee/web-app_4_0.xsd"
         version="4.0">


    //配置编码过滤器
    <filter>
        <filter-name>CharacterEncodingFilter</filter-name>
        <filter-class>org.springframework.web.filter.CharacterEncodingFilter</filter-class>
        <init-param>
            <param-name>encoding</param-name>
            <param-value>UTF-8</param-value>
        </init-param>
        <init-param>
            <param-name>forceResponseEncoding</param-name>
            <param-value>true</param-value>
        </init-param>
    </filter>
    <filter-mapping>
        <filter-name>CharacterEncodingFilter</filter-name>
        <url-pattern>/*</url-pattern>
    </filter-mapping>

    //配置springMVC的前端控制器DispatcherServlet
    <servlet>
        <servlet-name>DispatcherServlet</servlet-name>
        <servlet-class>org.springframework.web.servlet.DispatcherServlet</servlet-class>
        <init-param>
            <param-name>contextConfigLocation</param-name>
            <param-value>classpath:springMVC.xml</param-value>
        </init-param>
        <load-on-startup>1</load-on-startup>
    </servlet>
    <servlet-mapping>
        <servlet-name>DispatcherServlet</servlet-name>
        <url-pattern>/</url-pattern>
    </servlet-mapping>

</web-app>
首先是GET和POST的模拟,比较简单,就直接贴代码了:
UserController.java:
package demo.controller;

import org.springframework.stereotype.Controller;
import org.springframework.web.bind.annotation.RequestMapping;
import org.springframework.web.bind.annotation.RequestMethod;


/**
 * RESTFul模拟用户资源的增删改查
 *
 * /user    GET     查询所有用户信息
 * /user/1  GET     根据用户id查询信息
 * /user    POST    添加用户信息
 * /user    PUT     修改用户信息
 * /user    DELETE  删除所有用户信息
 * /user/1  DELETE  根据id删除用户信息
 */
@Controller
public class UserController {

    @RequestMapping(value = "/user",method = RequestMethod.GET)
    public String getAllUser(){
        System.out.println("查询所有用户信息");
        return "success";
    }

    @RequestMapping(value = "/user/{id}",method = RequestMethod.GET)
    public String getUserById(){
        System.out.println("根据用户id查询信息");
        return "success";
    }

    @RequestMapping(value = "/user",method = RequestMethod.POST)
    public String addUser(String username,String password){
        System.out.println("添加用户信息成功,用户名:"+username+" 密码:"+password);
        return "success";
    }
}
test_view.html:
<!DOCTYPE html>
<html lang="en" xmlns:th="http://www.thymeleaf.org">
<head>
    <meta charset="UTF-8">
    <title>Title</title>
</head>
<body>

    <a th:href="@{/user}">查询所有用户信息</a>
    <a th:href="@{/user/1}">根据id查询用户信息</a>

    <form th:action="@{user}" method="post">
        用户名: <input type="text" name="username">    <br>
        密  码: <input type="password" name="password">    <br>
        <input type="submit" value="增加">    <br>

    </form>
</body>
</html>
success.html(用来作为成功跳转的判断):
<!DOCTYPE html>
<html lang="en" xmlns:th="http://www.thymeleaf.org">
<head>
    <meta charset="UTF-8">
    <title>Title</title>
</head>
<body>

    success

</body>
</html>
运行起来测试一下:
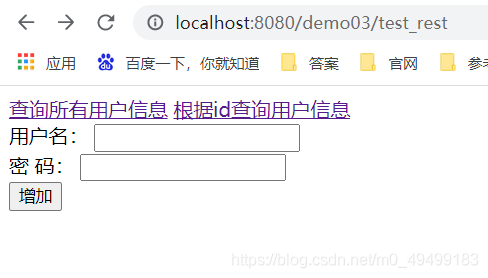
只是简单模拟,页面比较丑
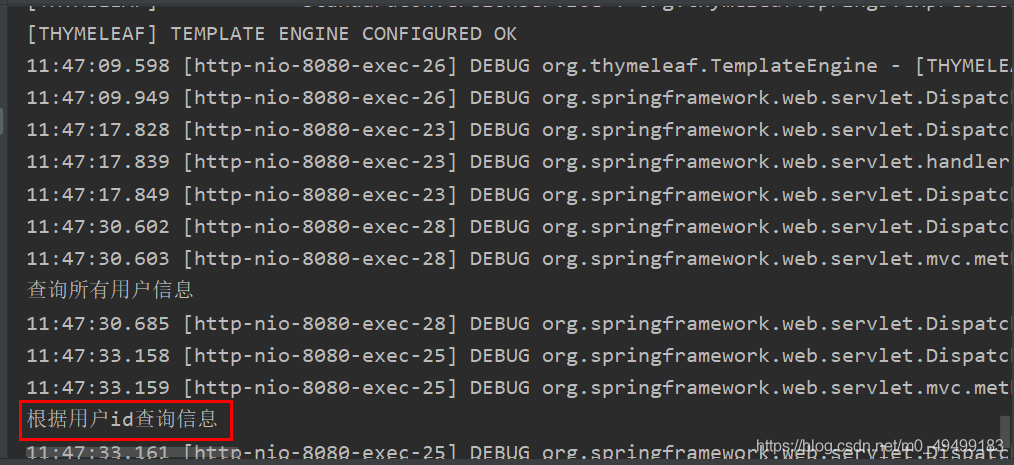
点击 查询:
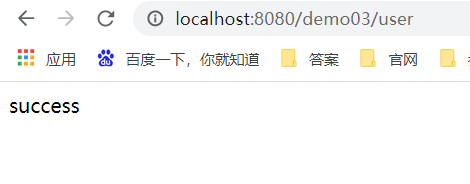
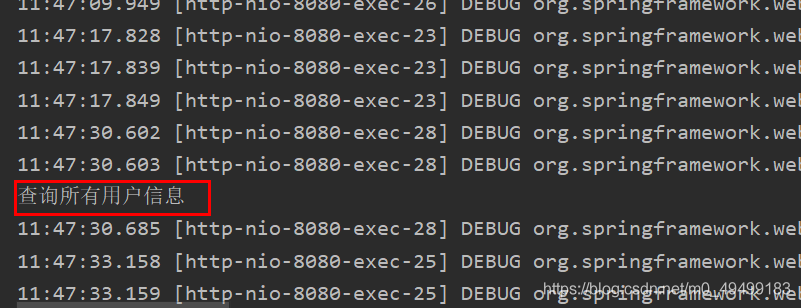
成功跳转,控制台也有输出:
再退回来点击根据id查询:
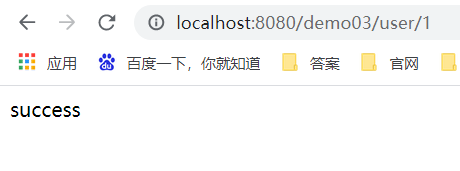
成功跳转,路径也正确,控制台也有输出:
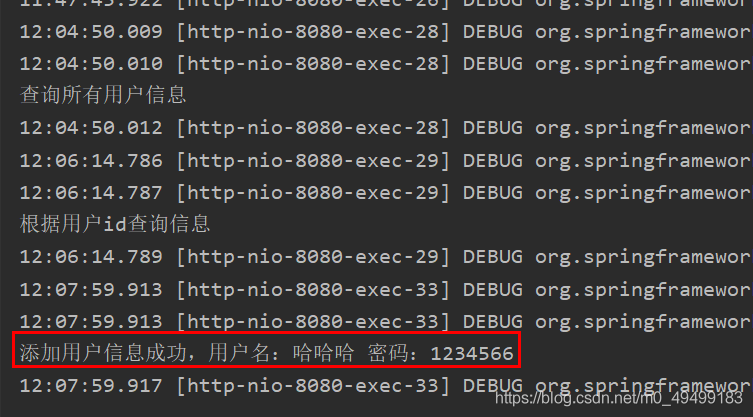
再退回来把表单填写完整,点击增加:

于浏览器只支持发送get和post方式的请求,那么该如何发送put和delete请求呢?
SpringMVC 提供了 HiddenHttpMethodFilter 帮助我们将 POST 请求转换为 DELETE 或 PUT 请求
HiddenHttpMethodFilter 处理put和delete请求的条件:
a>当前请求的请求方式必须为post
b>当前请求必须传输请求参数_method
满足以上条件,HiddenHttpMethodFilter 过滤器就会将当前请求的请求方式转换为请求参数_method的值,因此请求参数_method的值才是最终的请求方式
先在web.xml中注册HiddenHttpMethodFilter
<!--    配置HiddenHttpMethodFilter-->
    <filter>
        <filter-name>HiddenHttpMethodFilter</filter-name>
        <filter-class>org.springframework.web.filter.HiddenHttpMethodFilter</filter-class>
    </filter>
    <filter-mapping>
        <filter-name>HiddenHttpMethodFilter</filter-name>
        <url-pattern>/*</url-pattern>
    </filter-mapping>
<form th:action="@{user}" method="post">
        <input type="hidden" name="_method" value="put">
        用户名: <input type="text" name="username">    <br>
        密  码: <input type="password" name="password">    <br>
        <input type="submit" value="修改">    <br>
    </form>

    <form th:action="@{user/1}" method="post">
        <input type="hidden" name="_method" value="delete">
        用户名: <input type="text" name="username">    <br>
        <input type="submit" value="删除">    <br>
    </form>
注意,隐藏的input标签中的value才是真正的请求参数
@RequestMapping(value = "/user",method = RequestMethod.PUT)
    public String updateUser(String username,String password){
        System.out.println("修改用户信息成功,用户名:"+username+" 密码:"+password);
        return "success";
    }

    @RequestMapping(value = "/user/{id}",method = RequestMethod.DELETE)
    public String deleteUser(String username){
        System.out.println("删除用户信息成功,用户名:"+username);
        return "success";
    }
控制器和前面大致相同
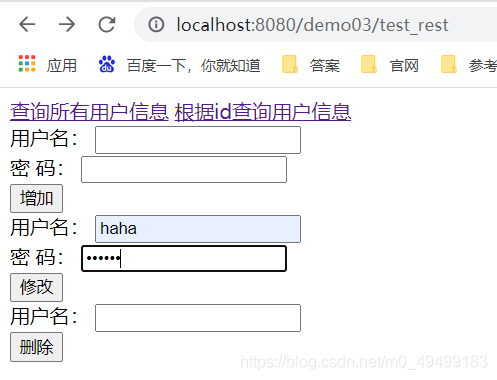
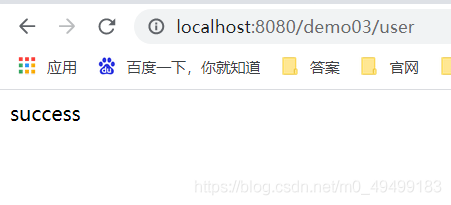
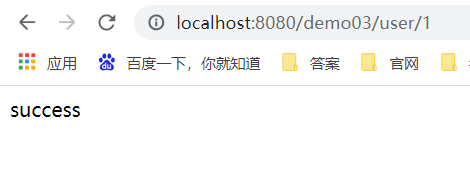
测试一下:




相关文章
- 发现 Linux SpaceFM 文件管理器的威力
- 夯实数据智能底座 共筑数字经济发展“新基石”
- 五分钟教你使用console.log发布公司的招聘信息
- 微软发布 Windows 11 Beta 预览版 Build 22621.1250 和 22623.1250 (KB5023008)
- Windows 11 学院:在 Windows 11 Build 25290 上如何为文件管理器启用标签页拖拽支持
- 微软Windows 11 Dev 预览版 Build 25290 发布:带来新的开始菜单提醒角标
- 微软正用全屏通知提醒 Windows 10 用户免费升级 Windows 11,要点击 5 次才能退出
- Linux Mint 21.2 将于 6 月发布:改进登录屏幕,优化 Pix 图像管理程序等等
- 字节面试也会问SPI机制?
- 微软正式停售 Windows 10 产品密钥 / 许可证:继续提供 ISO 镜像下载,推荐用户升级 Windows 11
- 用复古电脑程序 Toy CPU 学习低级编程
- Windows 11 新功能泄露:现代音量合成器、实验工具和新的文件管理器
- 微软 Windows 11 文件资源管理器全新设计曝光:UI 迎来大修,整合 Microsoft 365
- 对比Pandas,学习PySpark大数据处理
- 微软宣布为Windows 11 21H2设备开启自动更新到22H2版本
- 互联网都在说降本增效,小红书技术团队是怎么做的?
- 微软将继续提供 Windows 10 ISO 镜像下载,即将停售产品密钥 / 许可证
- 微软宣布为Windows 11 21H2 设备开启自动更新到 22H2 版本
- 面试突击:Properties和Yml有什么区别?
- 微软 Windows 11 Beta 预览版 22621.1245 和 22623.1245 (KB5022358) 发布

