
当前栏目
知识分享—设计计算器的UI界面

前言
我们的智能手机内都会存有一些系统自带的软件,这些软件内存占用不大,它们作为一种轻量化的应用在日常生活中被我们使用。在这些系统自带的软件中,计算器是我们能经常接触的,而笔者注意到,计算器的UI界面简洁美观,交互元素齐全,于是萌生了在DevEco Studio中自己设计计算器的UI界面的想法。
正文
一般情况下,一个计算器的UI界面由显示台和按键区组成。显示台可以通过一个不含子组件的容器组件实现,而按键区则需要用到Table布局(即表格布局)。
Table布局与其他布局形式的差别在于,它能通过表格的方式来划分子组件。而让按键区通过表格布局的方式来排布数目繁多的按键,则可以有效减少页面布局的复杂程度。Table布局通常带有的属性如下:

创建工程
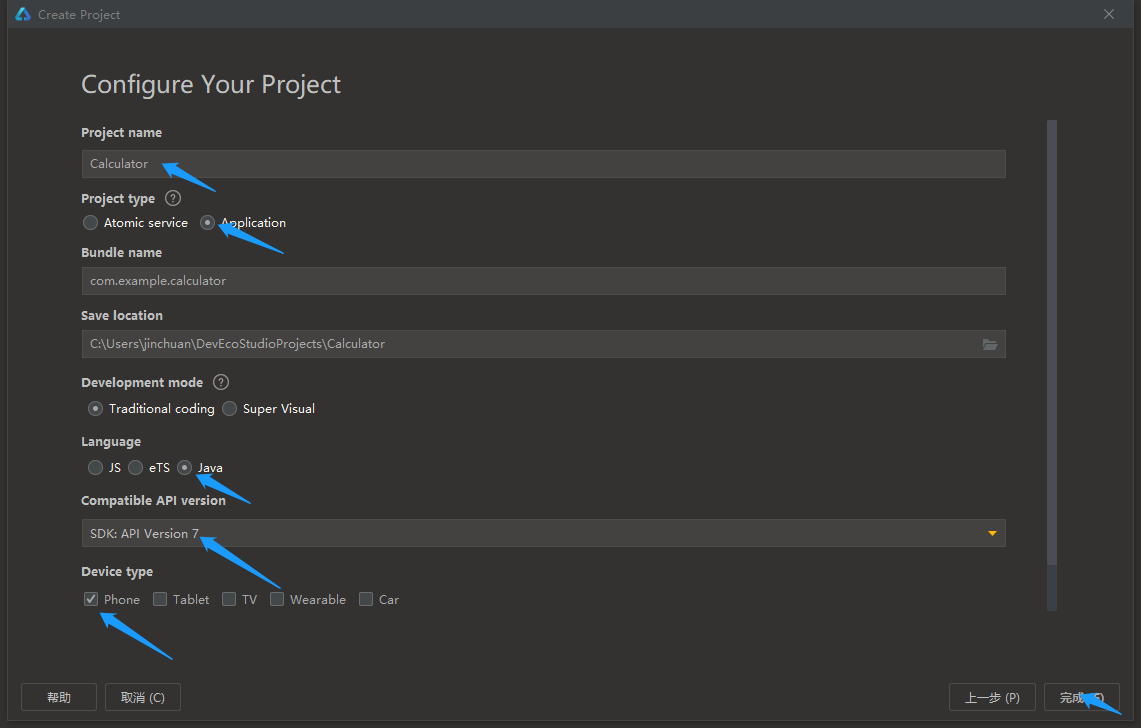
首先,我们选择Empty Ability,创建一个新的Java工程;
设计显示台
打开entry>src>main>java>resources>base>layout>ability_main_xml,将DirectionalLayout换成DependentLayout,并删除文件自带的文本内容为“Hello World”的Text组件,之后加入一个容器组件和一个Button组件;
<?xml version="1.0" encoding="utf-8"?>
<DependentLayout                                           //将DirectionalLayout改为DependentLayout
    xmlns:ohos="http://schemas.huawei.com/res/ohos"
    ohos:height="match_parent"
    ohos:width="match_parent"
    ohos:alignment="center"
    ohos:orientation="vertical">
    <DirectionalLayout                              //设置不含子组件的容器组件(这里以DiretionalLayout为例)
        ohos:background_element="gray"        //背景色设为灰色
        ohos:height="295vp"
        ohos:width="match_parent"
        ohos:id="$+id:box"/>                 //设置id号
    <Button                                          //设置一个无点击效果的按钮组件
        ohos:below="$id:box"                    //使该组件处在id号为“box”的组件的正下方
        ohos:height="35vp"
        ohos:width="match_parent"
        ohos:id="$+id:board"                        //设置id号
        ohos:background_element="white"/>

</DependentLayout>
设置按键区中按键的背景元素
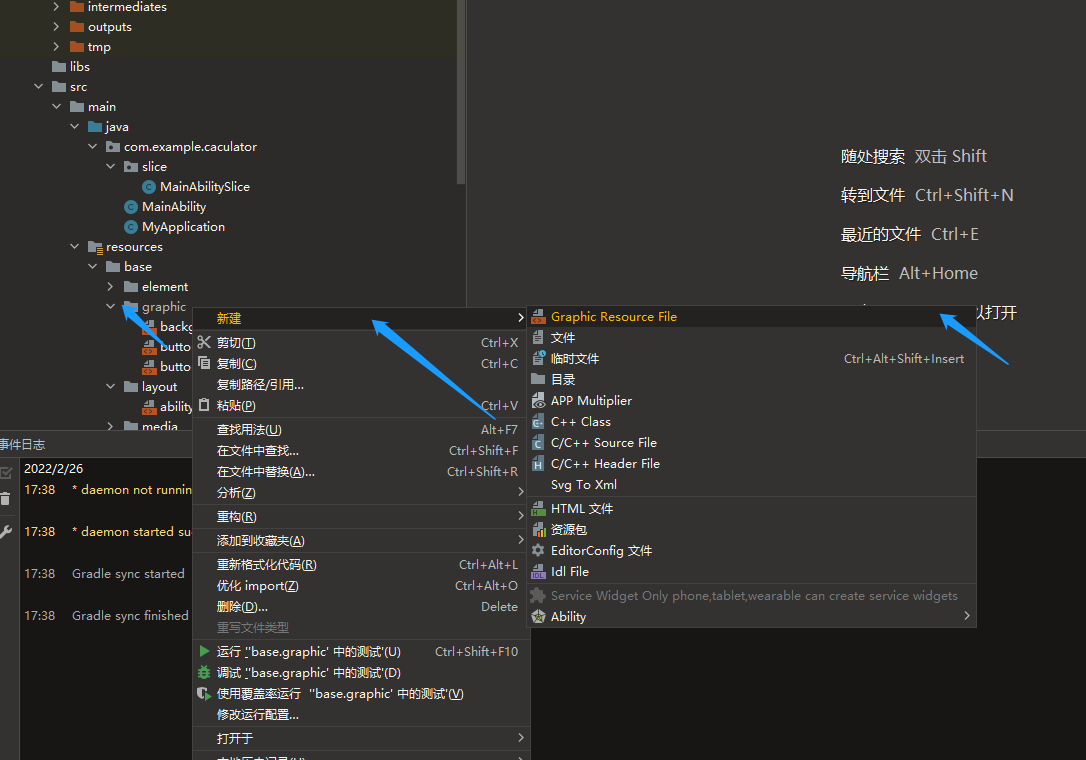
打开entry>src>main>java>resources>base>graphic,右击graphic,新建两个Graphic_Resource_File,其中一个命名为button,另一个命名为buttonspecial;
打开新建的button.xml,将文件中的代码改为如下代码:
<?xml version="1.0" encoding="utf-8"?>
<shape
    xmlns:ohos="http://schemas.huawei.com/res/ohos"
    ohos:shape="oval">     //将Button的形状设置为圆形
    <solid
        ohos:color="black"/>   //将Button的背景色设置为黑色
</shape>
再打开新建的buttonspecial.xml,将文件中的代码改为如下代码:
<?xml version="1.0" encoding="utf-8"?>
<shape
    xmlns:ohos="http://schemas.huawei.com/res/ohos"
    ohos:shape="oval">    //将Button的形状设置为圆形
    <solid
        ohos:color="green"/>    //将Button的背景色设置为绿色
</shape>
这样之后,按键的背景元素就设计好了;
设计按键区
打开entry>src>main>java>resources>base>layout>ability_main_xml,添加TableLLayout,使TableLayout内的组件能以4x5的表格形式排布;
 <TableLayout                        //设置Table布局
        ohos:below="$id:board"      //使TableLayout处在id号为“board”的组件的正下方
        ohos:height="match_parent"
        ohos:width="match_parent"
        ohos:row_count="5"                  //设置行数
        ohos:column_count="4">          //设置列数

</TableLayout>
接着,在TableLayout内加入20个Button组件。其中,前19个Button组件的背景引用button.xml内所定义的Button背景(背景色为黑色),而最后一个Button组件的背景则引用buttonspecial.xml内所定义的背景(背景色为绿色)。代码如下:
<Button
            ohos:height="80vp"
            ohos:width="80vp"
            ohos:background_element="$graphic:button"
            ohos:text="C"
            ohos:text_color="white"
            ohos:text_size="30vp"
            ohos:margin="5vp"/>
        <Button
            ohos:height="80vp"
            ohos:width="80vp"
            ohos:background_element="$graphic:button"
            ohos:text="del"
            ohos:text_color="white"
            ohos:text_size="30vp"
            ohos:margin="5vp"/>
        <Button
            ohos:height="80vp"
            ohos:width="80vp"
            ohos:background_element="$graphic:button"
            ohos:text="%"
            ohos:text_color="white"
            ohos:text_size="30vp"
            ohos:margin="5vp"/>
        <Button
            ohos:height="80vp"
            ohos:width="80vp"
            ohos:background_element="$graphic:button"
            ohos:text="/"
            ohos:text_color="white"
            ohos:text_size="30vp"
            ohos:margin="5vp"/>
        <Button
            ohos:height="80vp"
            ohos:width="80vp"
            ohos:background_element="$graphic:button"
            ohos:text="7"
            ohos:text_color="white"
            ohos:text_size="30vp"
            ohos:margin="5vp"/>
        <Button
            ohos:height="80vp"
            ohos:width="80vp"
            ohos:background_element="$graphic:button"
            ohos:text="8"
            ohos:text_color="white"
            ohos:text_size="30vp"
            ohos:margin="5vp"/>
        <Button
            ohos:height="80vp"
            ohos:width="80vp"
            ohos:background_element="$graphic:button"
            ohos:text="9"
            ohos:text_color="white"
            ohos:text_size="30vp"
            ohos:margin="5vp"/>
        <Button
            ohos:height="80vp"
            ohos:width="80vp"
            ohos:background_element="$graphic:button"
            ohos:text="X"
            ohos:text_color="white"
            ohos:text_size="35vp"
            ohos:margin="5vp"/>
        <Button
            ohos:height="80vp"
            ohos:width="80vp"
            ohos:background_element="$graphic:button"
            ohos:text="4"
            ohos:text_color="white"
            ohos:text_size="30vp"
            ohos:margin="5vp"/>

        <Button
            ohos:height="80vp"
            ohos:width="80vp"
            ohos:background_element="$graphic:button"
            ohos:text="5"
            ohos:text_color="white"
            ohos:text_size="30vp"
            ohos:margin="5vp"/>
        <Button
            ohos:height="80vp"
            ohos:width="80vp"
            ohos:background_element="$graphic:button"
            ohos:text="6"
            ohos:text_color="white"
            ohos:text_size="30vp"
            ohos:margin="5vp"/>

        <Button
            ohos:height="80vp"
            ohos:width="80vp"
            ohos:background_element="$graphic:button"
            ohos:text="—"
            ohos:text_color="white"
            ohos:text_size="30vp"
            ohos:margin="5vp"/>
        <Button
            ohos:height="80vp"
            ohos:width="80vp"
            ohos:background_element="$graphic:button"
            ohos:text="1"
            ohos:text_color="white"
            ohos:text_size="30vp"
            ohos:margin="5vp"/>
        <Button
            ohos:height="80vp"
            ohos:width="80vp"
            ohos:background_element="$graphic:button"
            ohos:text="2"
            ohos:text_color="white"
            ohos:text_size="30vp"
            ohos:margin="5vp"/>
        <Button
            ohos:height="80vp"
            ohos:width="80vp"
            ohos:background_element="$graphic:button"
            ohos:text="3"
            ohos:text_color="white"
            ohos:text_size="30vp"
            ohos:margin="5vp"/>

        <Button
            ohos:height="80vp"
            ohos:width="80vp"
            ohos:background_element="$graphic:button"
            ohos:text="+"
            ohos:text_color="white"
            ohos:text_size="55vp"
            ohos:margin="5vp"/>
        <Button
            ohos:height="80vp"
            ohos:width="80vp"
            ohos:background_element="$graphic:button"
            ohos:text="Exit"
            ohos:text_color="white"
            ohos:text_size="30vp"
            ohos:margin="5vp"/>
        <Button
            ohos:height="80vp"
            ohos:width="80vp"
            ohos:background_element="$graphic:button"
            ohos:text="0"
            ohos:text_color="white"
            ohos:text_size="30vp"
            ohos:margin="5vp"/>
        <Button
            ohos:height="80vp"
            ohos:width="80vp"
            ohos:background_element="$graphic:button"
            ohos:text="."
            ohos:text_color="white"
            ohos:text_size="30vp"
            ohos:margin="5vp"/>
        <Button
            ohos:height="80vp"
            ohos:width="80vp"
            ohos:background_element="$graphic:buttonspecial"
            ohos:text="="
            ohos:text_color="white"
            ohos:text_size="55vp"
            ohos:margin="5vp"/>
效果
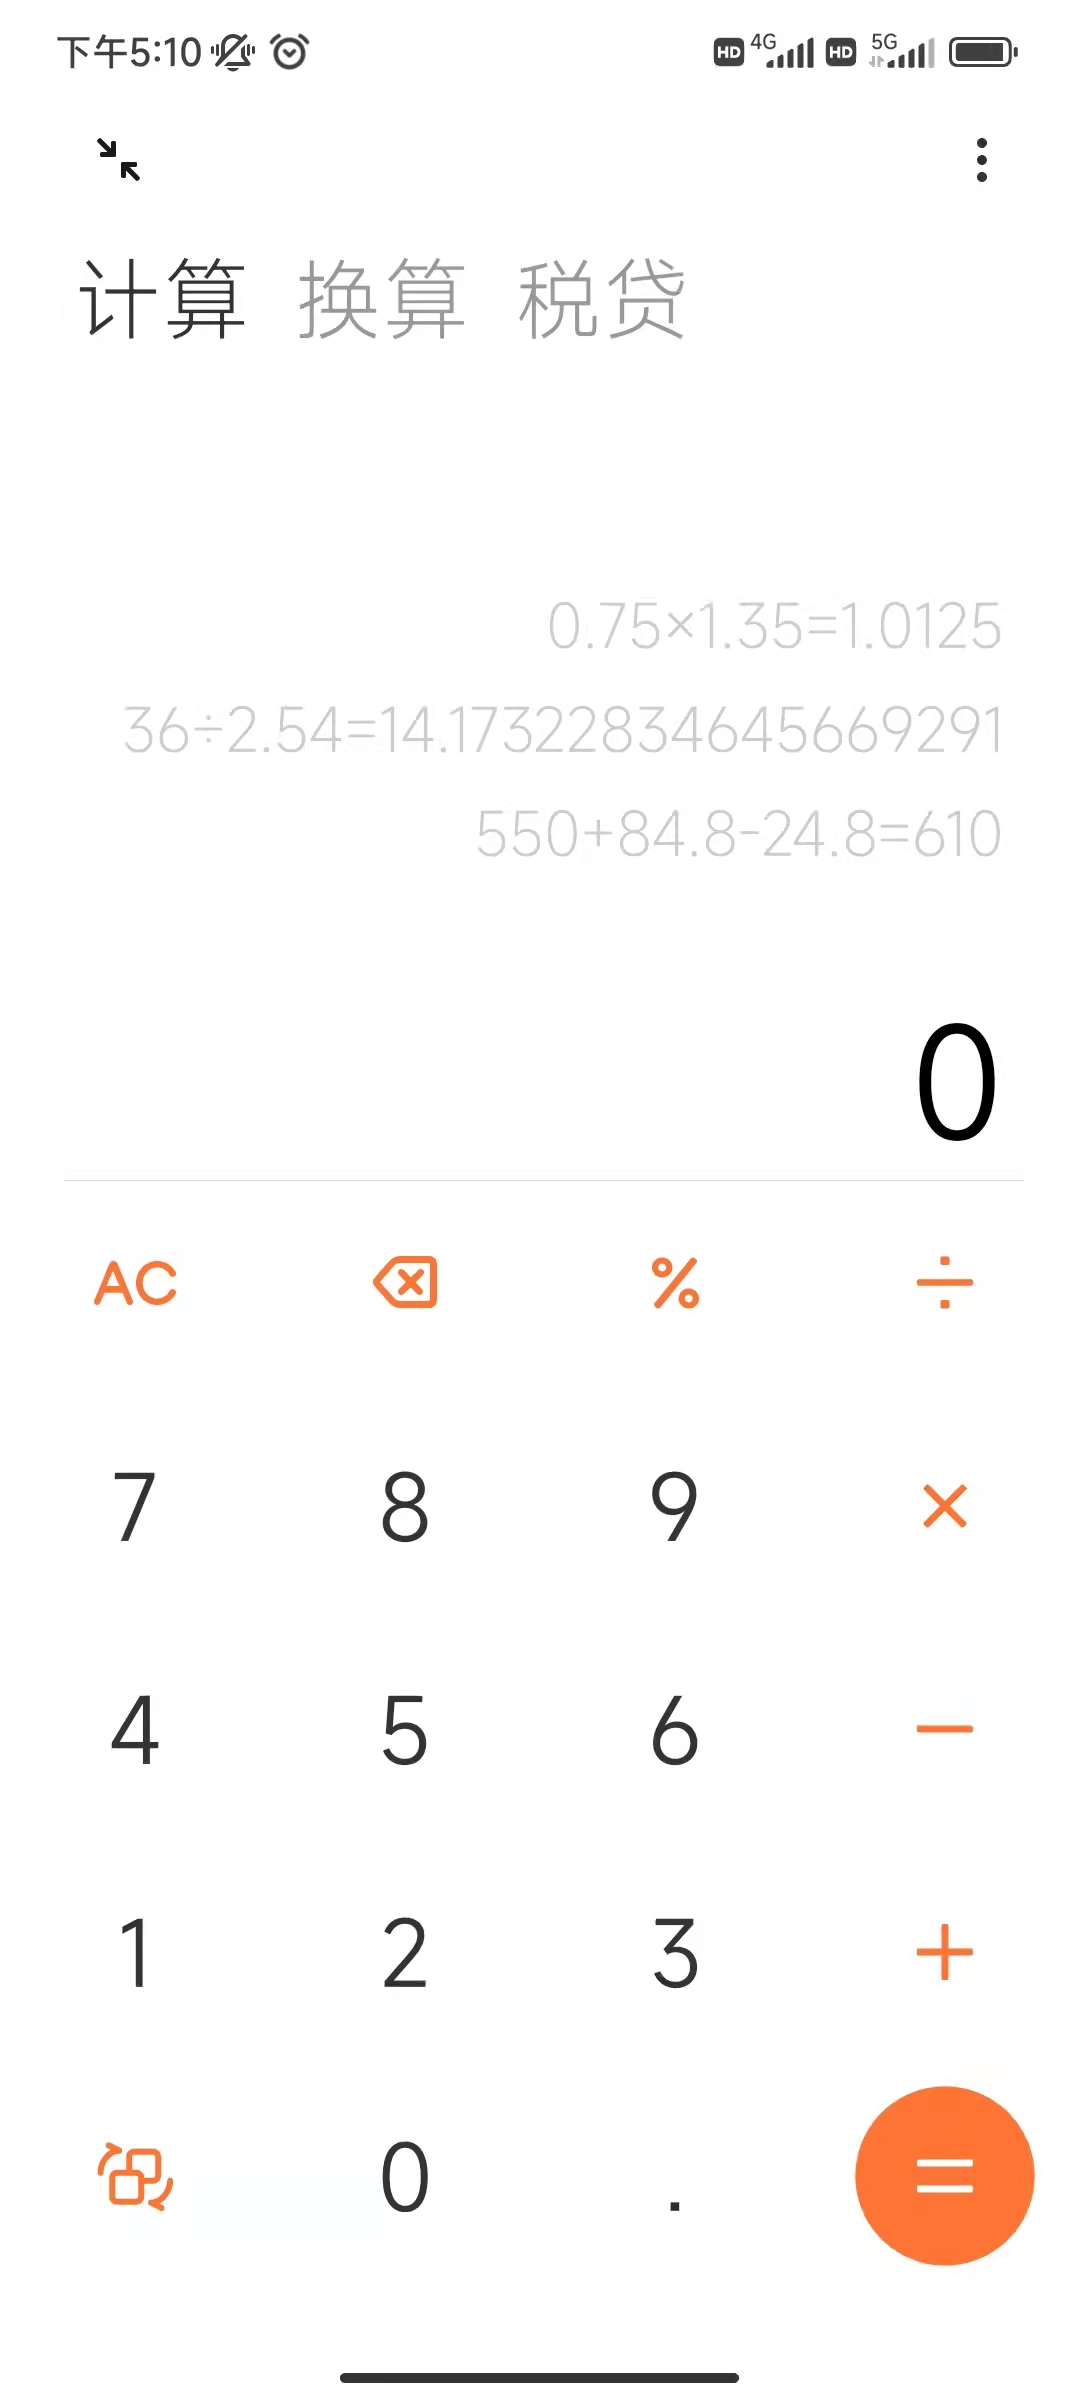
最后,打开Previewer查看效果。一个计算器的UI界面就诞生了。

结语
本期的知识分享在这就告一段落了。

相关文章
- 鲜为人知但很有用的 HTML 属性
- 翻转再翻转!有意思的水平横向溢出滚动
- 自定义计数器小技巧!CSS 实现长按点赞累加动画
- 过五关!React高频面试题指南
- 软件开发中的十个认知偏差
- 不需要 JS!仅用 CSS 也能达到监听页面滚动的效果!
- 一文读懂TypeScript类型兼容性
- Vue 的响应式原则与双向数据绑定
- 快速掌握 TypeScript 新语法:Infer Extends
- JWT教你如何证明你是我的人!
- 一篇带给你 V8 GC 的实现
- 面试官:请使用JS完成一个LRU缓存?
- 通过可视化来学习JavaScript事件循环
- 新的跨域策略:使用 COOP、COEP 为浏览器创建更安全的环境
- 为什么有人说 vite 快,有人却说 vite 慢?
- 种草 Vue3 中几个好玩的插件和配置
- 超全面的前端工程化配置指南
- Vue 状态管理未来样子
- Volatile关键字能保证原子性么?
- 面试突击:SpringBoot 有几种读取配置文件的方法?